


How to Prepare Slabs to Make a Live Edge Table with Epoxy?
River tables derive their beauty from the combination of natural wood and the water-like features of epoxy and resin. The pairing of the rugged unevenness of live edge slabs with the smoothness of the resin makes these tables very attractive. It is one of the most popular DIY live edge wood projects.
One of the critical features that makes these tables stable and long-lasting is the bond between the epoxy resin and the live edge of the slabs. Get this wrong, and your beautiful table may have a very short life.
This article will go through the essential steps to prepare the wood slabs to ensure the bond is strong and %100 percent correct, which is essential to make a live edge table with epoxy.
Primary Preparation

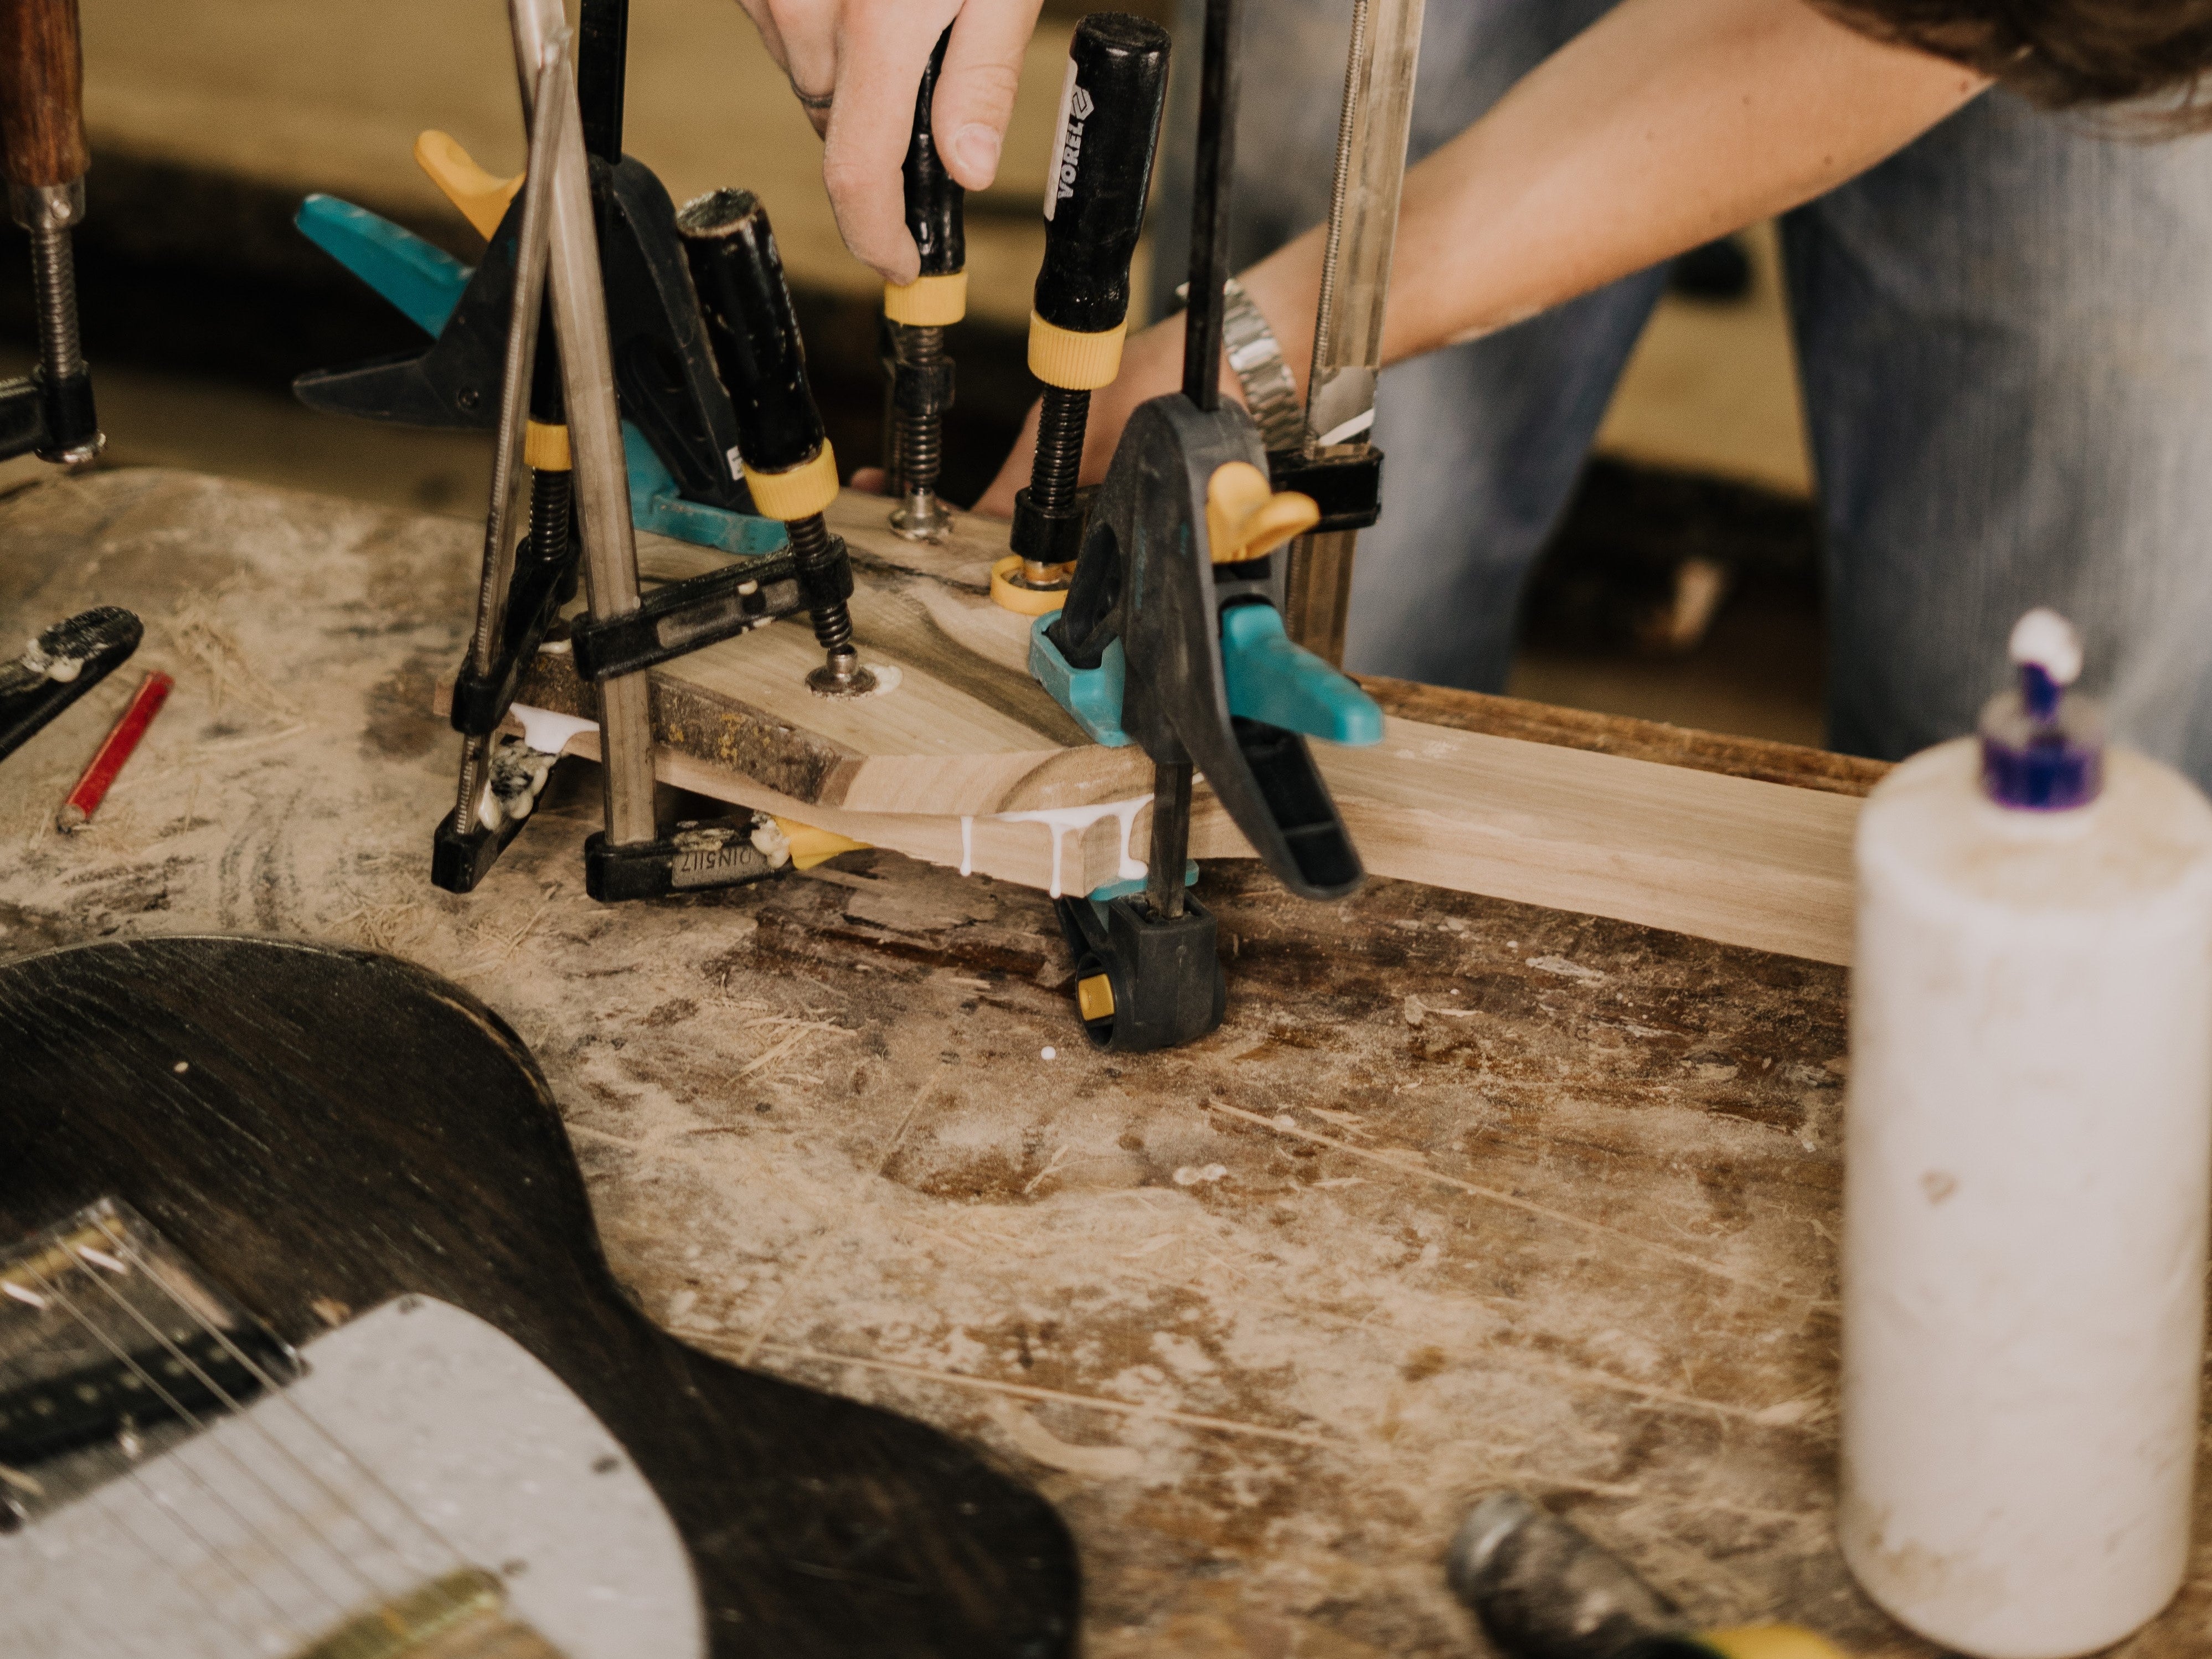
The first thing that needs to be done is the removal of any bark that has remained on the live edge of the slab. Despite the rugged beauty of the bark, leaving it on the slab is going to be a fatal flaw, so you need to be quite meticulous in removing it.
Start with a sharp chisel and get in between the bark and sapwood. More often than not, there is a distinct boundary between the two layers, so the bark should come away fairly quickly. This method should remove the bulk of the bark, but if loose wood fibers on small sections remain, don't worry, there are a range of abrasives that will help you every step of the way to smoothen it and have it ready.
Cleaning up the Live Edge
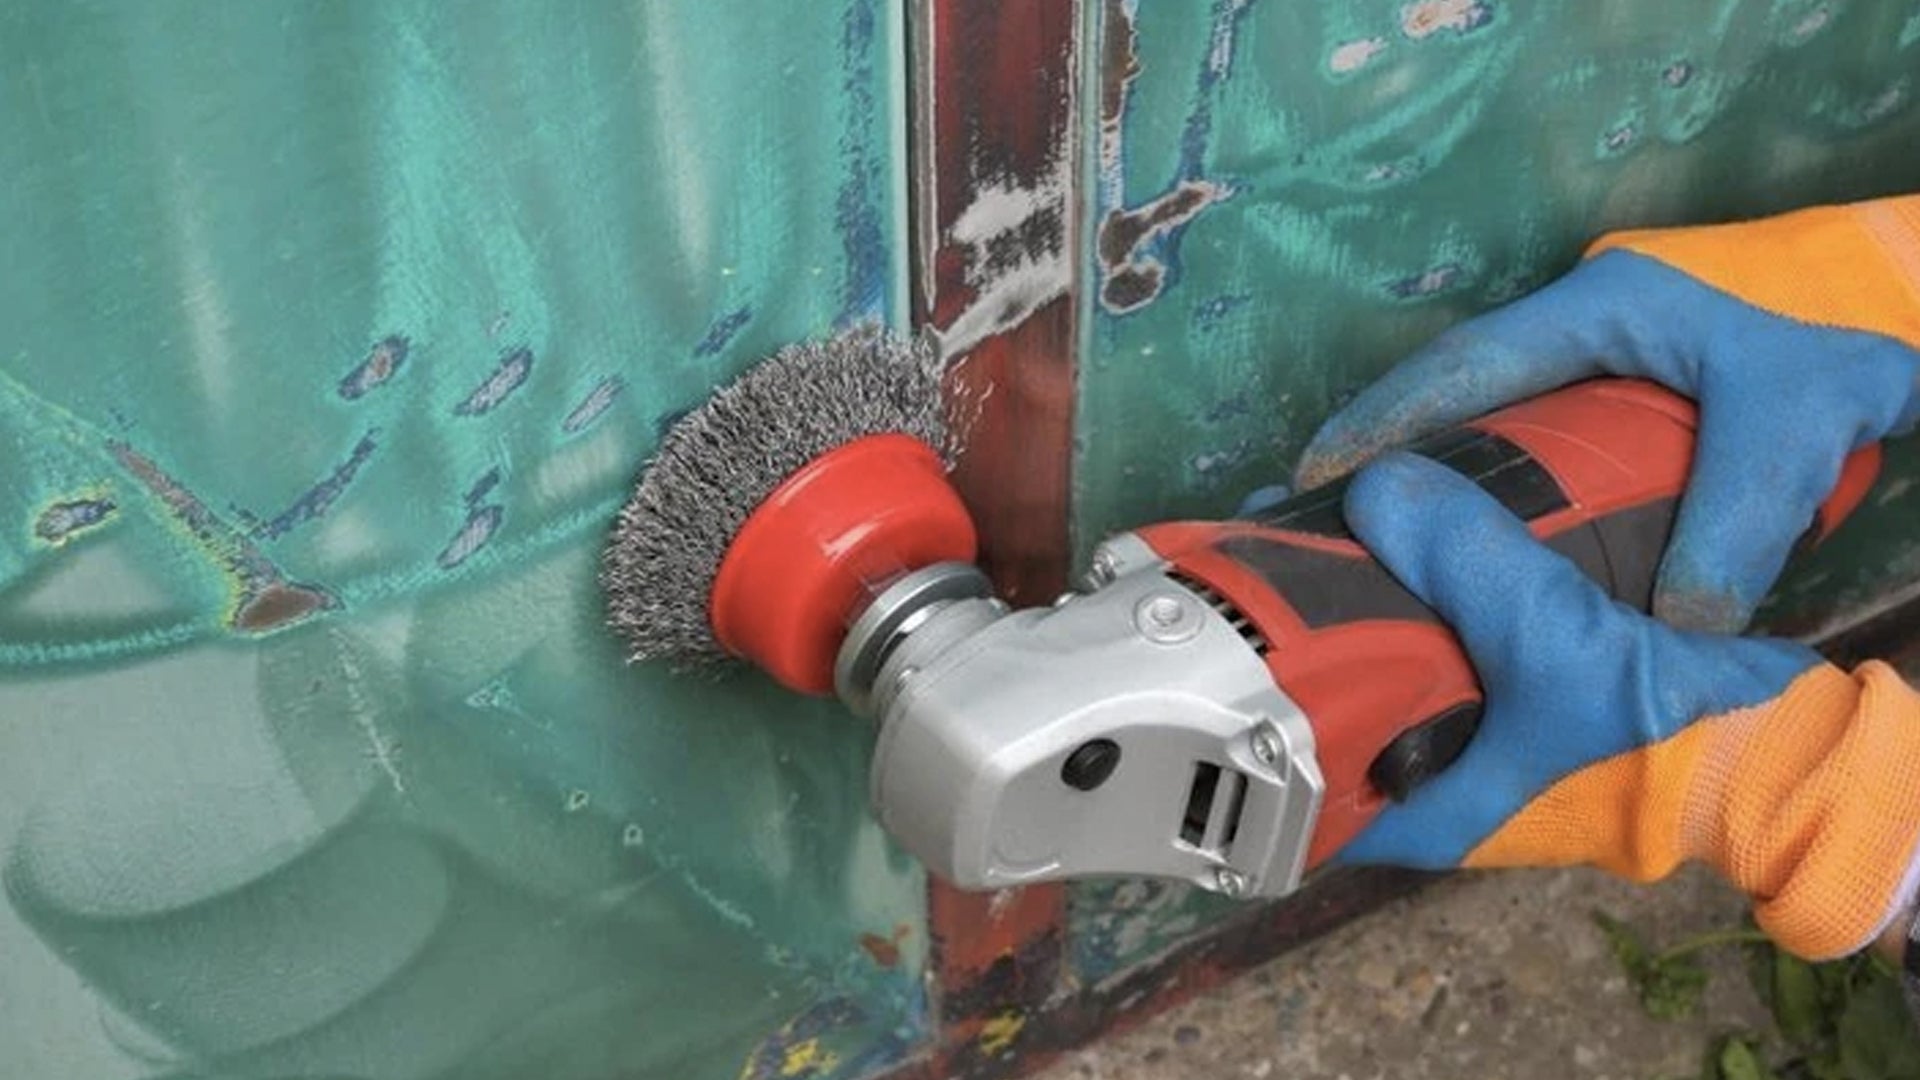
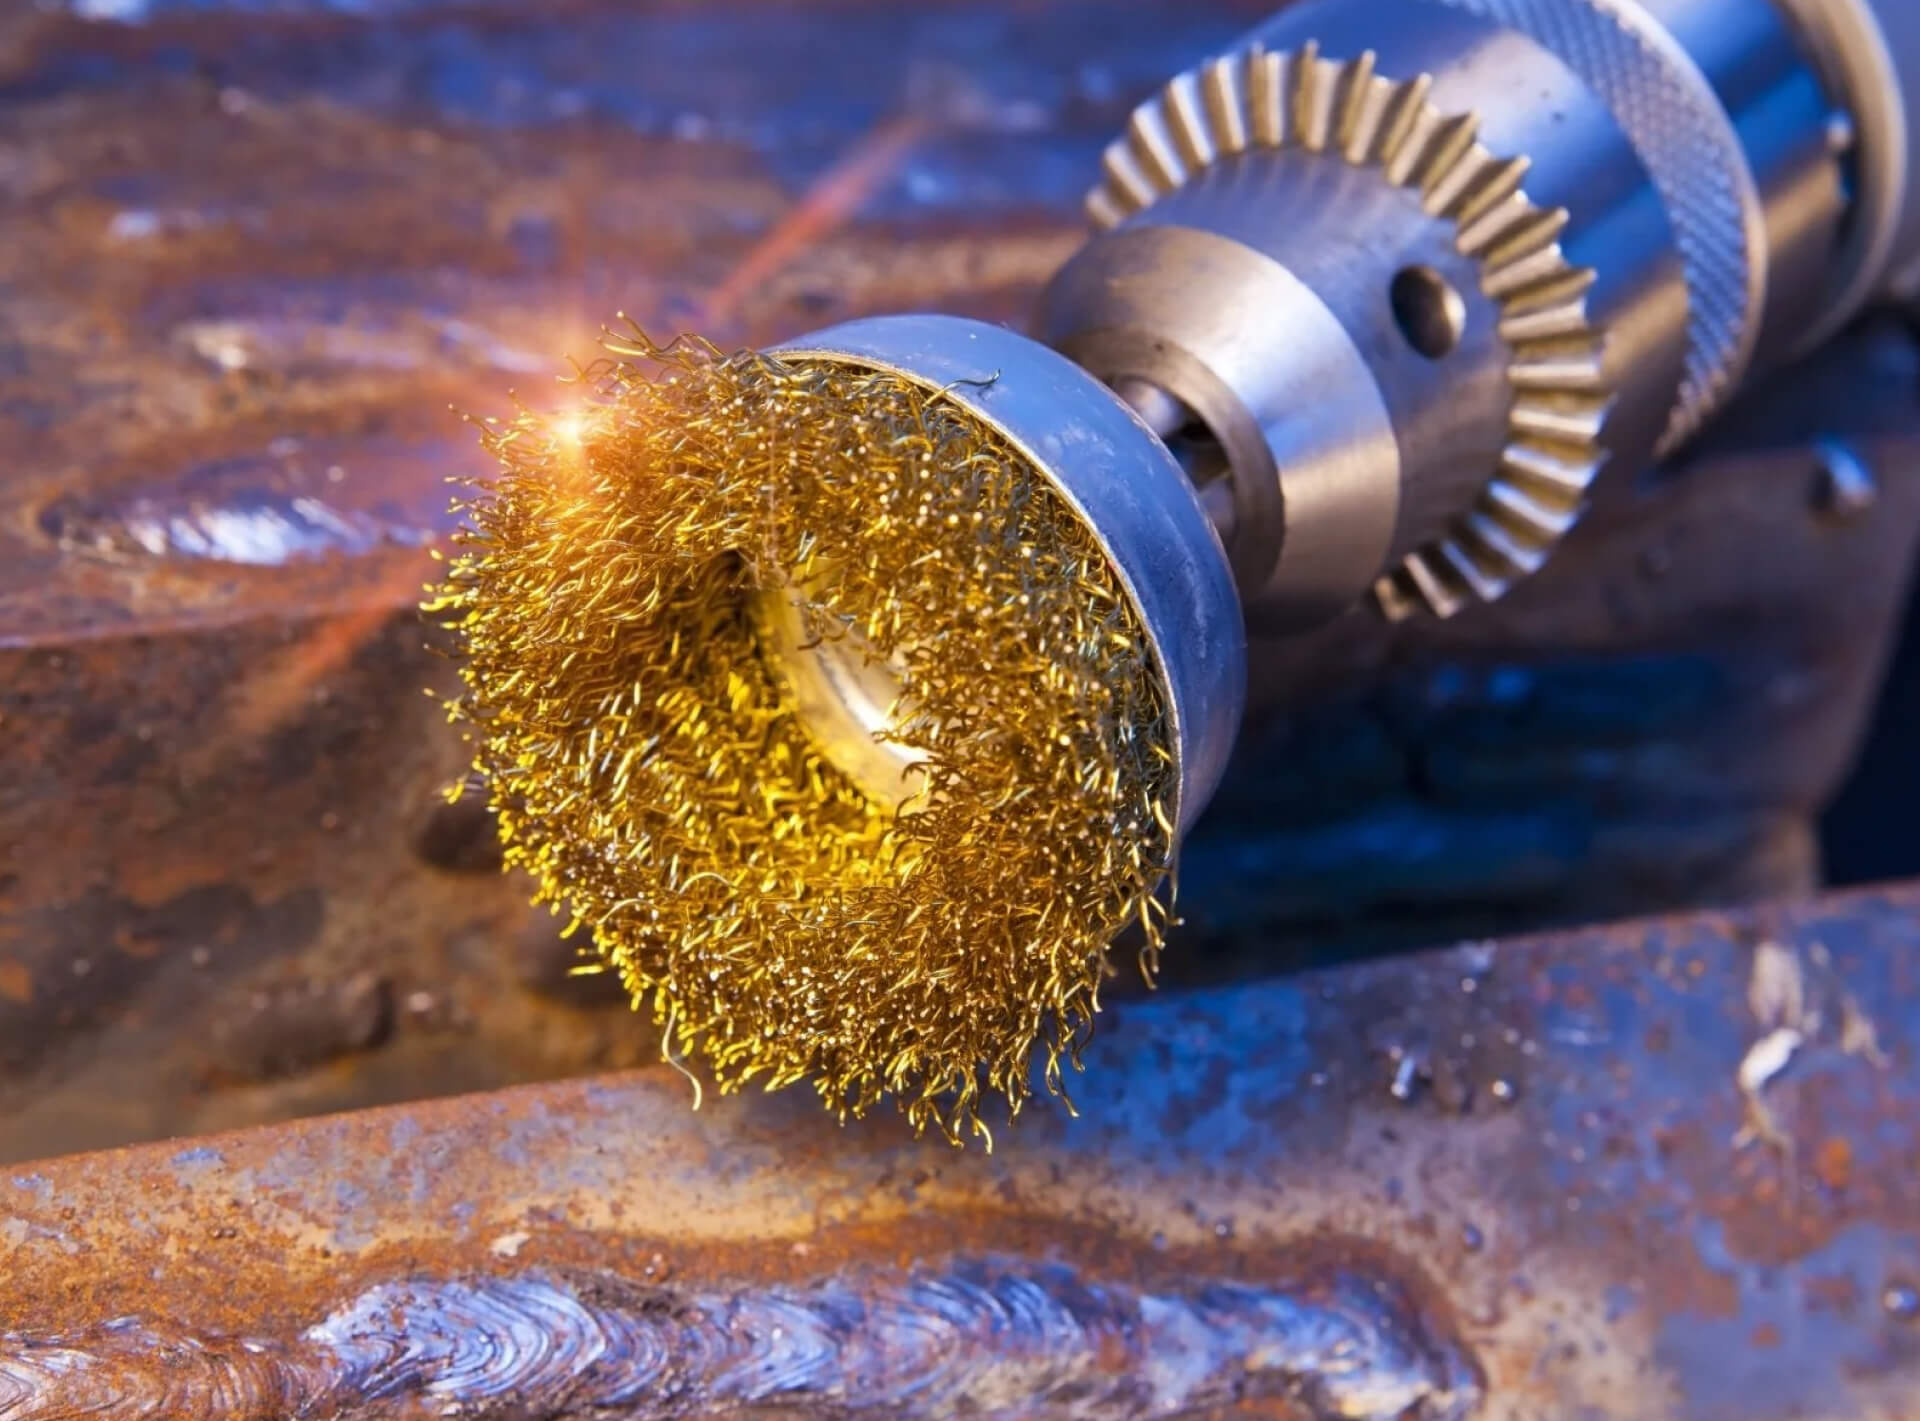
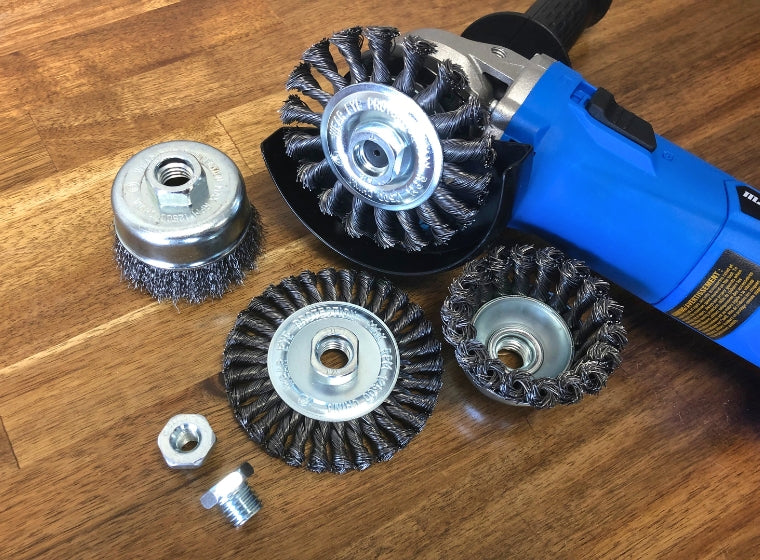
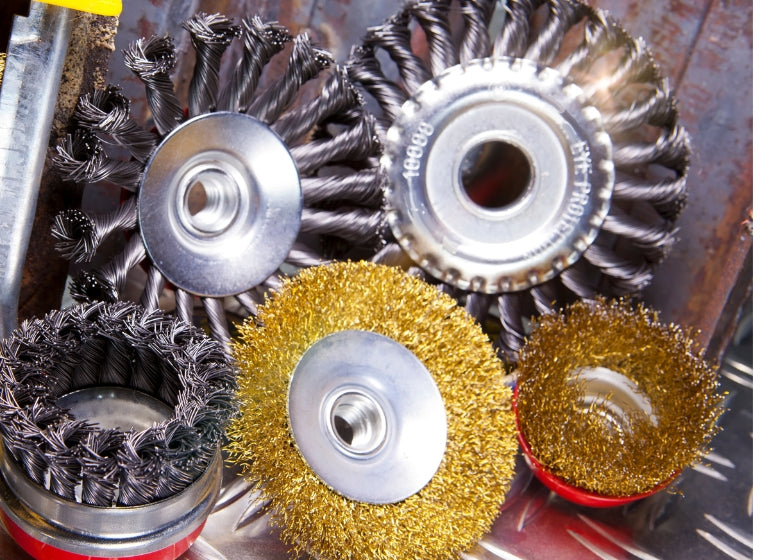
Wire Brush Power Tool Attachments can be very effective for cleaning up the live edge, they come in wheels and cup shapes; they are usually used in the first stage of getting the live edges appropriately prepared. They are incredibly versatile. If you have a considerable amount of material to remove, they are very aggressive and should be used with care.
These Wire brush attachments can fit either a power drill, impact driver, or angle grinder. However, a word of warning, these brushes are pretty ruthless and will remove a large amount of material very quickly.
The best method is to be as gentle as possible and use only the slightest pressure to remove material.
Wire cup brushes are great at getting into the nooks and crannies and can be angled to get into tight corners and other hard-to-reach areas. However, be aware that they will leave rough edges, so we will have to follow up with some finer grit abrasives.
The brass-coated steel cup brushes will do an excellent job getting the smoothing down process going and will help make the next steps easier. These brushes have a quarter-inch hexagonal shaft to fit any power drill or impact driver.
They are available in many different shapes and sizes. The 4" wire wheel brush is an excellent tool for cleaning up long sections of live edge. The larger diameter does a great job knocking back sharp edges and creating a lovely smooth profile.
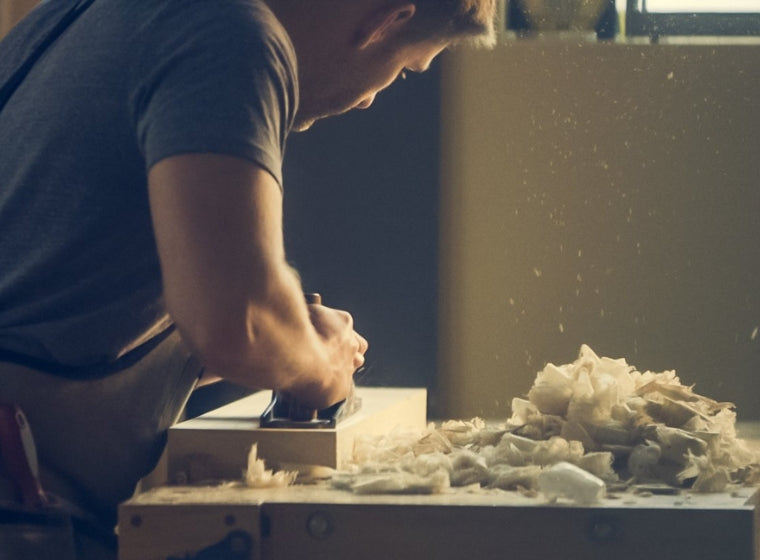
Sanding and Smoothening the Live Edge Slab
Up to this point, we have concentrated on getting the live edge profile regular and free of any traces of bark or loose wood. Next, we have to turn our attention to getting the wood beautiful and smooth. With the rough stuff now removed, our attention needs to turn to get the surfaces nice and smooth by Sanding the wood; luckily, We have a range of Sanding abrasives that are just right for this job.
In this way, we can be sure that we will achieve a strong bond between the epoxy and the wood. In addition, the smooth lines will also ensure a sleek and beautiful finish.
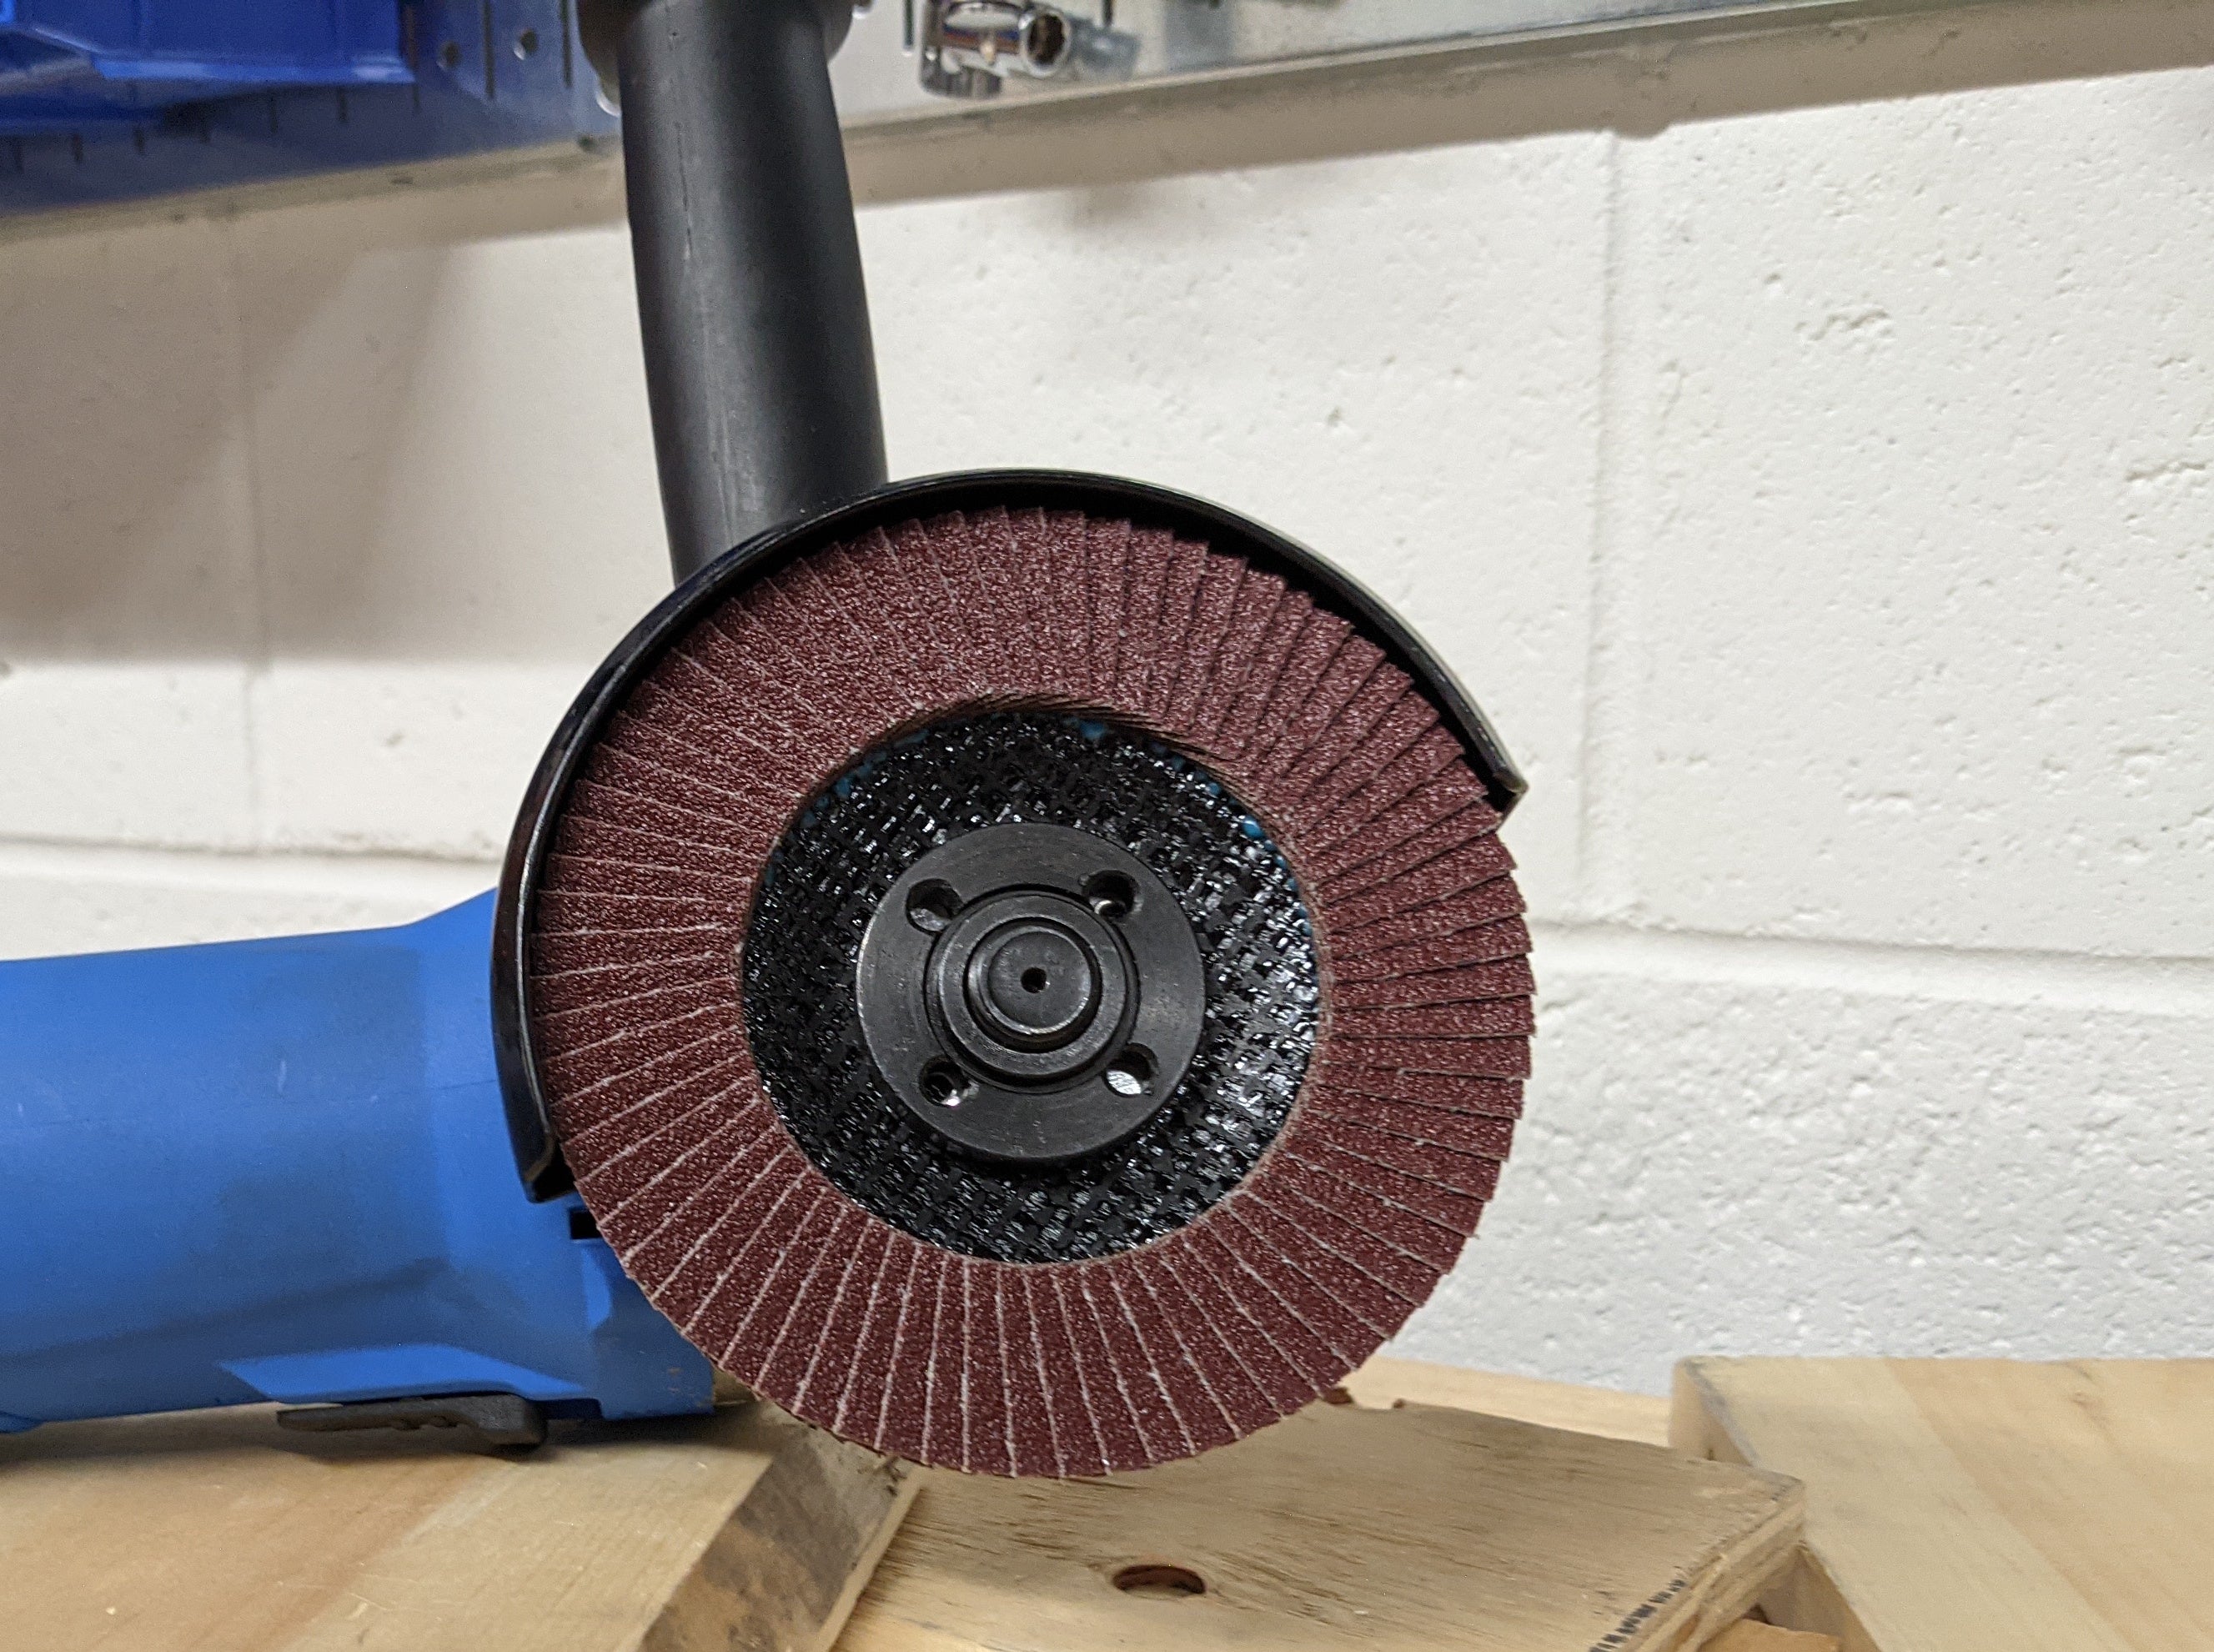
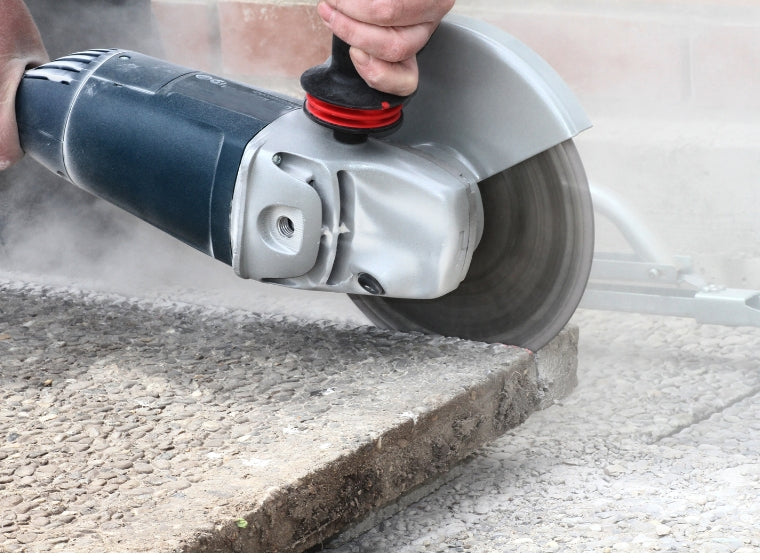
Sanding Attachments for Angle grinder

Normally used for aggressive sanding and light grinding on metal and shaping wood surfaces, they are ideal for shaping and cleaning up.
The discs consist of aluminum oxide flaps, an extremely durable abrasive grain, and a cost-effective way to get great results for difficult surface preparation tasks on rough surfaces.
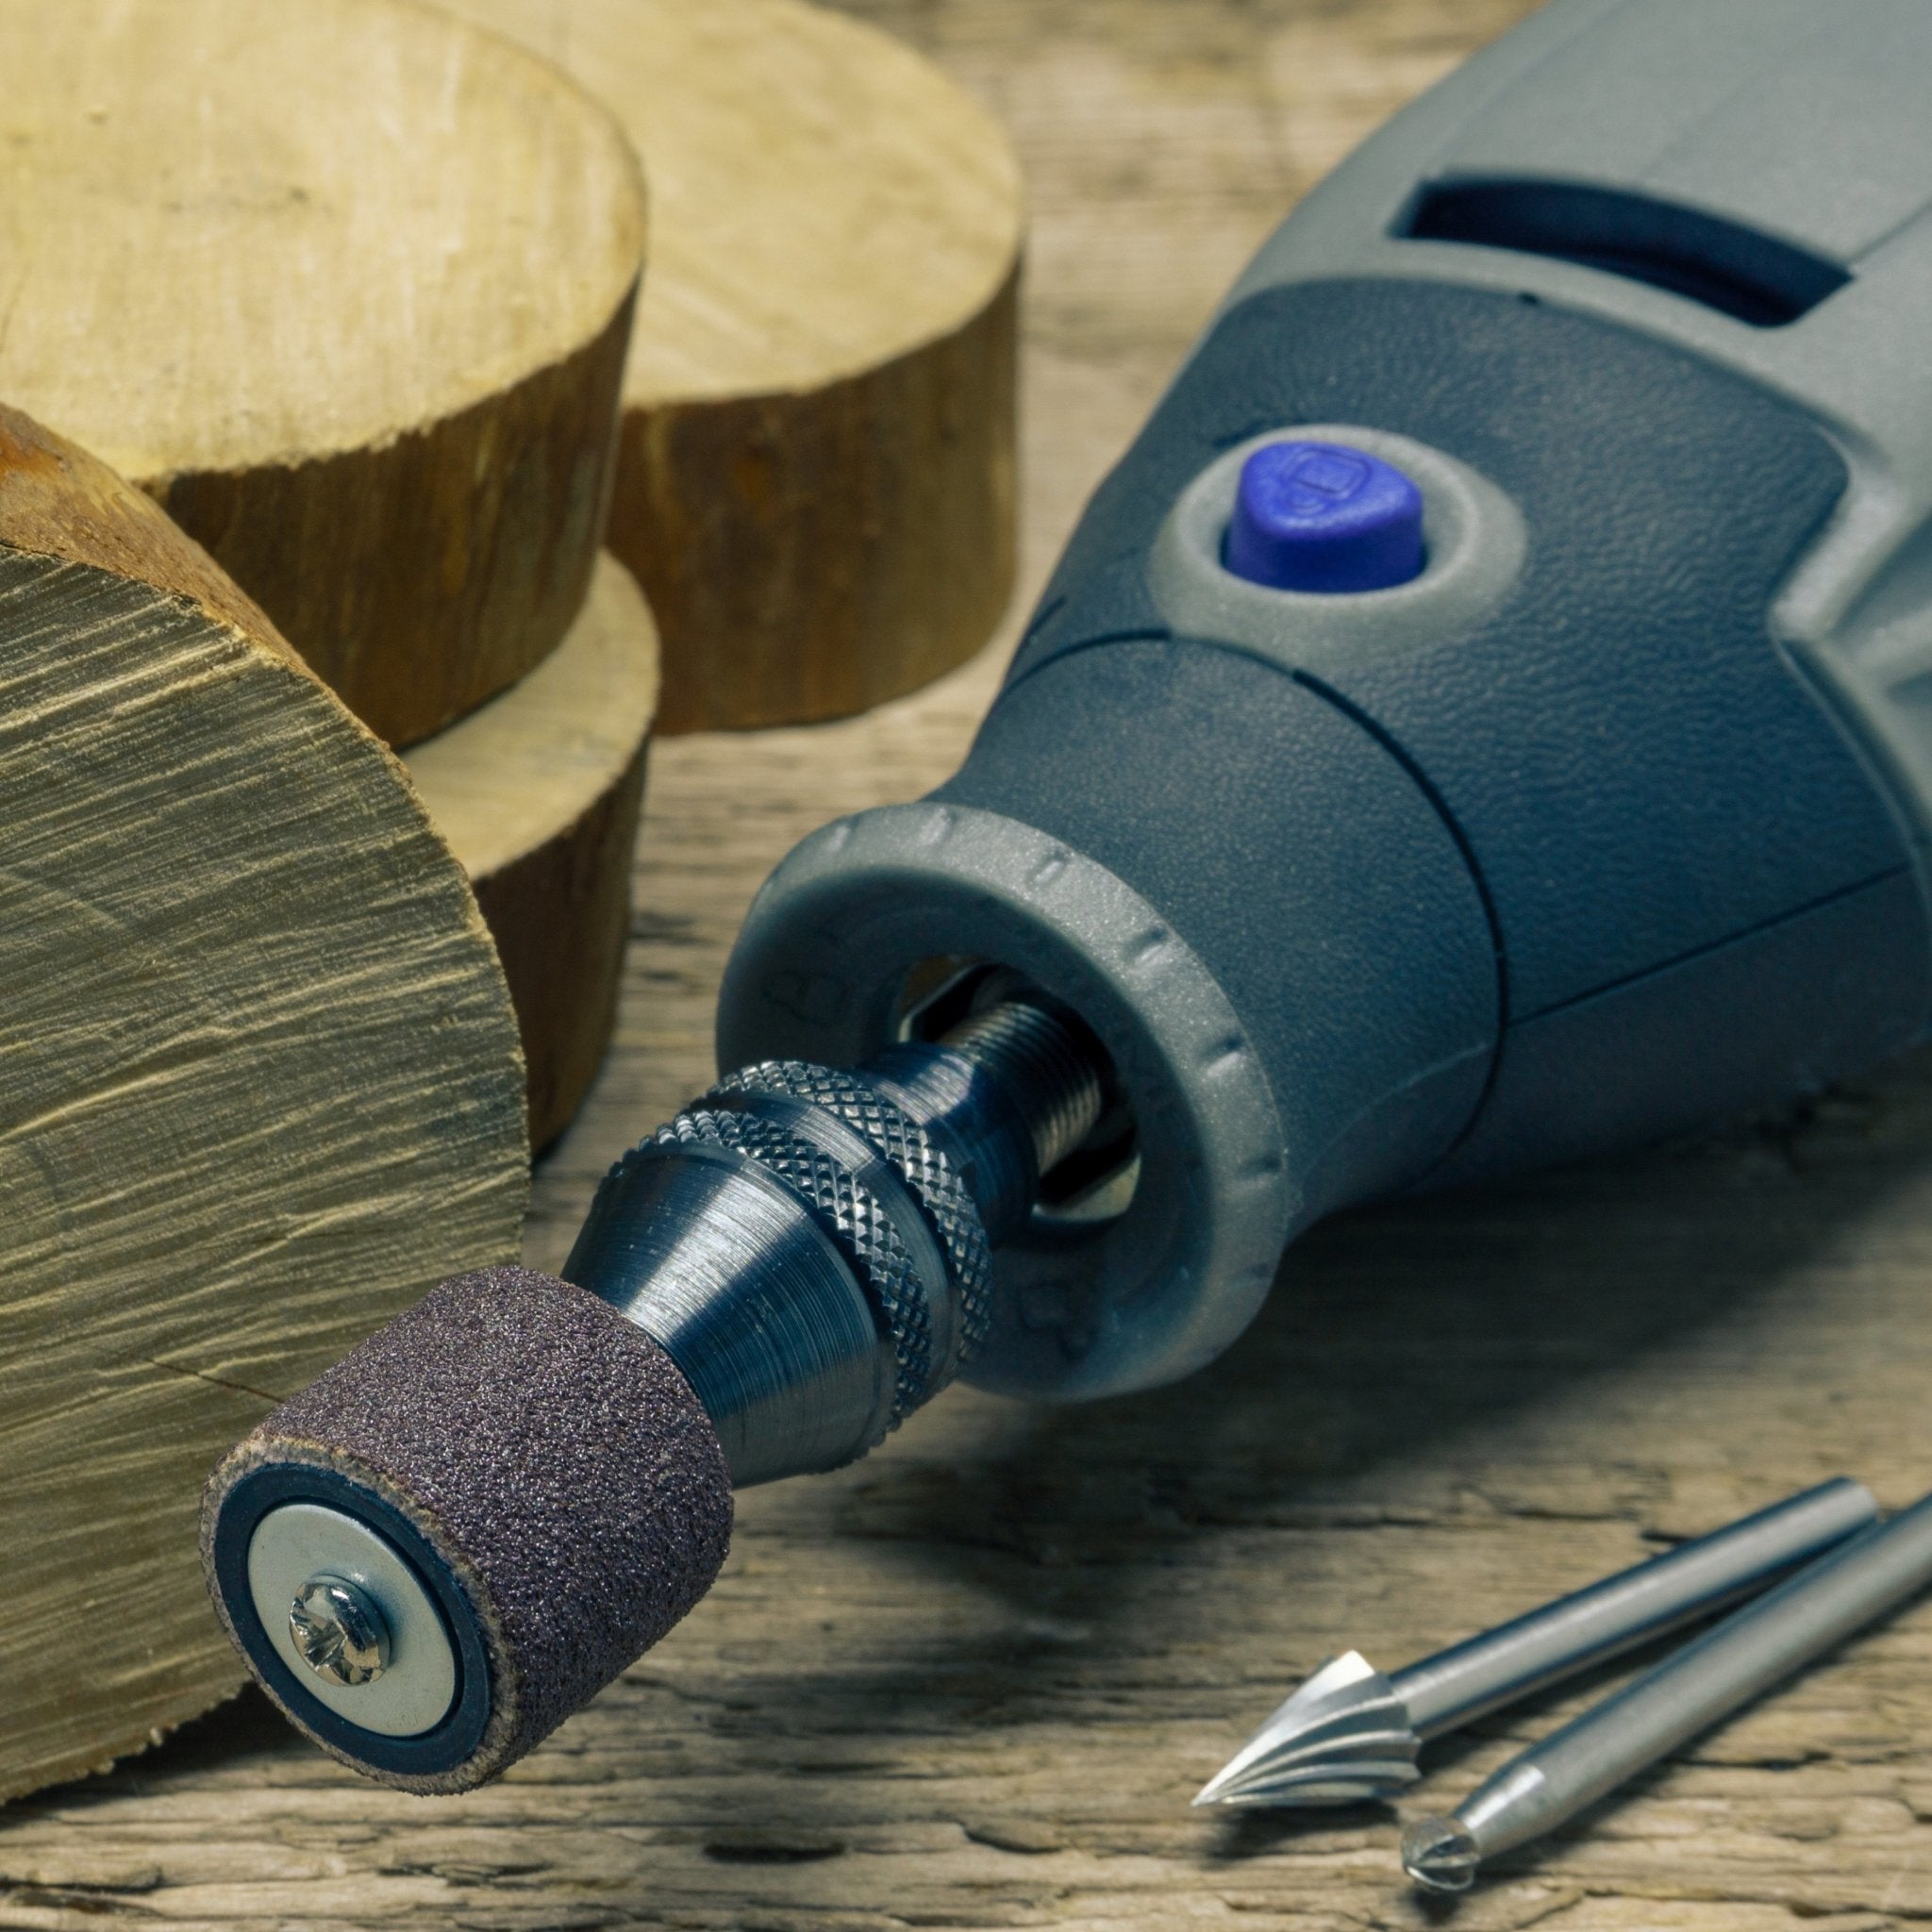
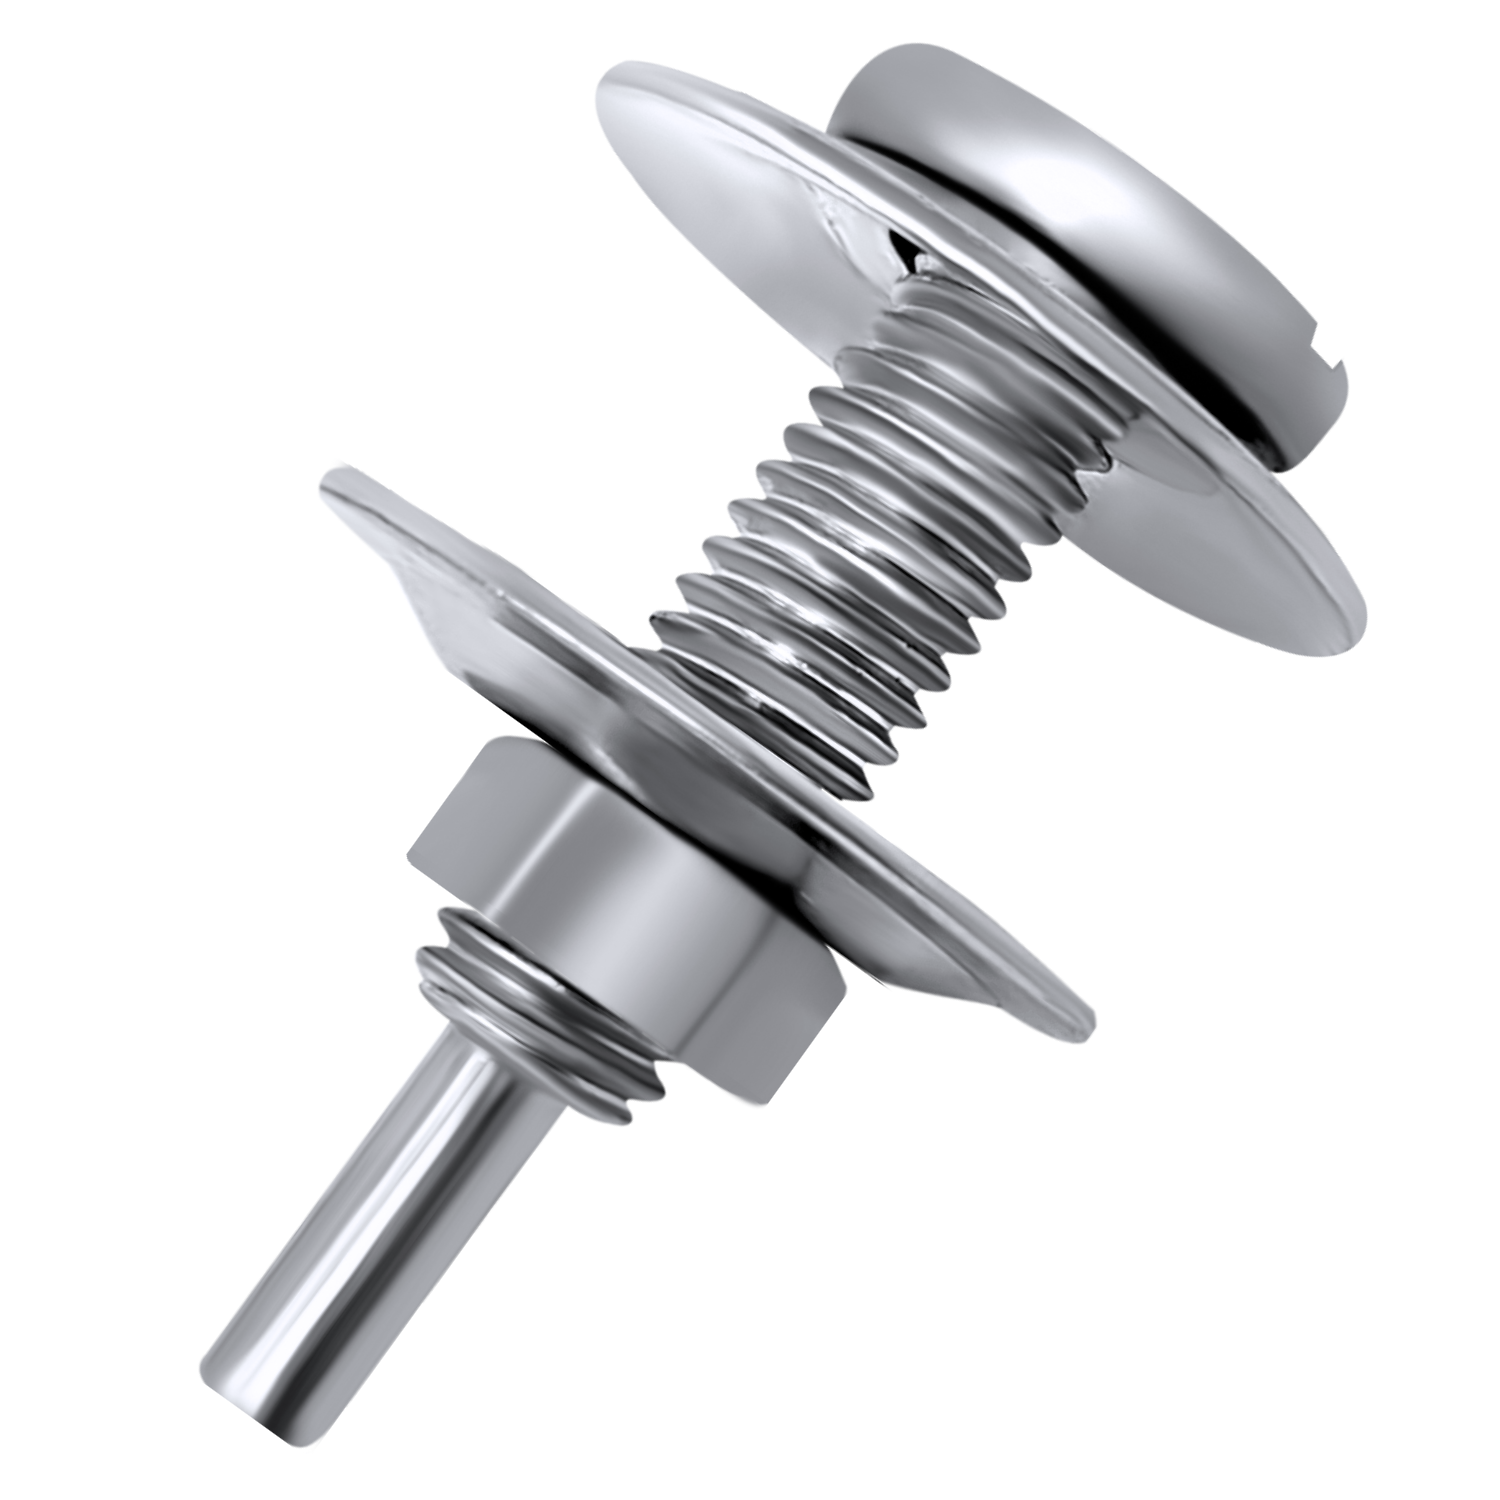
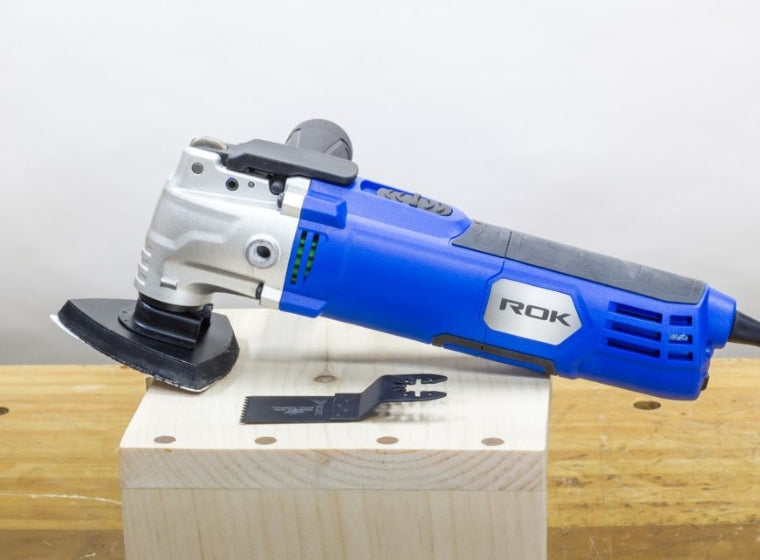
Sanding attachment for drill (Drill Sanders)

The size of the sanding drums and sleeves starts with the 1/2" diameter cylindrical sander and goes up to the 1-1/2" sander. Depending on the application, these drum sanders can fit any standard drill, a drill press, or a 1/4" shank die grinder. When used for smoothing down live edges, the power drill is the favored tool because it's easy to use and very common.
The smallest drum sander is ideal for shaping small hollows and indentations and getting into tight corners. There are four different diameters available for the drum sanders, and they all come with coarse, medium, and fine grit sleeves.
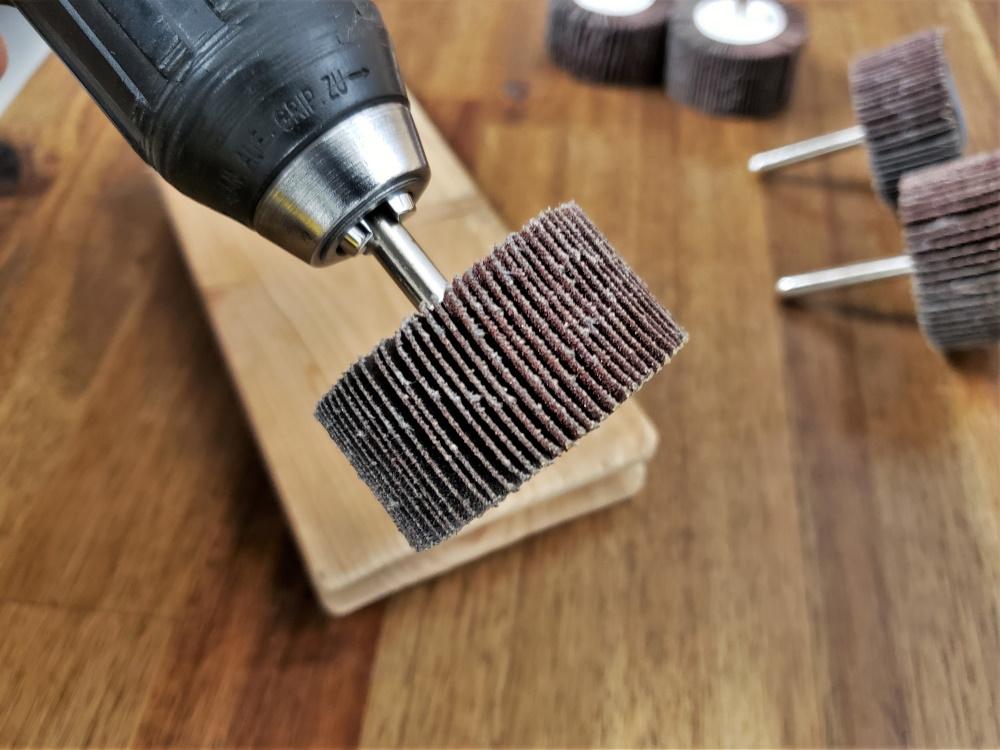
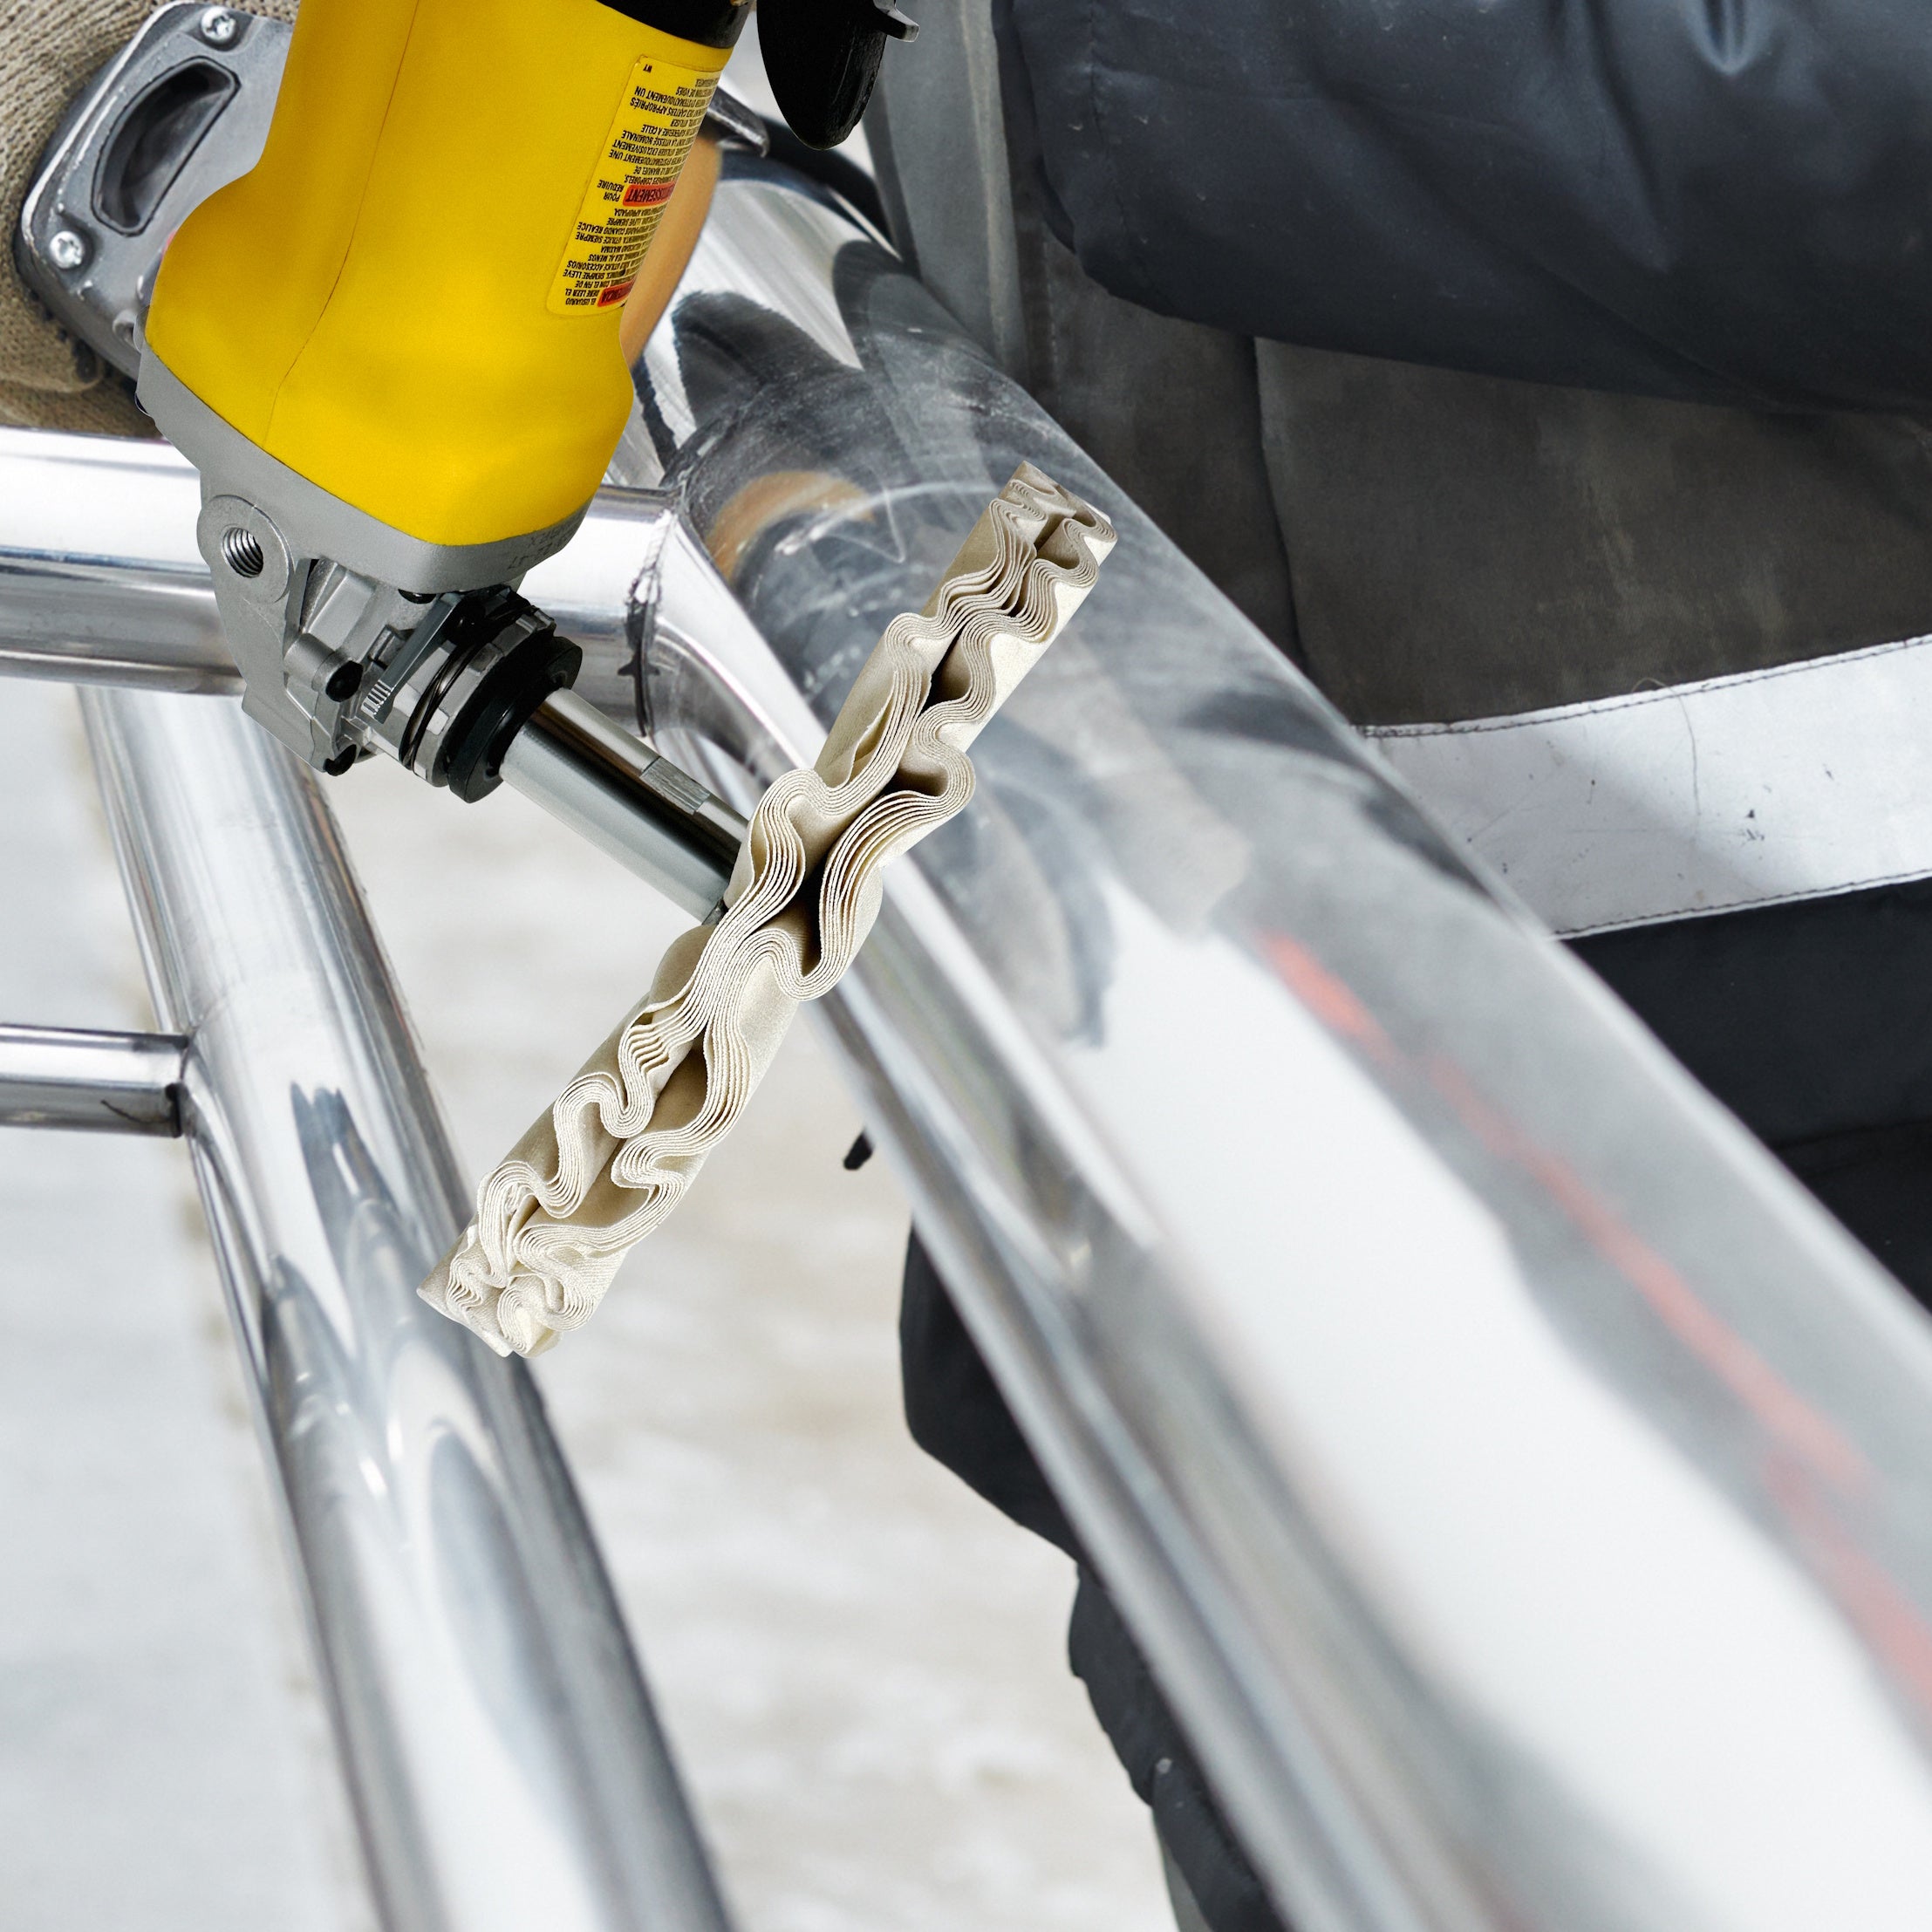
Once the live edges have been smoothed down with the fine grit sleeve, we can move onto the final stage of the project using a flap wheel.

Flap Sanding Wheel abrasives are available in 1" up to 3" diameter. The individual little sanding flaps are cloth-backed and flexible enough to conform to the live edge shape, which is great because that will help maintain the natural look of the live edge. The 1/4" shank makes the wheels suitable for all power drills or a drill-press when smaller workpieces require sanding.
The flexibility of the flaps allows for a much smoother finish to the work surface. The grit range starts at 60 grit and moves up to 240 grit.
The flap sanding wheels are ideal for breaking sharp corners and great at blending shapes into a cohesive whole. I would suggest starting with the lower grits, and once you are happy that all the imperfections have been removed, go up to the higher grits.
Finally, using the 240 grit Flap Sanding discs with mild pressure should provide a lovely smooth finish to your live edge slab. Again, resist the temptation to use a heavy hand and excessive force when using your flap sanding disc.
The centrifugal force is more than enough to ensure a perfectly smooth sanding finish, and your flap sanding wheel will last a lot longer if you don't force it.
Flap Sanding Wheel abrasives are the best method to sand live edge wood
Here is a quick video demonstration on the topic
Live Edge Sanding Tips
Sanding down your workpiece can be a frustrating and, at times, monotonous part of your project. All that stands between you and getting the epoxy river flowing are the rough bits on the live edges of the slap, as removing them is essential to have a strong bond.
Time and patience are required. Time is necessary to remove all the offending pieces from the live edge and patience not to force the abrasives on the workpiece. Applying excessive force when sanding does two things, it wears out the abrasive far too quickly and places an additional strain on your power drill.
Both results will slow you down, so the golden rule is: Take your time and be gentle with the abrasives. You will be admiring your table and handy-work for many years to come.


Leave a comment