


How to Restore Cloudy Headlights with a Drill in 10 Minutes (No Hand Sanding)
If you’ve ever looked at your car and noticed the headlights have turned yellow, hazy, or cloudy, you know exactly how frustrating it is. It makes even a new car look old, cuts down your visibility at night, and can even cause you to fail a vehicle inspection. Safety inspections in many jurisdictions require auto headlights to meet brightness standards. If your lenses are extremely yellowed or hazy, you could fail inspection. Granted, it's rare for it to be this bad, but even if it's not illegal, it's unsafe because your visibility is reduced.

Most people think the only solution is to spend hundreds of dollars on new headlights or take them to a professional Auto detailer.
But here’s the good news: It's a very easy DIY project that you can do on your own, with very basic tools and supplies, and most of us already own the power tool to make it even easier, which is the cordless drill. It would be awesome if you had a mini DA polisher, but most of us don't.
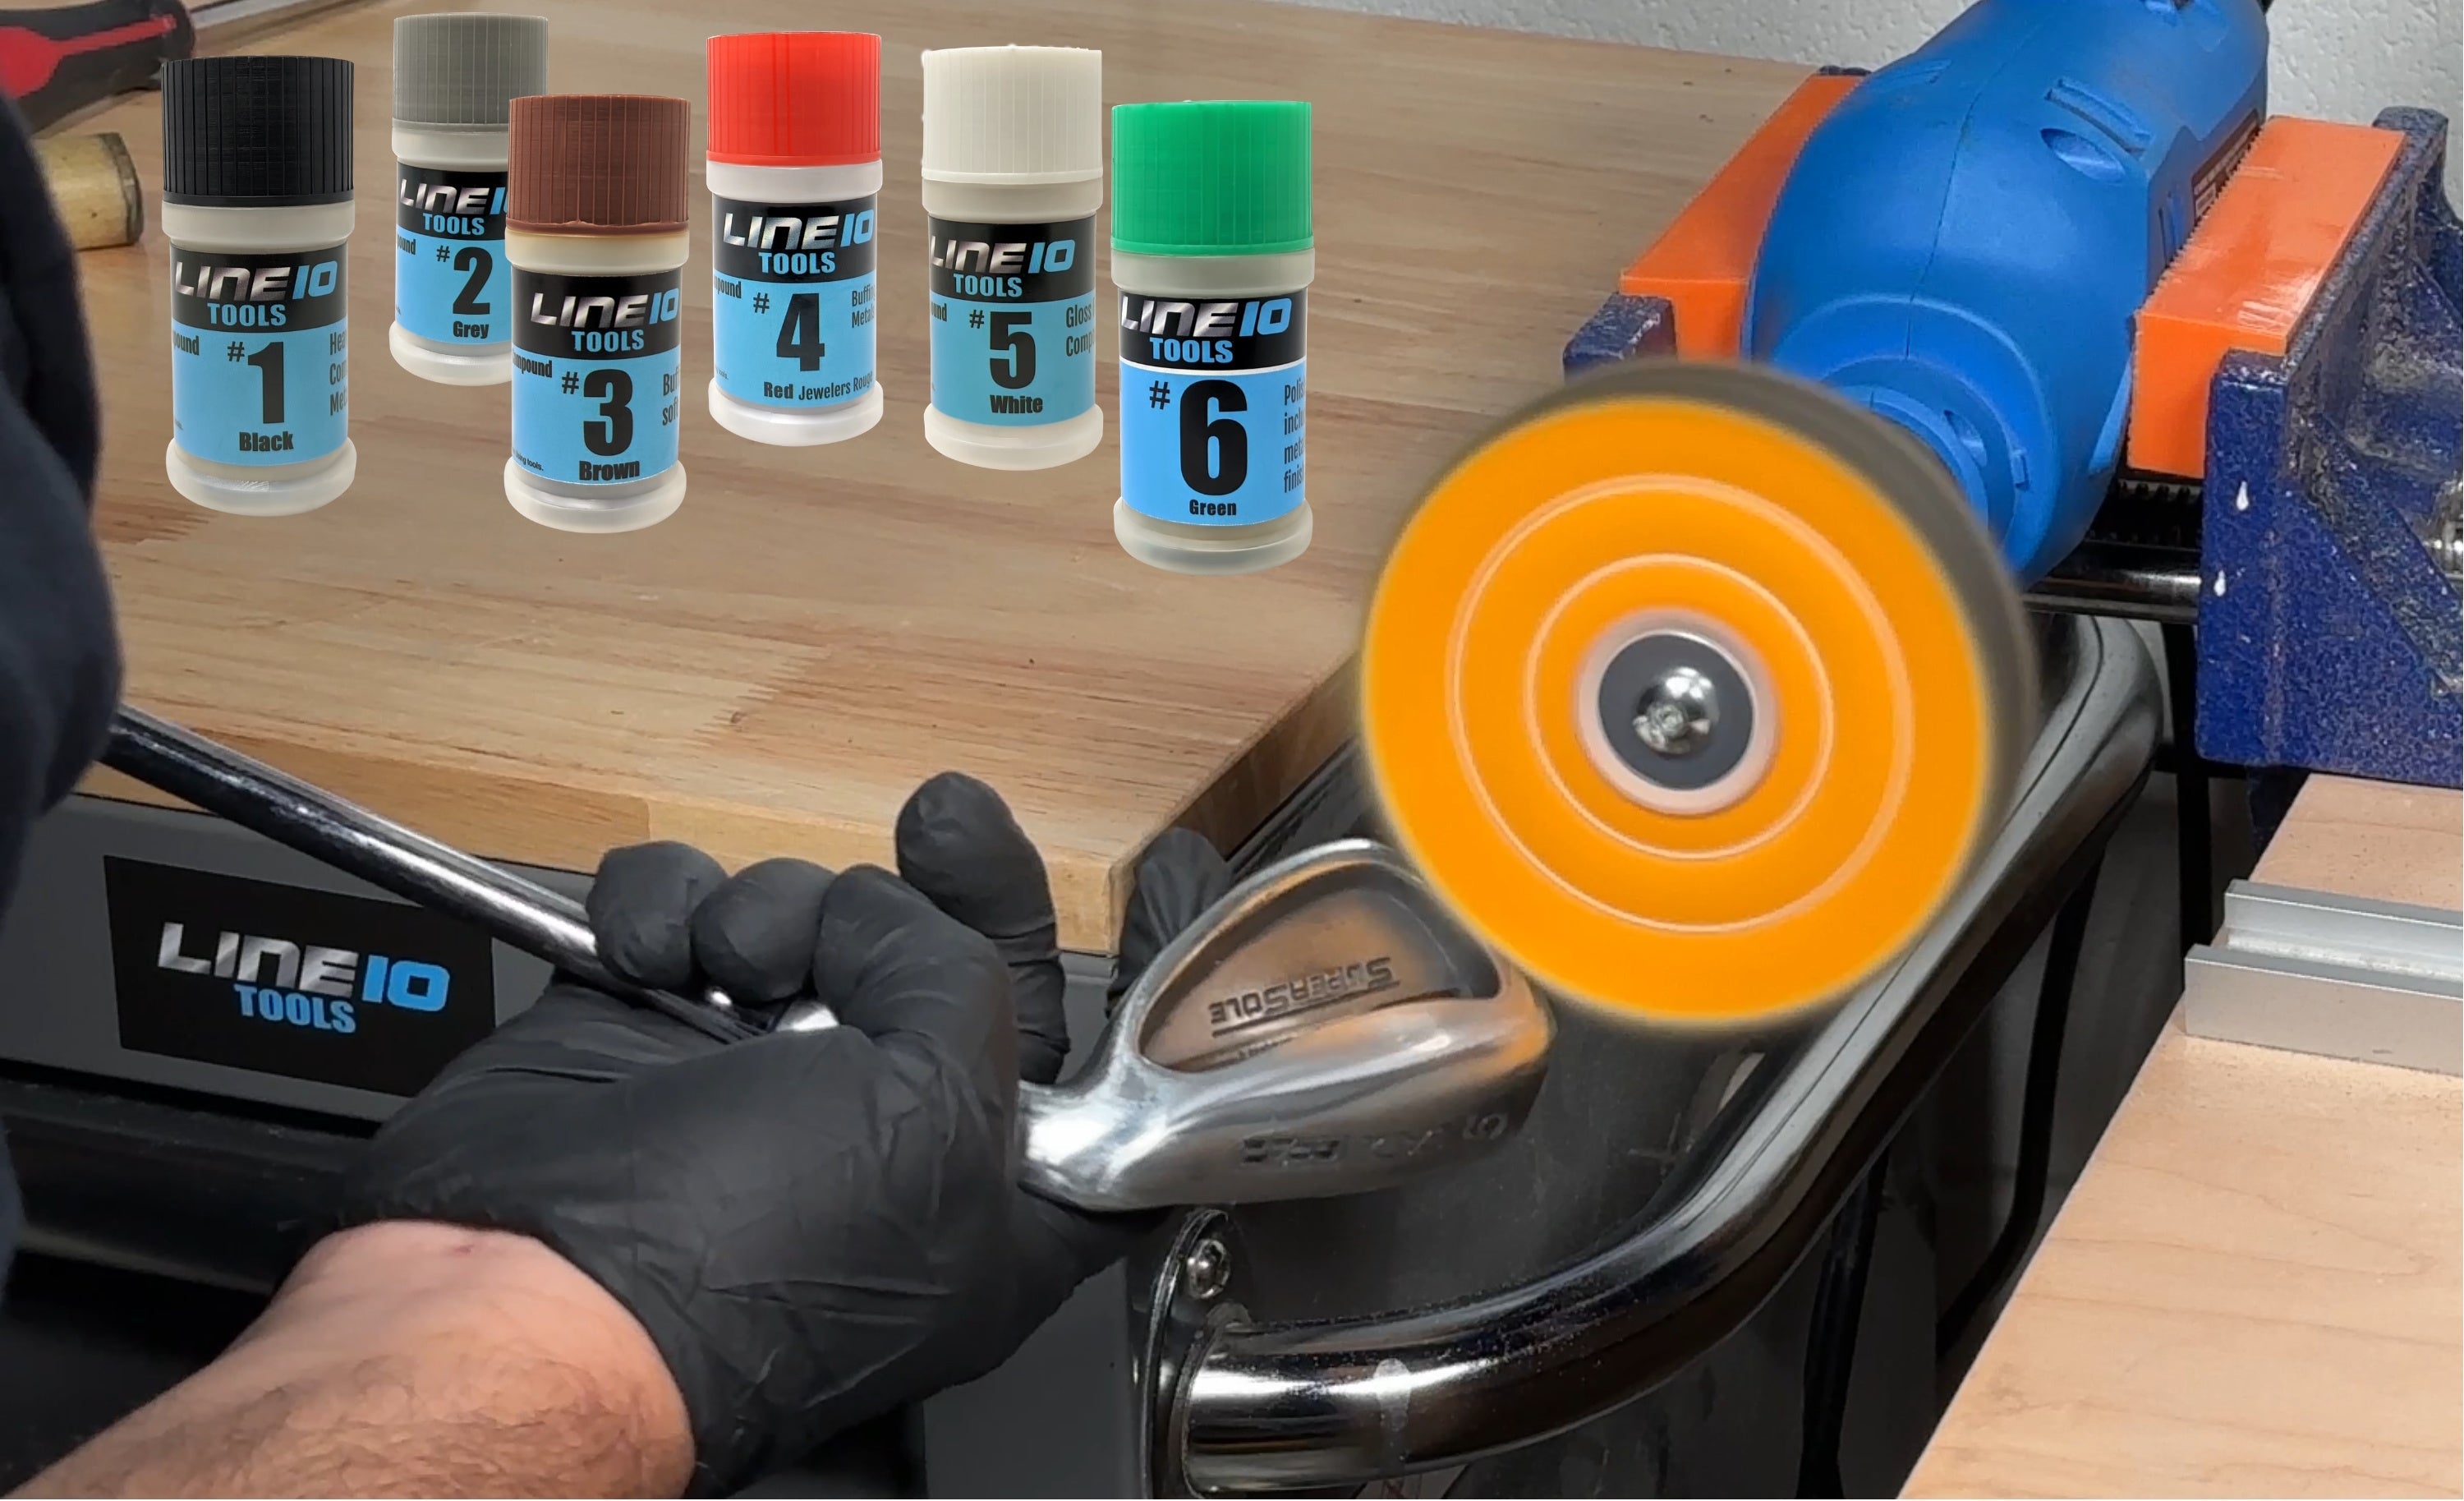
With a standard household drill and the LINE10 Tools 3-Inch Wet Sanding & Polishing Kit, you can strip away that nasty oxidation and restore a factory-clear shine in under 10 minutes.
This guide walks you through exactly how to restore your headlights, step by step, using the same method demonstrated in our recent video. Whether you are a total beginner or a DIY pro, this drill method is faster, easier, and gives far better results than sanding by hand.
Why a Drill Attachment Works Better Than Hand Sanding?
Most DIY kits on the market force you to sand by hand. The problem? It takes forever, your arm gets tired, and it’s hard to apply even pressure. And let's face it, it's NOT FUN, and will lead to uneven scratches and a finish that never looks quite right.
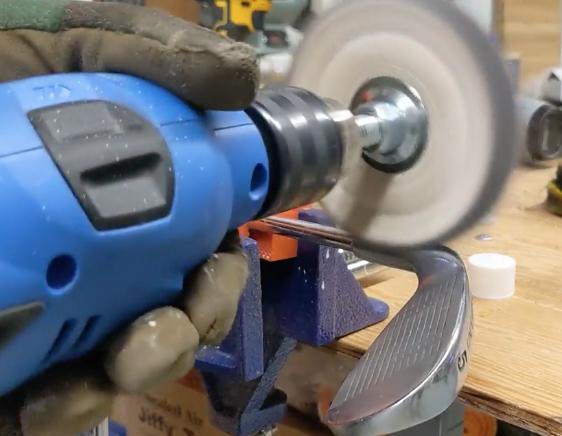
The LINE10 Tools 3-Inch Backing Pad fits into any standard drill and transforms it into a handheld powered polisher.
-
Ideal Size for Headlights: The 3-inch size is perfect for headlights. Standard Auto buffers are too large and bulky for this task (normally 6 to 10-inch pads) and risk damaging the paint on your bumper or hood. You don't want a sanding pad touching your paint, that's for sure.
-
Speed: The drill does the hard work, spinning the abrasive discs thousands of times per minute to cut through oxidation instantly, but it's not fast enough to do damage like overheating when polishing.
-
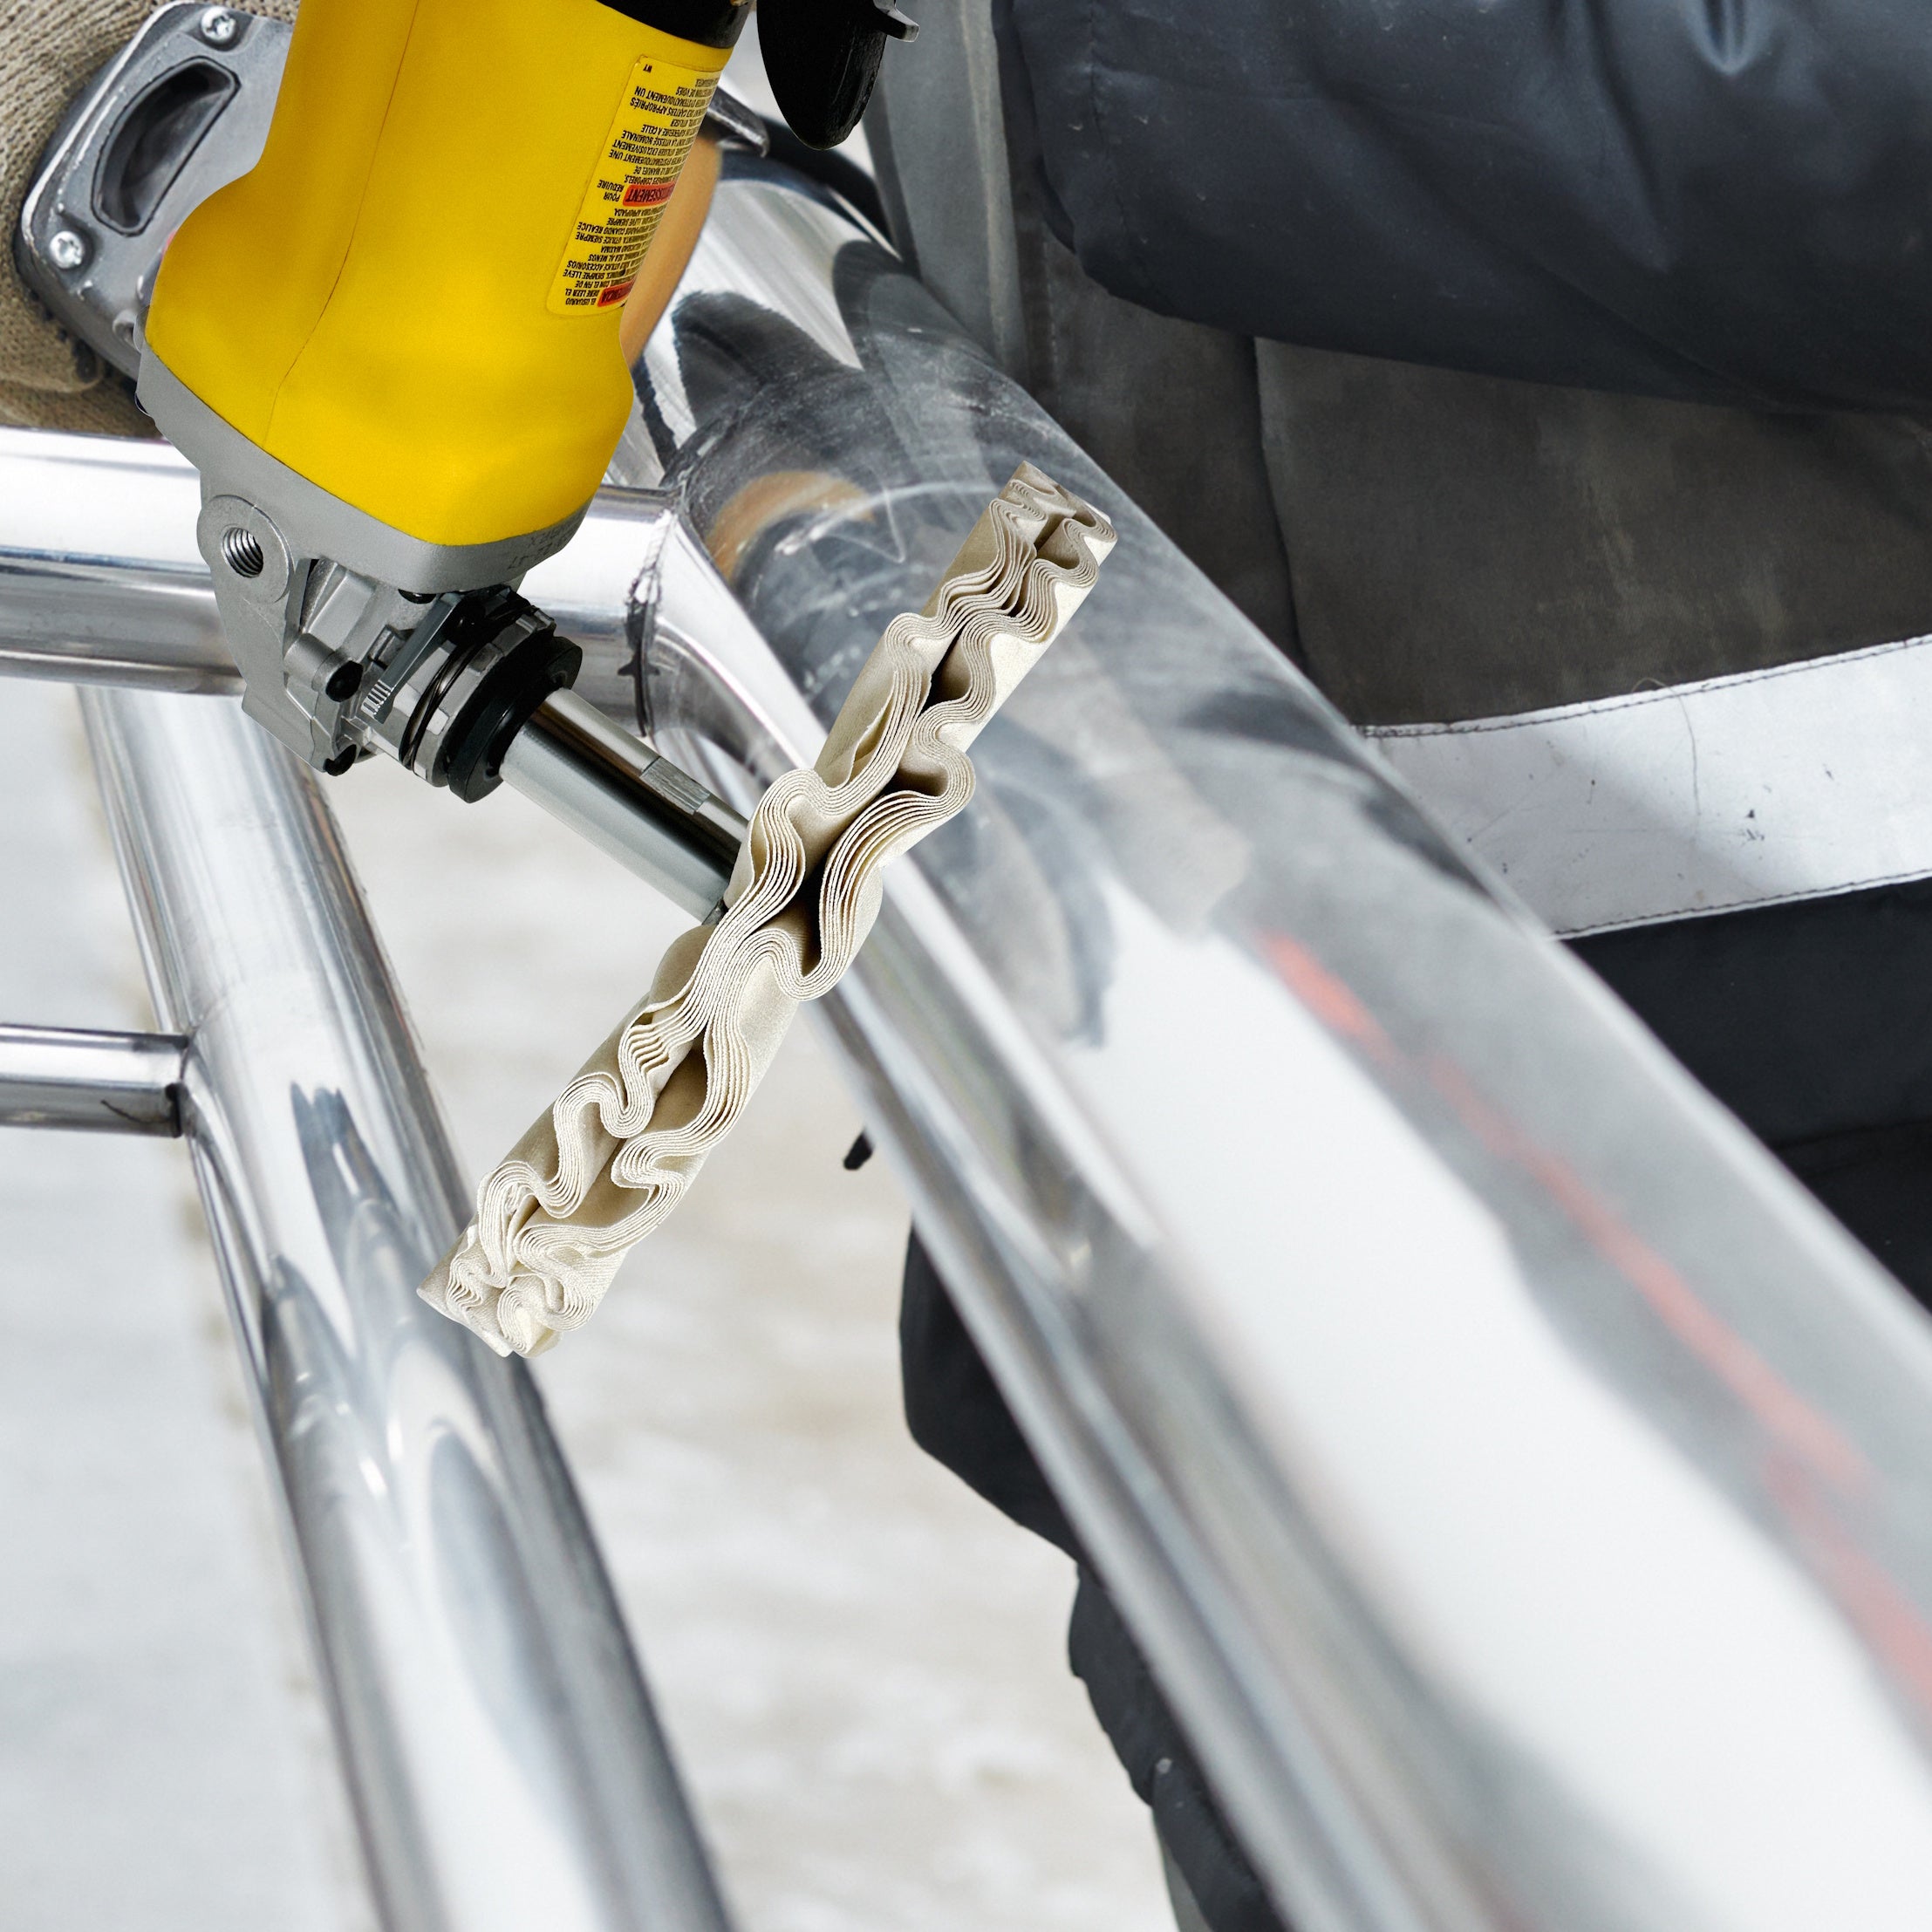
Flexibility: The kit includes a thick, soft Interface Pad that cushions the sanding disc, allowing it to flex over the curves of modern headlights without digging in.
⚠️ Safety Check
Before you start: Always wear safety glasses and gloves. You will be flinging water and sanding slurry, so protect your eyes. Also, use blue painter's tape to tape off the paint around your headlight to prevent accidental scratches.
List of tools and supplies you need for this project:
- Power Drill, preferably cordless, at least 18 volts
- LINE10 3" Wet Sanding Polishing Kit for Drill Car Buffer, Headlight Restoration Kit
- Water spray bottle
- Fine Automotive Polishing compound
- UV protectant
- Microfiber towels
- Masking tape or painters tape
Step-by-Step Guide: How to Restore Headlights
Step 1: Preparation & Setup

Start by cleaning the headlight with soap and water to remove surface dirt. Then tape off the painted areas around the light with painter's tape; you can use any tape as long as its easily removable and non-damaging to the paint.
Attach the LINE10 Quick Change Backing Pad to your drill. Then, attach the Soft Interface Pad (the thick foam cushion) to the backing pad. This is crucial—it acts as a shock absorber so you can sand curves smoothly.
Step 2: The Wet Sanding Process (The "Removal" Phase)

Start sanding with 400 Grit and see if it removes all the visible scratches. You will need to use a coarser grit if you have deeper scratches. Simply attach the 400-grit sanding disc to the interface pad.
-
Wet the surface: Spray water on the headlight and the sanding disc. Keep it wet!
-
Sand: Run the drill at a medium speed. Move side-to-side with light pressure. You will see a yellow "slurry" running down the headlight—that is the dead, oxidized plastic coming off.
-
Wipe & Check: Wipe it clean. The headlight should look evenly frosty or matte. If you still see shiny spots or deep pits, sand a little more.
Move through the Grits: Once the yellow is gone, you need to refine the scratches. Switch to 800 grit, then 1000 grit, then 2000 grit, and finally 5000 grit.
-
Spend about 1-2 minutes per grit.
-
Wipe the lens clean between steps to prevent old grit from scratching the surface.
💡 PRO TIP: The "Cross-Hatch" Technique: Don't just spin in one spot. Move the drill left-to-right, then up-and-down in a cross-hatch pattern. This ensures you cover the lens evenly and don't create low spots. By the time you hit 5000 grit, the headlight should look almost clear, just slightly foggy.
Step 3: Polishing

Now that the surface is smooth, it's time to make it shine. Remove the sanding disc and attach the Black Foam Polishing Pad (the firmest pad in the kit).
-
Apply a few dots of polishing compound (like Meguiar's Ultimate Compound) directly to the pad.
-
Dab the pad on the headlight before turning the drill on to avoid slinging polish everywhere.
-
Run the drill at medium speed. Work the compound into the lens until it turns clear.
Finishing Touch: Switch to the White Foam Pad (the softest pad) for a final pass to bring out maximum clarity.
Step 4: UV Protection

Do not skip this step. You have removed the oxidation, but you also removed the factory protective layer. If you leave it bare, the sun will turn it yellow again in a few weeks.
-
Apply a UV Headlight Sealant or a Ceramic Coating to the lens.
-
This locks in the shine and protects the plastic from future UV damage.
The Final Result

By the time you wipe off the sealant, the difference is massive:
-
Yellow haze is gone.
-
The lens is crystal clear.
-
Night visibility is restored.
-
The car looks 5 years newer.
You just saved yourself hundreds of dollars on new headlights or professional detailing fees!
Final Thoughts
Learning how to restore headlights is a game-changer for car maintenance. It’s fast, satisfying, and drastically improves the look and safety of your vehicle.
With the LINE10 Tools 3-Inch Wet Sanding & Polishing Kit, you have everything you need to turn your household drill into a professional restoration machine.


Leave a comment