


How to Turn a Cheapo Bench Grinder into a Buffing Machine
Introduction

If you're looking to get into the world of buffing and polishing, but don't want to break the bank, we've got just the solution for you! With a few simple modifications, you can transform a cheap bench grinder into a fully functional buffing machine. In this blog post, we'll guide you through the process step by step, so you can start achieving that mirror-like shine on your metal objects in no time!
And if you're in need of quality buffing wheels and / or buffing compounds, be sure to check out our buffing and polishing accessories selection at LINE10 Tools.
Step 1: Preparing Your Bench Grinder

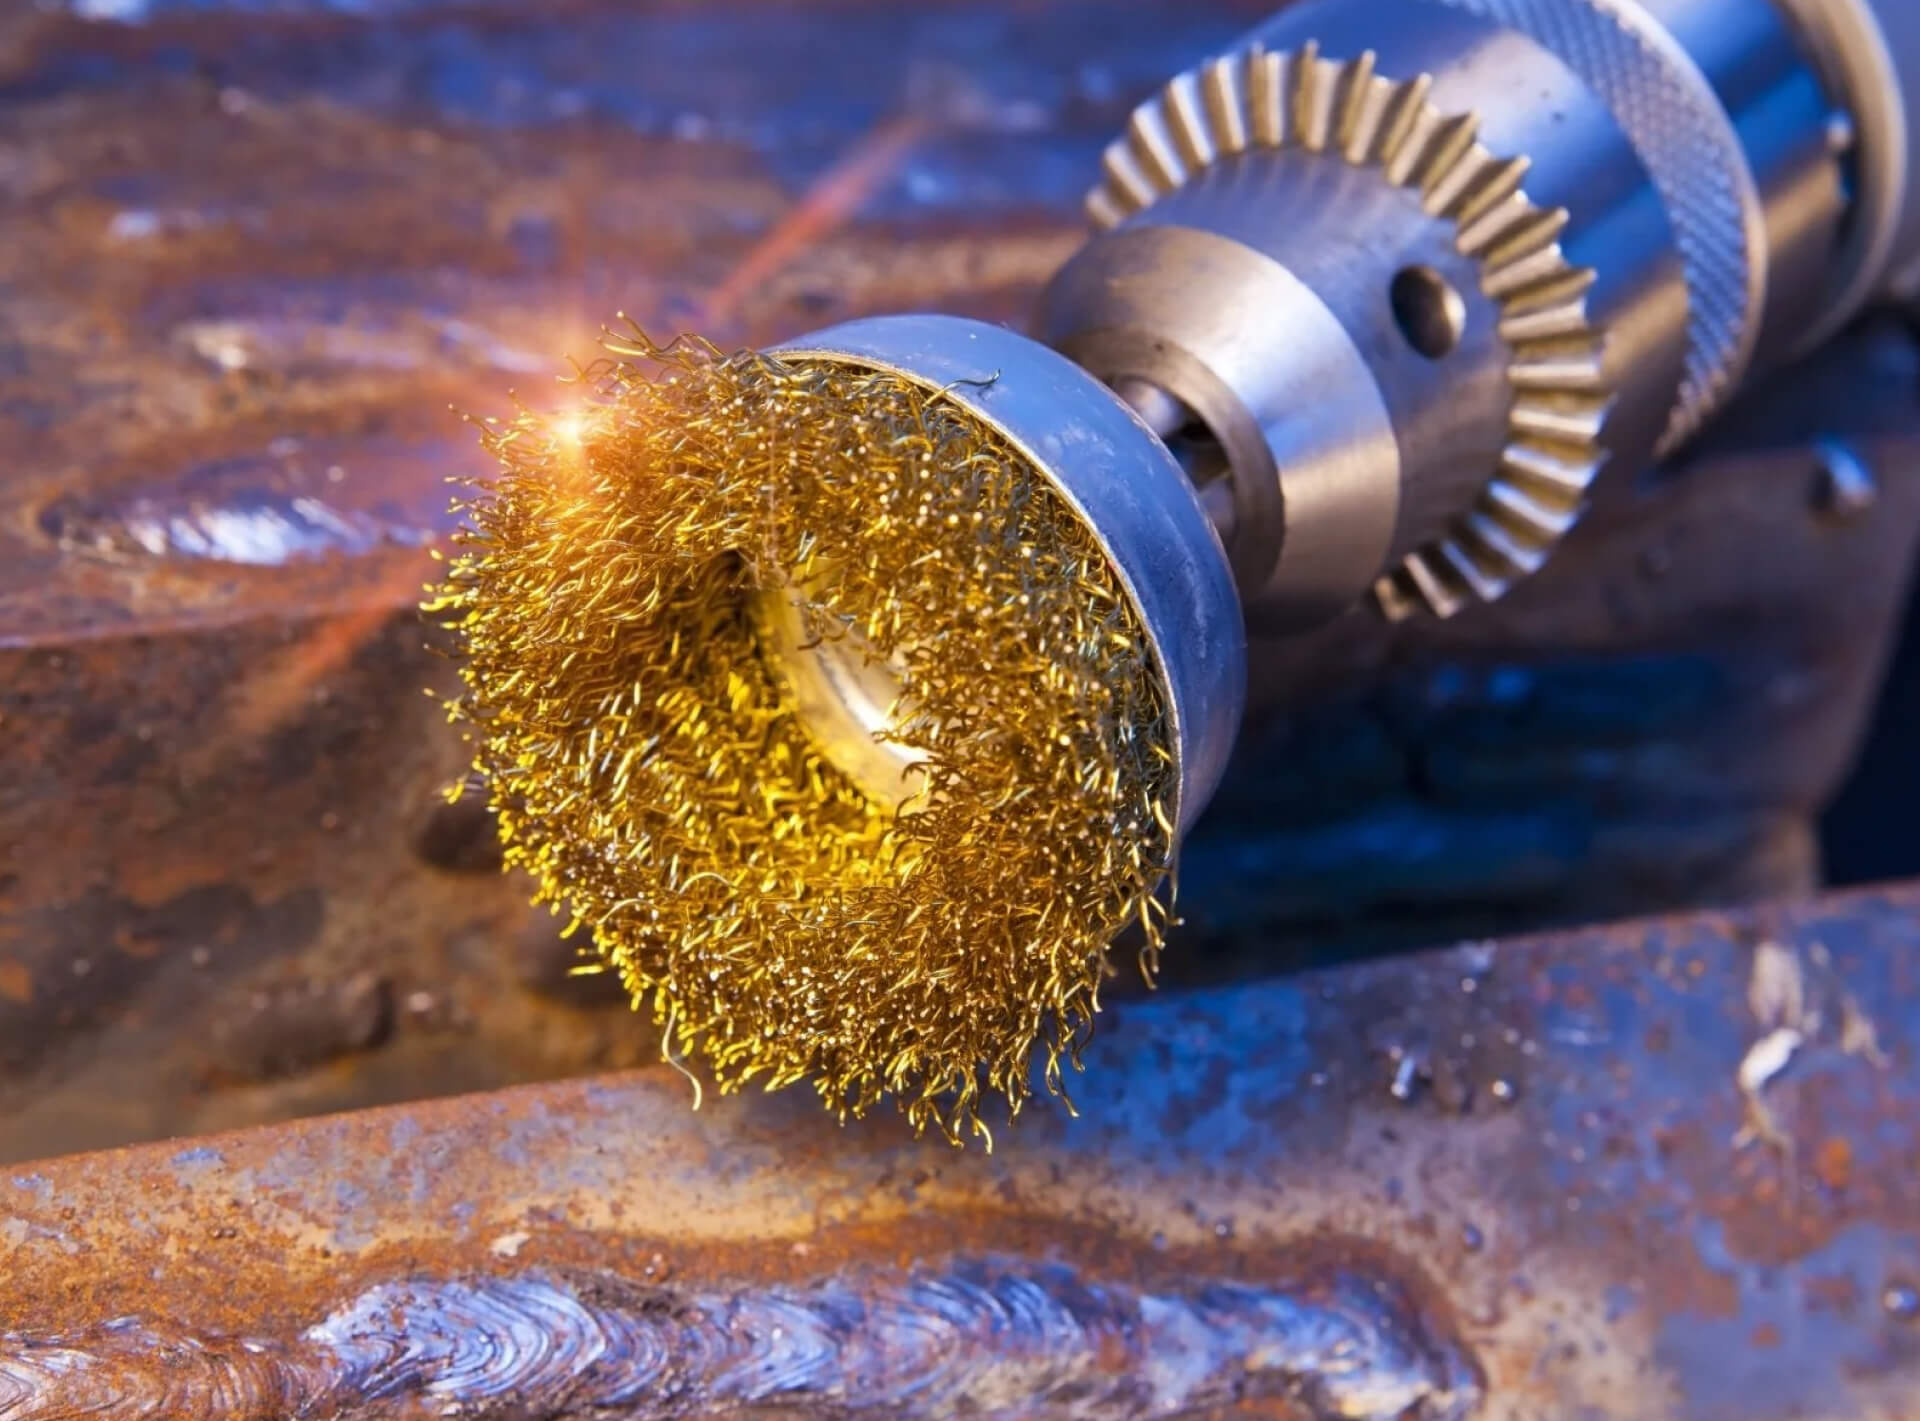
Before you start, make sure your bench grinder is unplugged and the arbor is clean. While we choose to remove the guard for ease of use, it's important to note that removing guards from a bench grinder is generally not recommended. They are designed to protect you from debris and sparks that may be produced during grinding operations. Follow all safety guidelines and precautions when using any type of grinding or buffing equipment, and consult the manufacturer's instructions or seek the advice of a qualified professional if you're unsure. We also recommend using eye protection at all times. For more information on safety precautions, visit this helpful guide here.
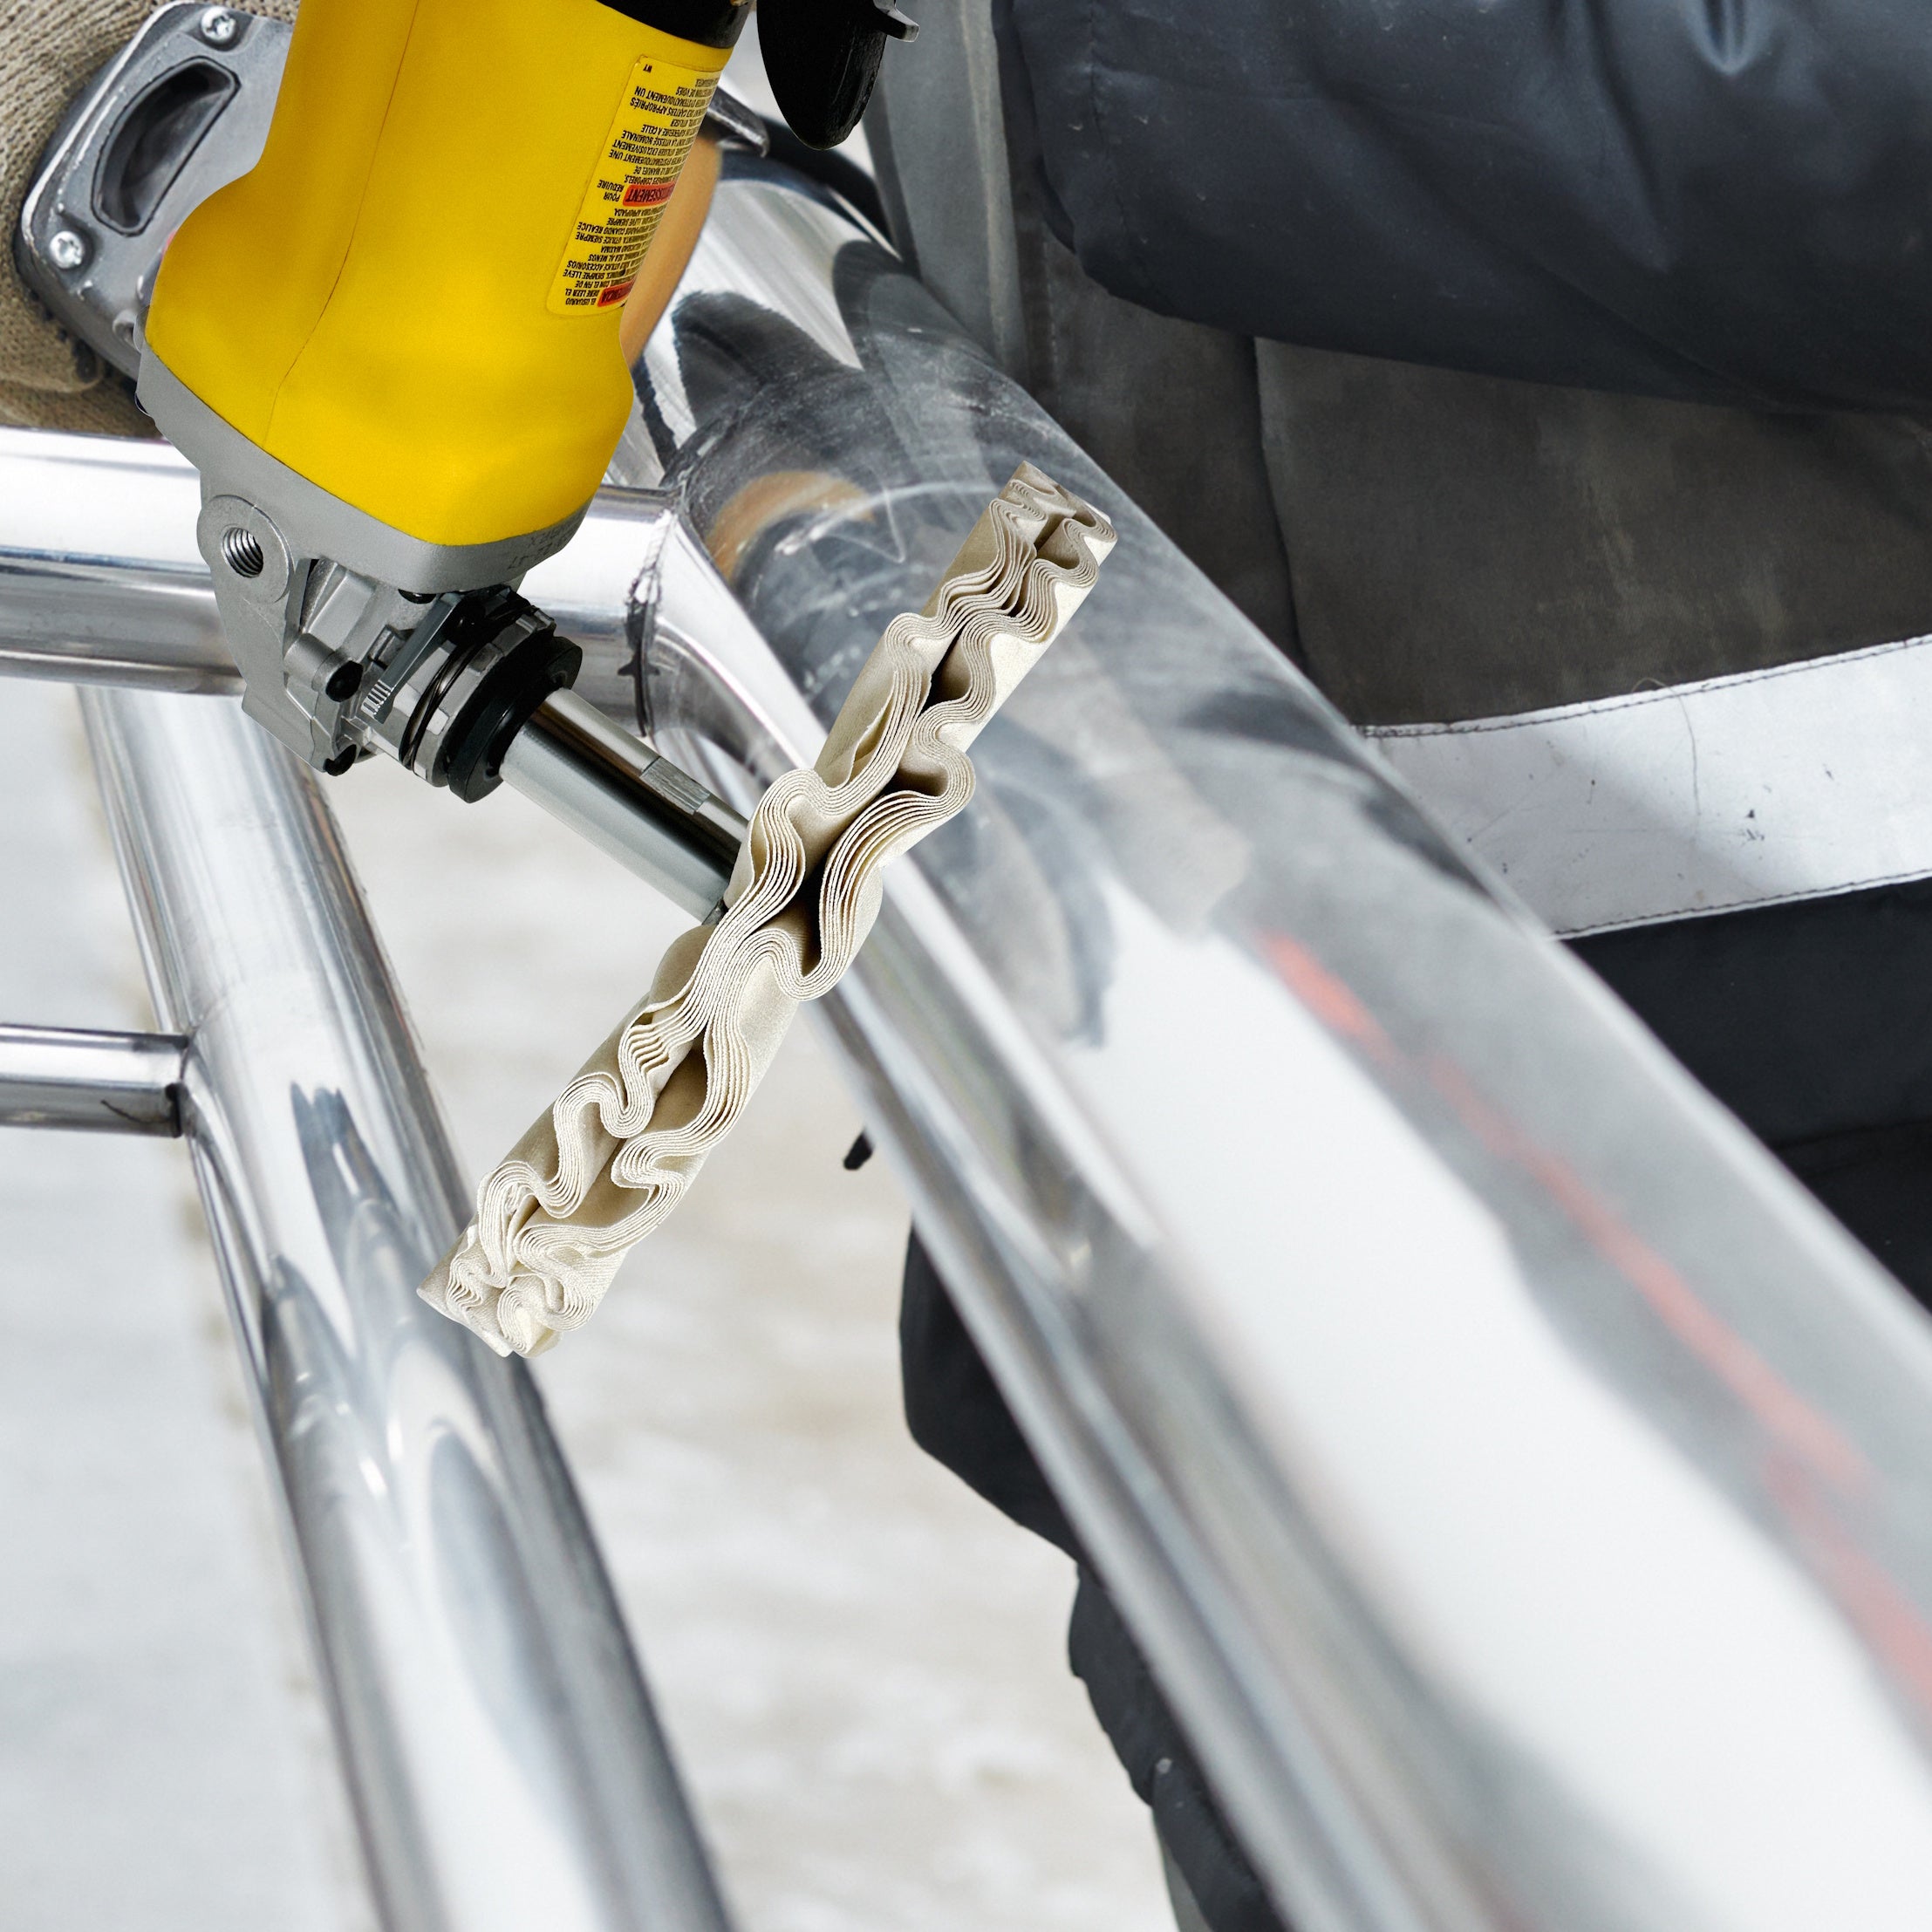
Step 2: Choosing the Right Buffing Wheel

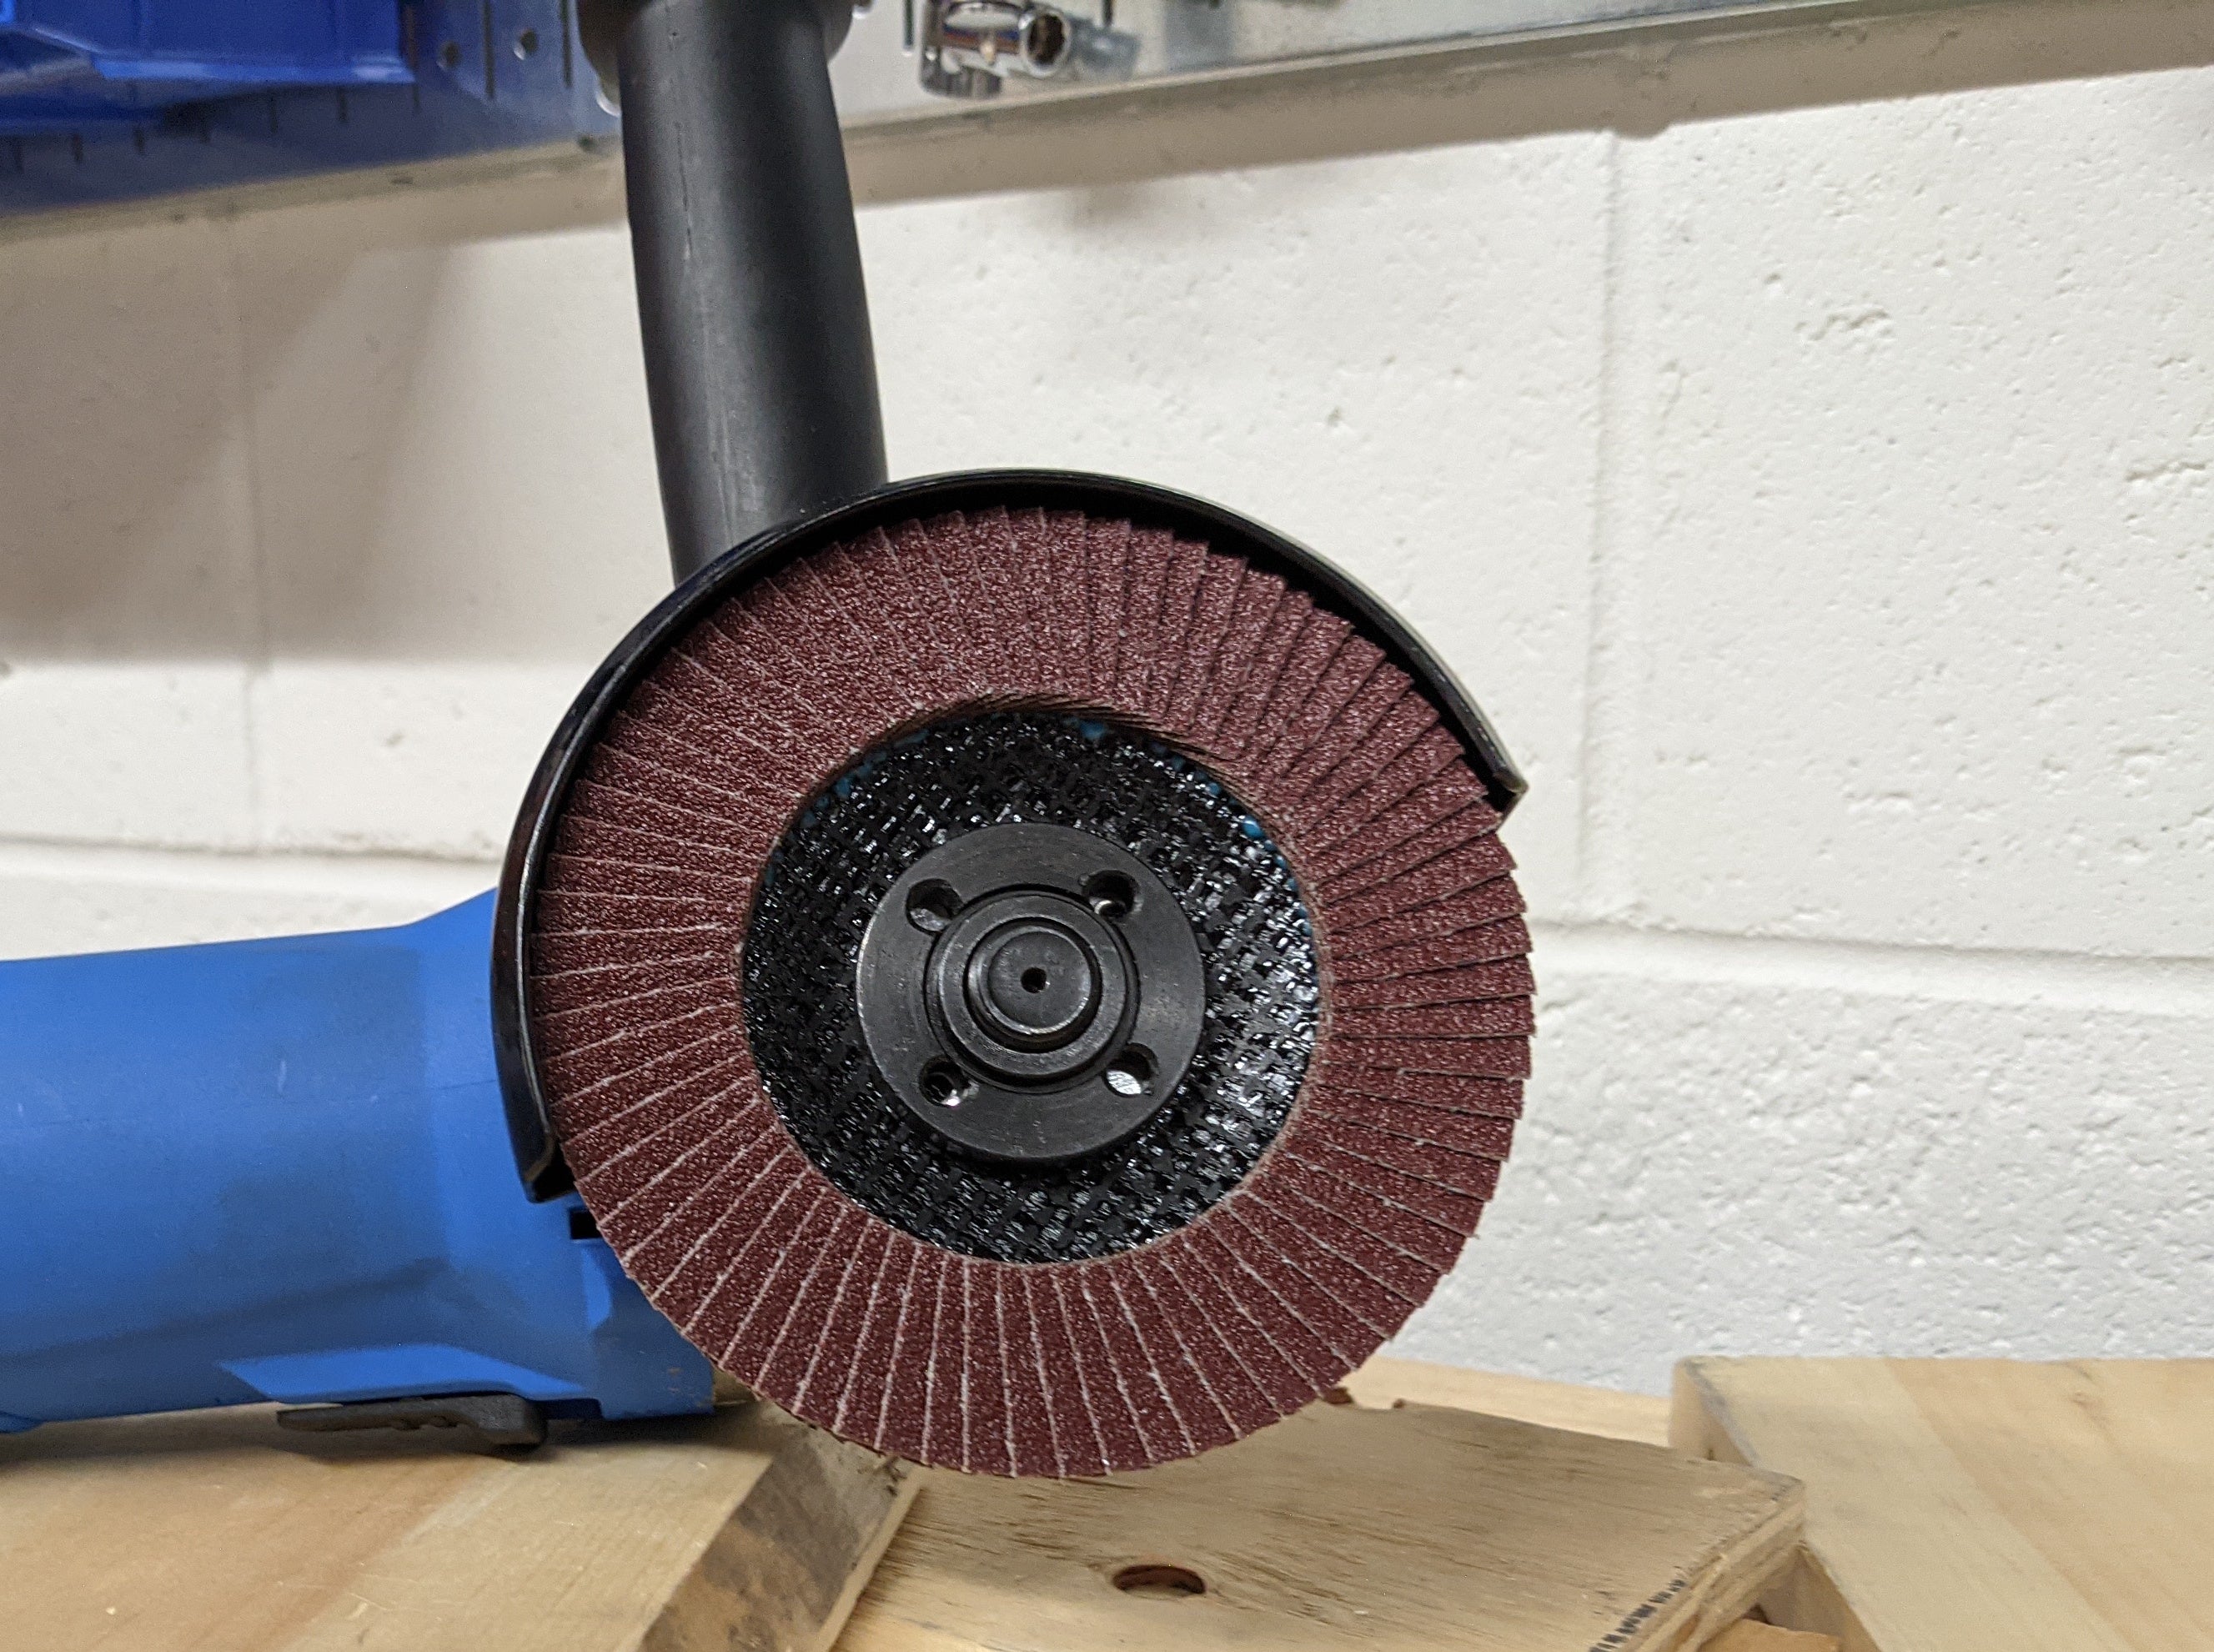
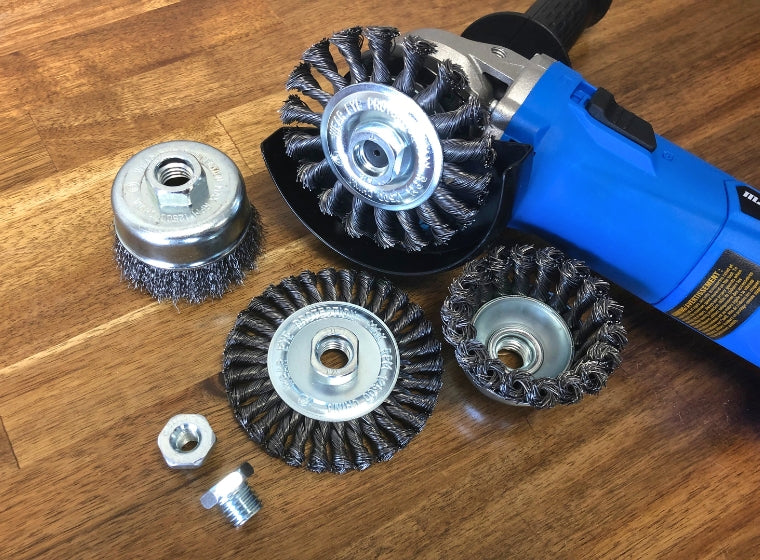
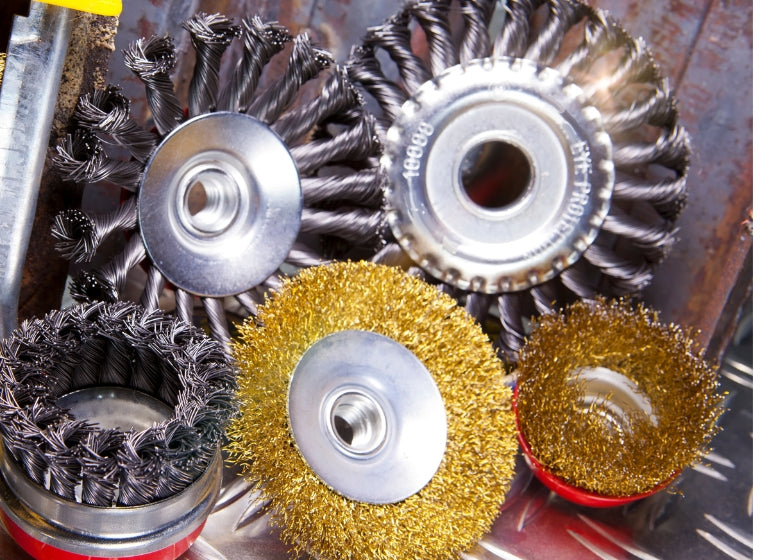
Now it's time to choose the right buffing wheel for your grinder. you should choose a Buffing wheel with a center hole that fits onto the arbor perfectly, if the hole is larger than your arbor, the wheel will not be center and will wobble like crazy.
The most common arbor size is ½ inch, which should work for most standard bench grinders. However, some larger machines may come with a ⅝ inch arbor. We recommend using our 6-inch buffing wheel set, which is designed specifically for 1/2" arbor bench grinders and provides a soft surface ideal for buffing and polishing all sorts of metallic objects.
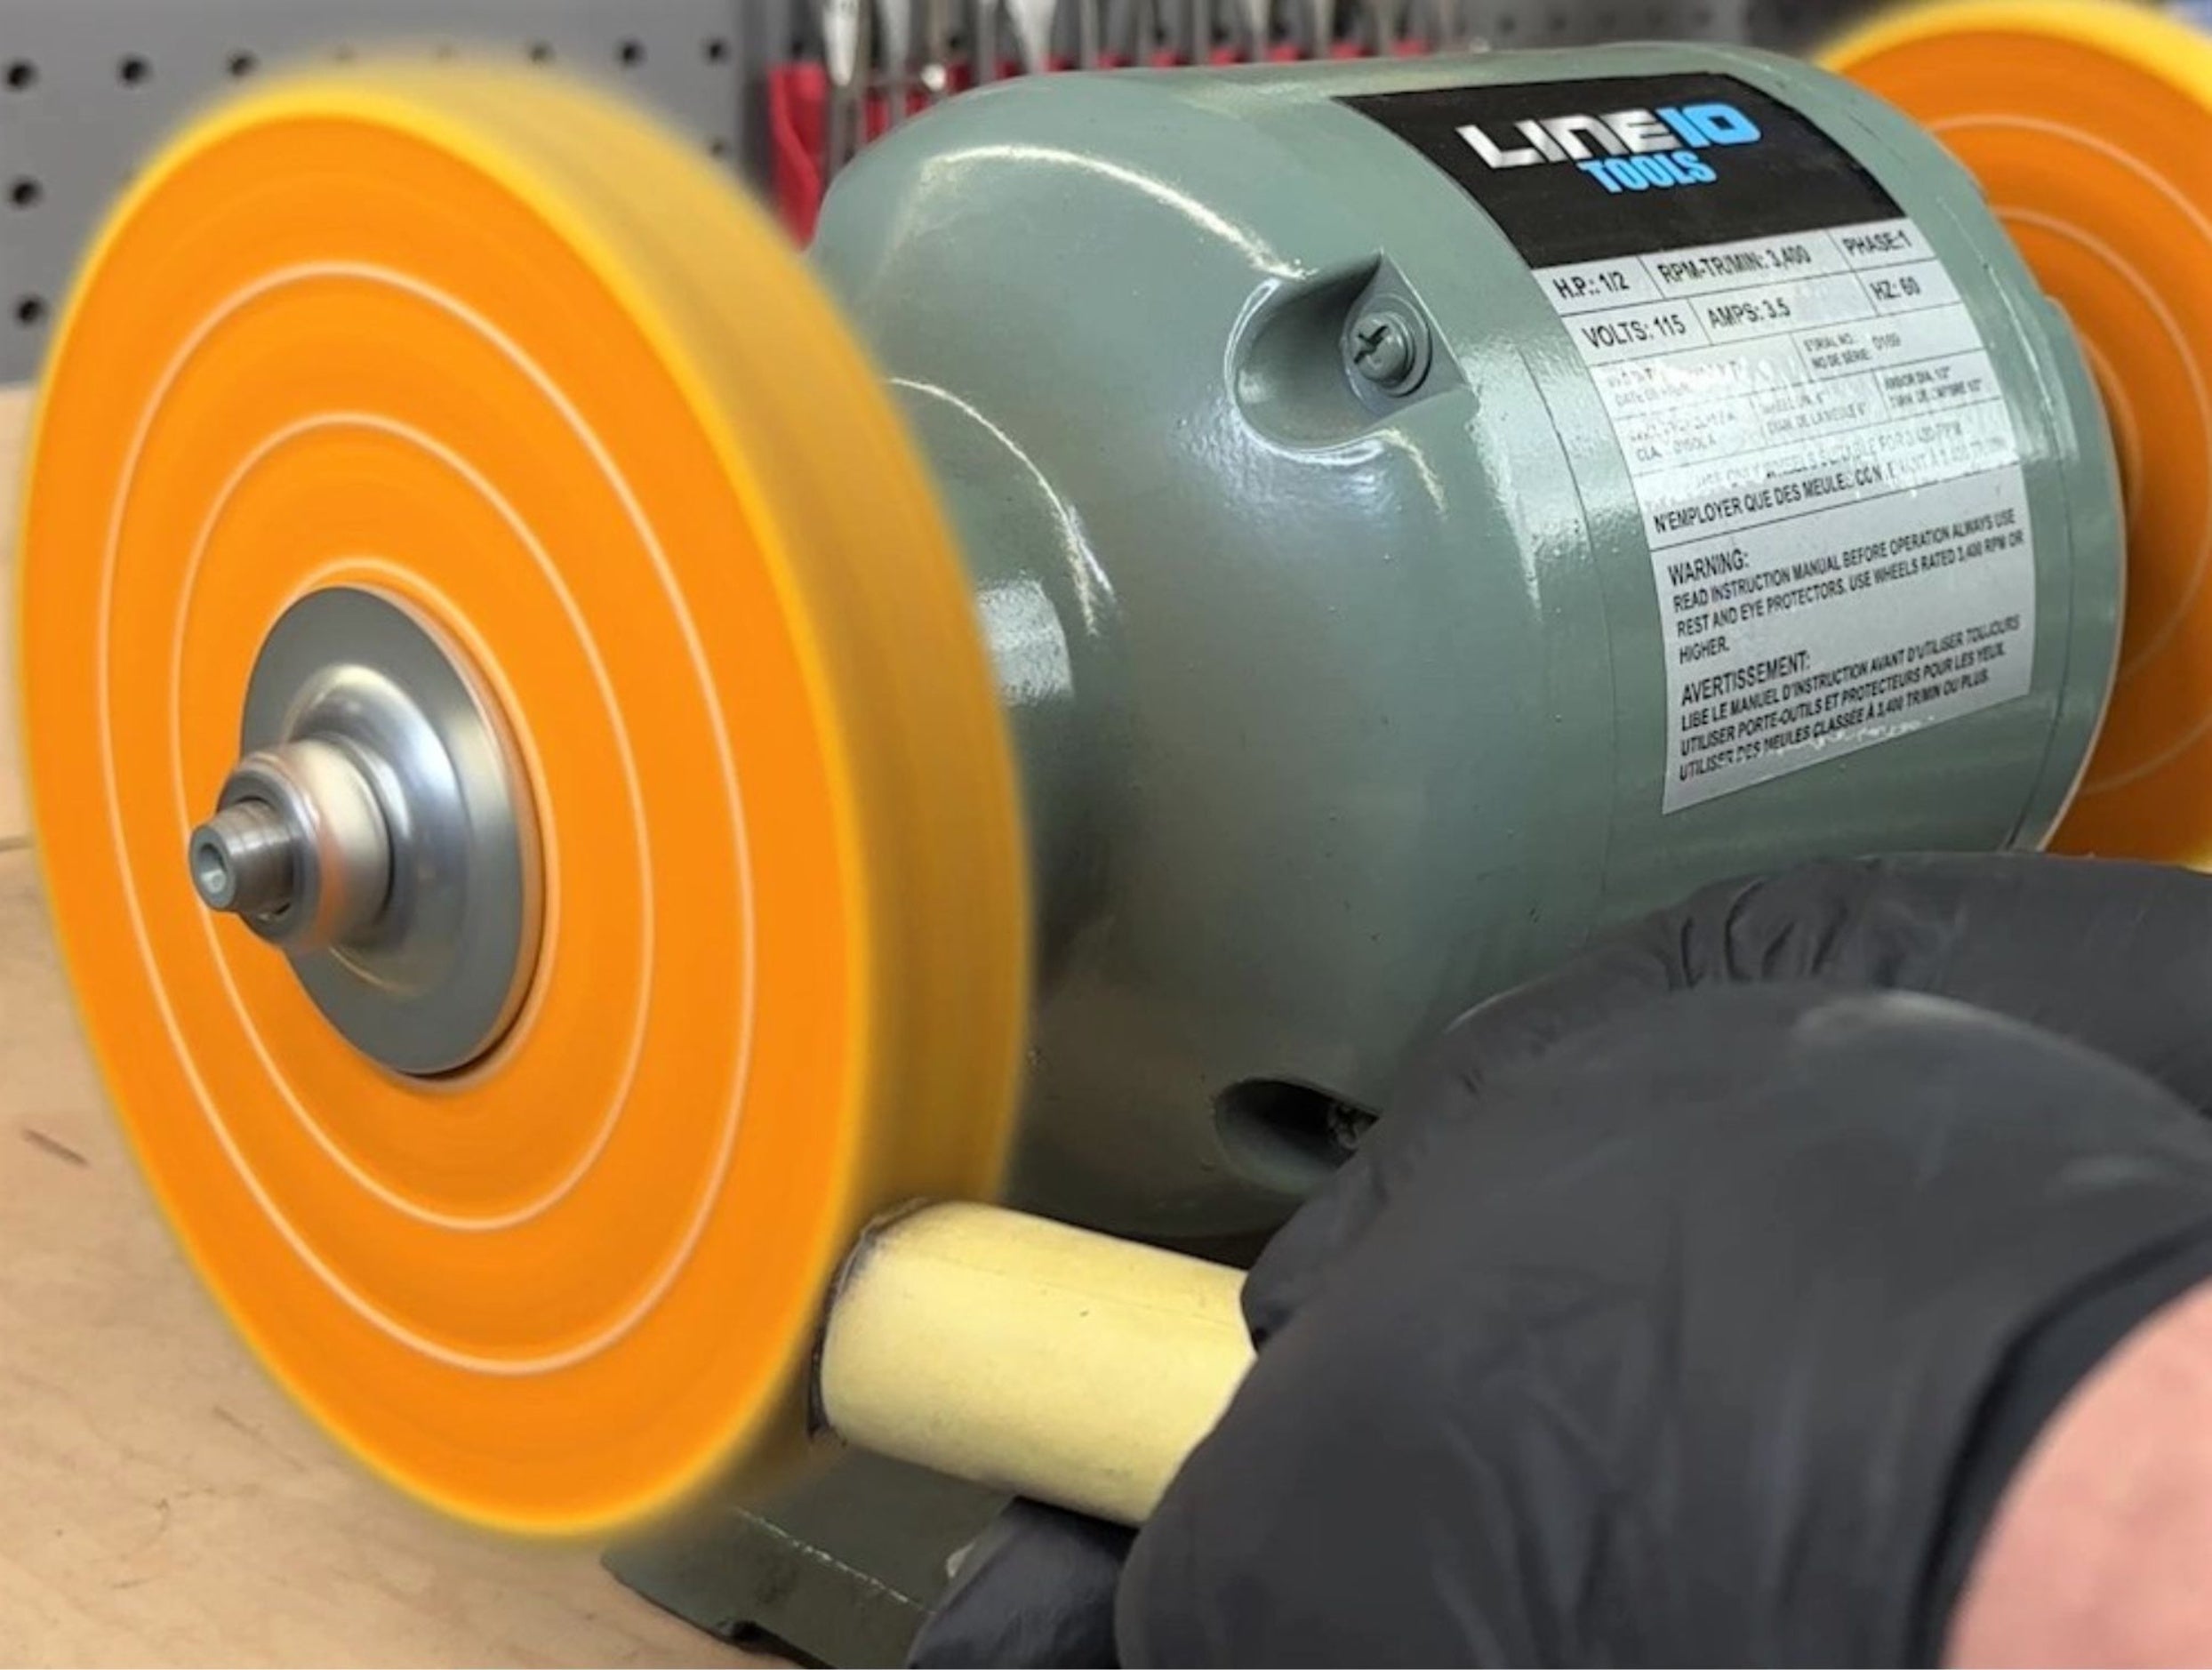
Step 3: Attaching the Buffing Wheel onto your machine
With your bench grinder prepared and your buffing wheel selected, it's time to attach the wheel to the arbor. Carefully slide the buffing wheel onto the spindle, ensuring that it's centered and flush against the washer. Once in place, tighten the nut using a wrench, pliers, or ratchet, as demonstrated in our video. Make sure the nut is tight enough to prevent the buffing wheel from wobbling but not so tight that it becomes difficult to remove, you don't want to cross thread your arbor, trust me.
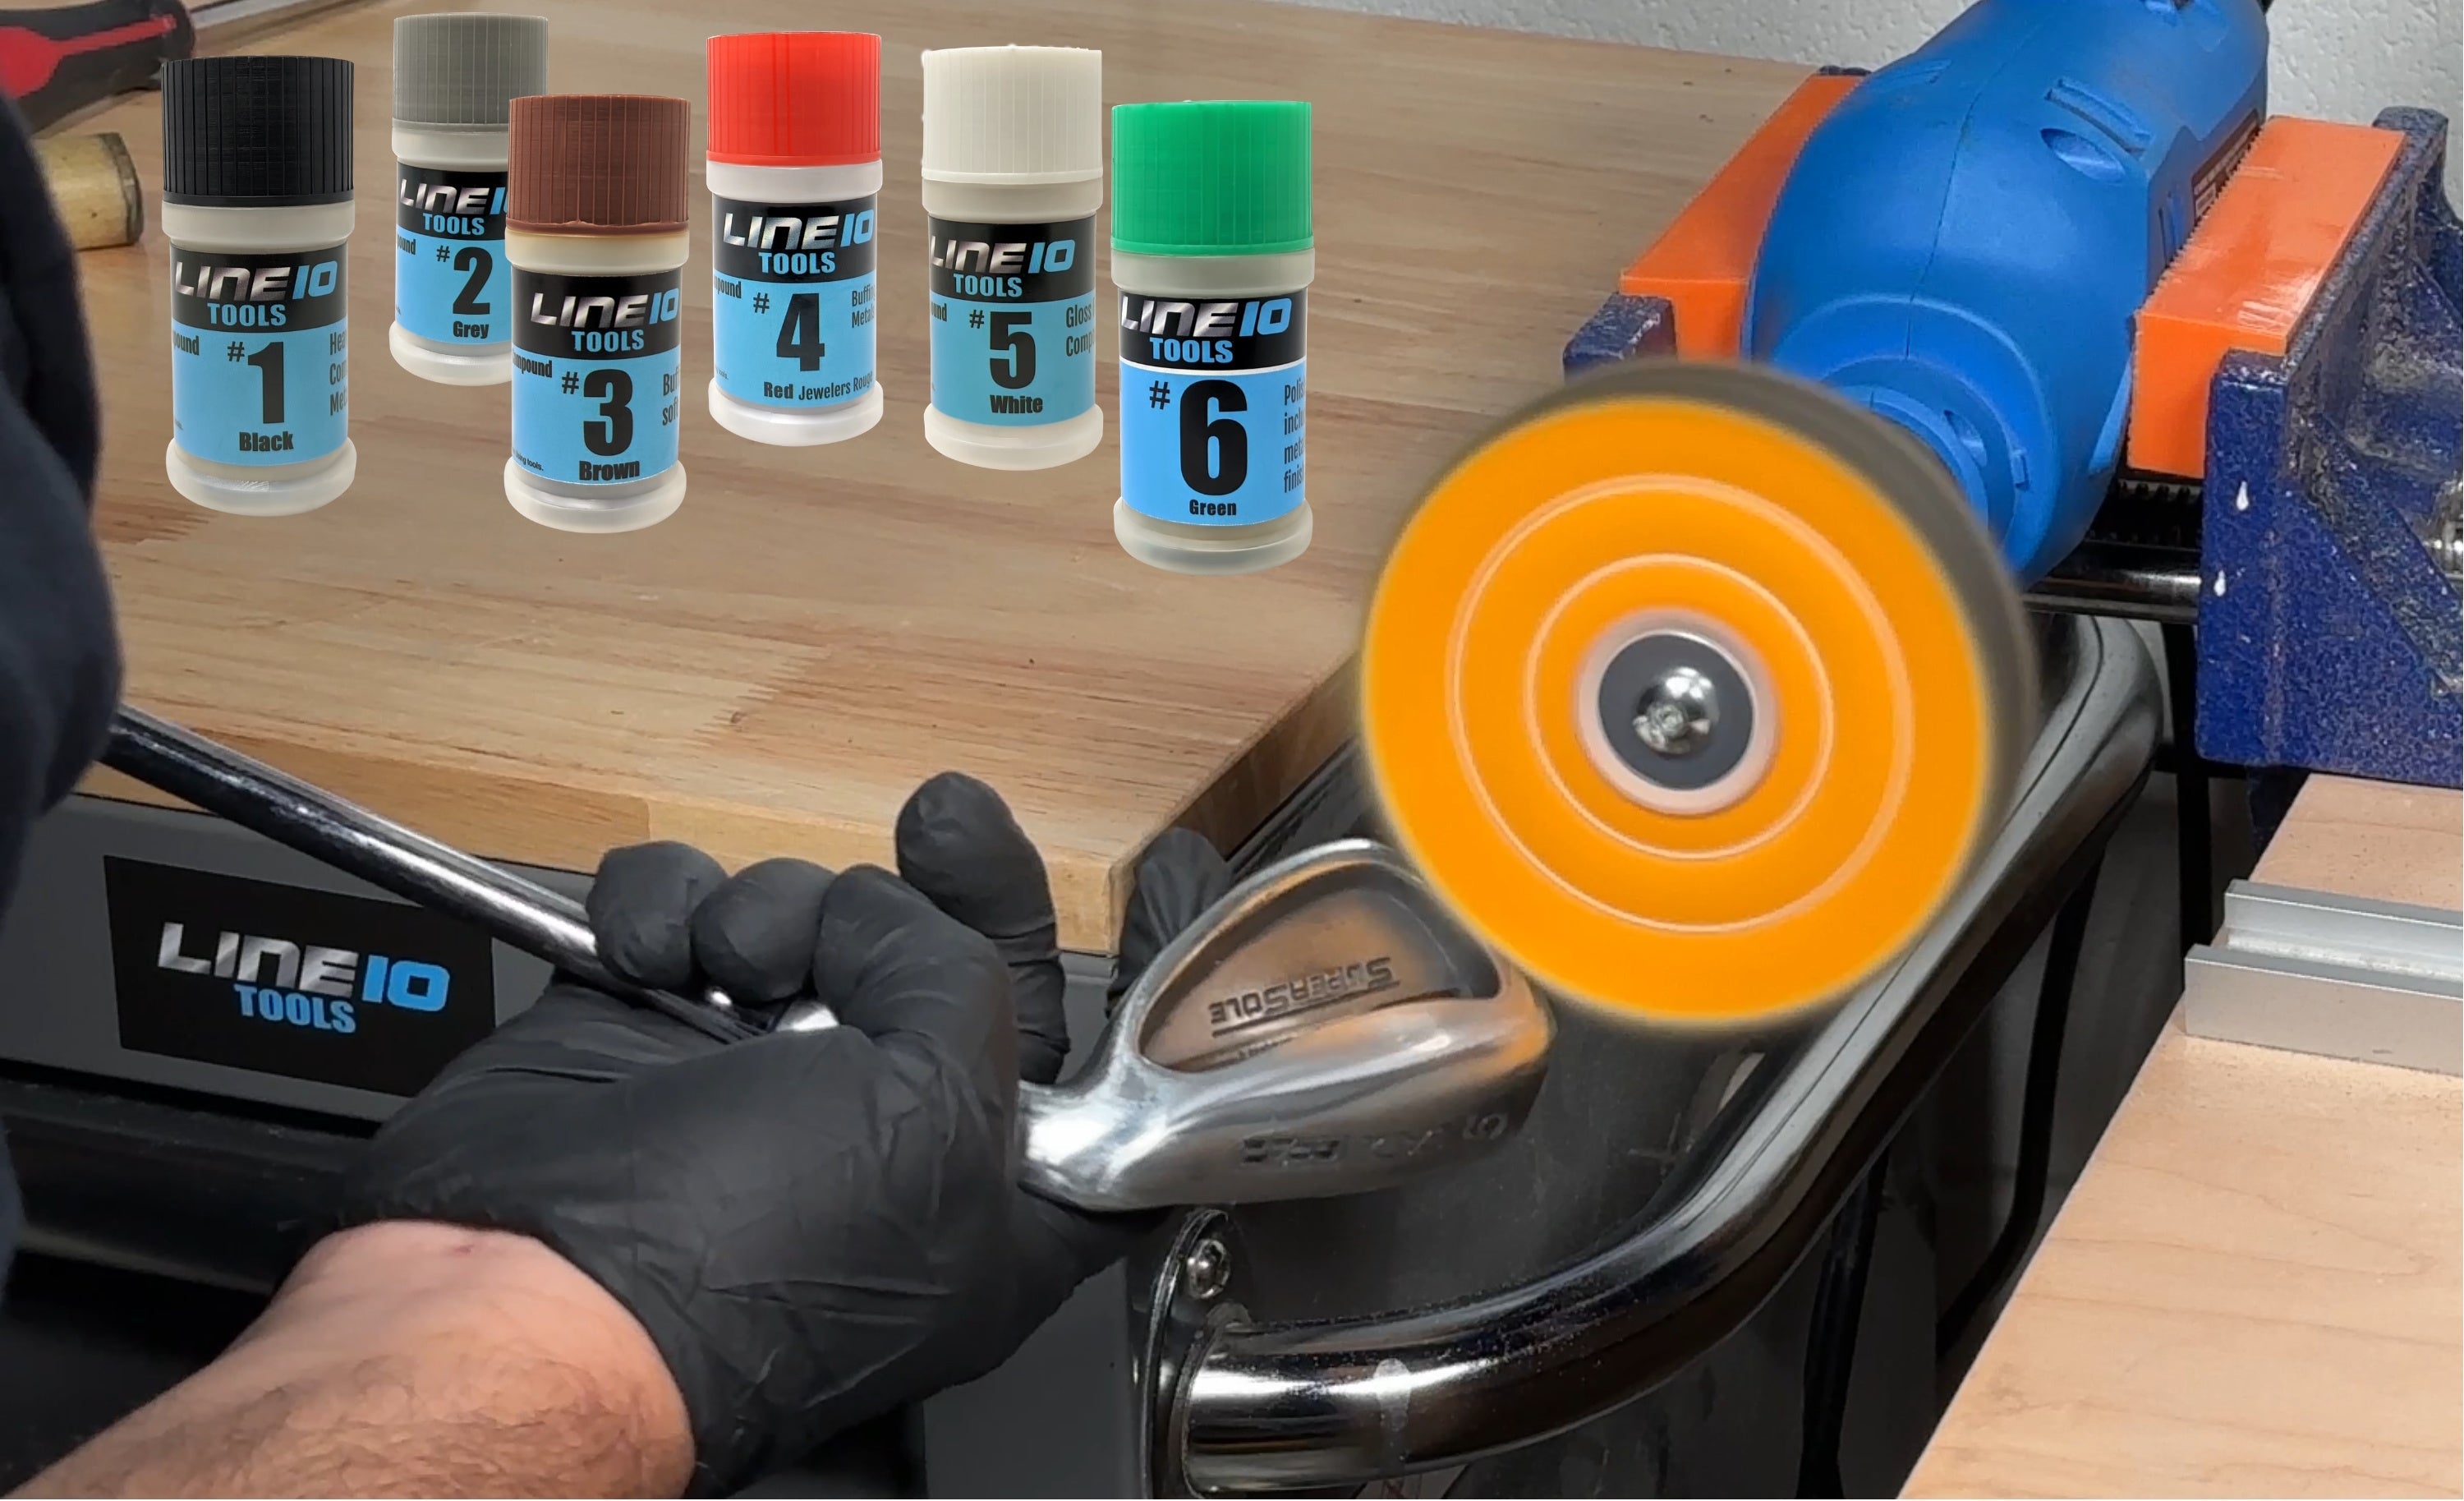
Step 4: Choosing the Right Buffing and Polishing Compound

Before you begin buffing and polishing, it's essential to choose the right polishing compound for your project. Polishing compounds come in various forms and are designed for use with specific materials. For metal polishing, we recommend using our specially formulated polishing compound, which is designed to produce a brilliant shine on various metals, including aluminum, brass, copper, and stainless steel.
We have a blog article that goes in depth about this, if you need to learn more, be sure to check it out here
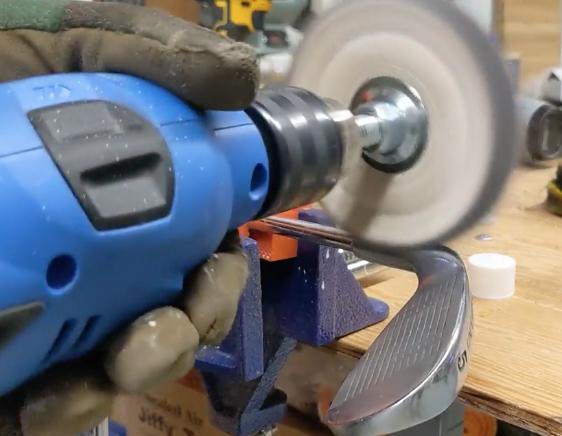
Step 5: Start Buffing and Polishing
Now that your bench grinder has been transformed into a buffing machine, you're ready to start buffing and polishing. Apply the polishing compound to the buffing wheel, by gently rubbing it against the spinning wheel from side to side.
Then apply your object to the spinning wheel carefully while applying very little yet consistent pressure, and don't forget to periodically reapply the compound as needed.
For more detailed instructions on using a polishing compound stick, check out our comprehensive guide here.
As you work, be sure to maintain a firm grip on your workpiece to prevent it from catching at a weird angle, which could lead to accidents or injuries. Remember, safety should always be your top priority when working with power tools.
Step 6: Finishing Up
After you've achieved the desired shine and finish on your workpiece, turn off the bench grinder and carefully remove the buffing wheel. Clean the wheel by gently applying a serrated edge to it, this should remove backed on compound and prepare the wheel for future use.
Then, store it properly in ziplock bag to ensure it stays in good condition for future use. Inspect your workpiece for any remaining imperfections or areas that may need additional polishing. If needed, you can repeat the buffing process to further refine the finish.

Conclusion:
Turning a cheapo bench grinder into a buffing machine is an easy and cost-effective way to get started with buffing and polishing your metal objects. By following the steps outlined in this post, you'll be well on your way to achieving a mirror-like shine on your metalwork or other materials.
Remember to always prioritize safety when using power tools and adhere to all safety guidelines and precautions. And for all your buffing and polishing needs, be sure to visit LINE10 Tools to find high-quality buffing wheels, polishing compounds, and other accessories.
With the right tools and techniques, you'll soon be buffing and polishing like a pro using your trusty bench grinder with a buffing wheel. Happy buffing!


Leave a comment