


Restore your Golf Clubs in 5 Min with your Drill: The Ultimate Quick Guide
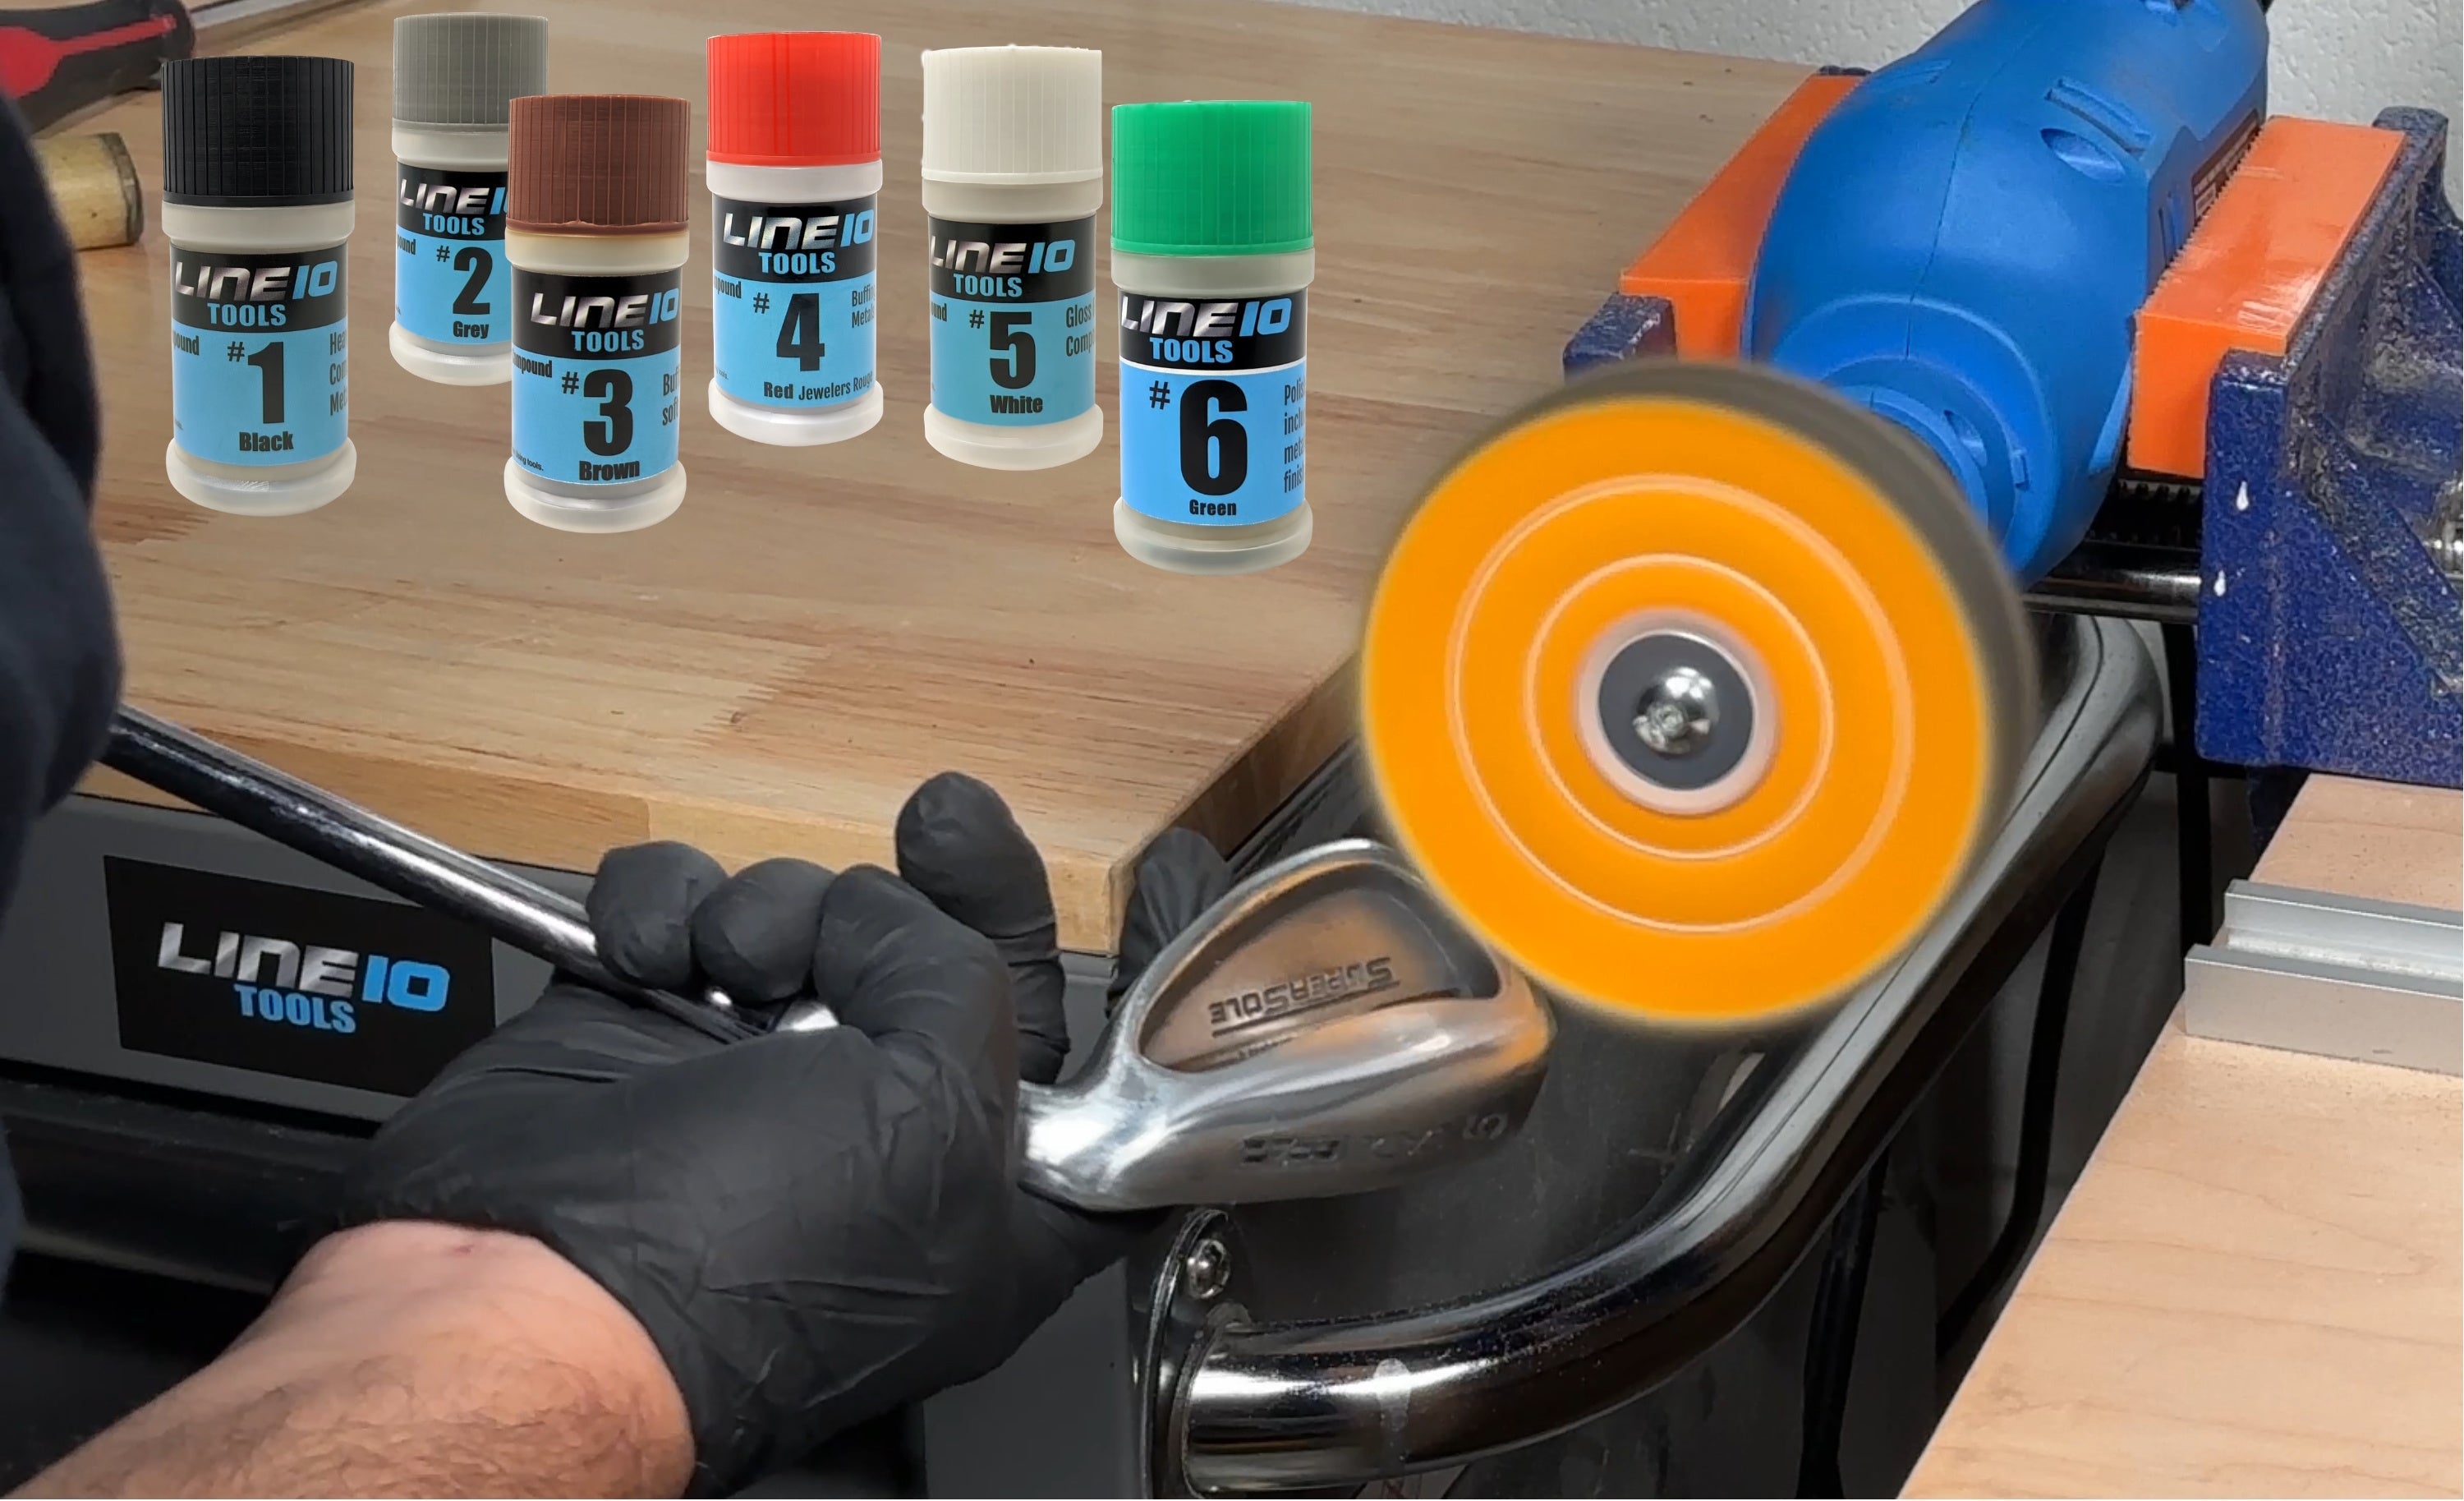
Golf Clubs looking dull and a little tired? Discolored? Full of scratches? It might be time to invest in a Metal Buffing Kit from LINE10 Tools.
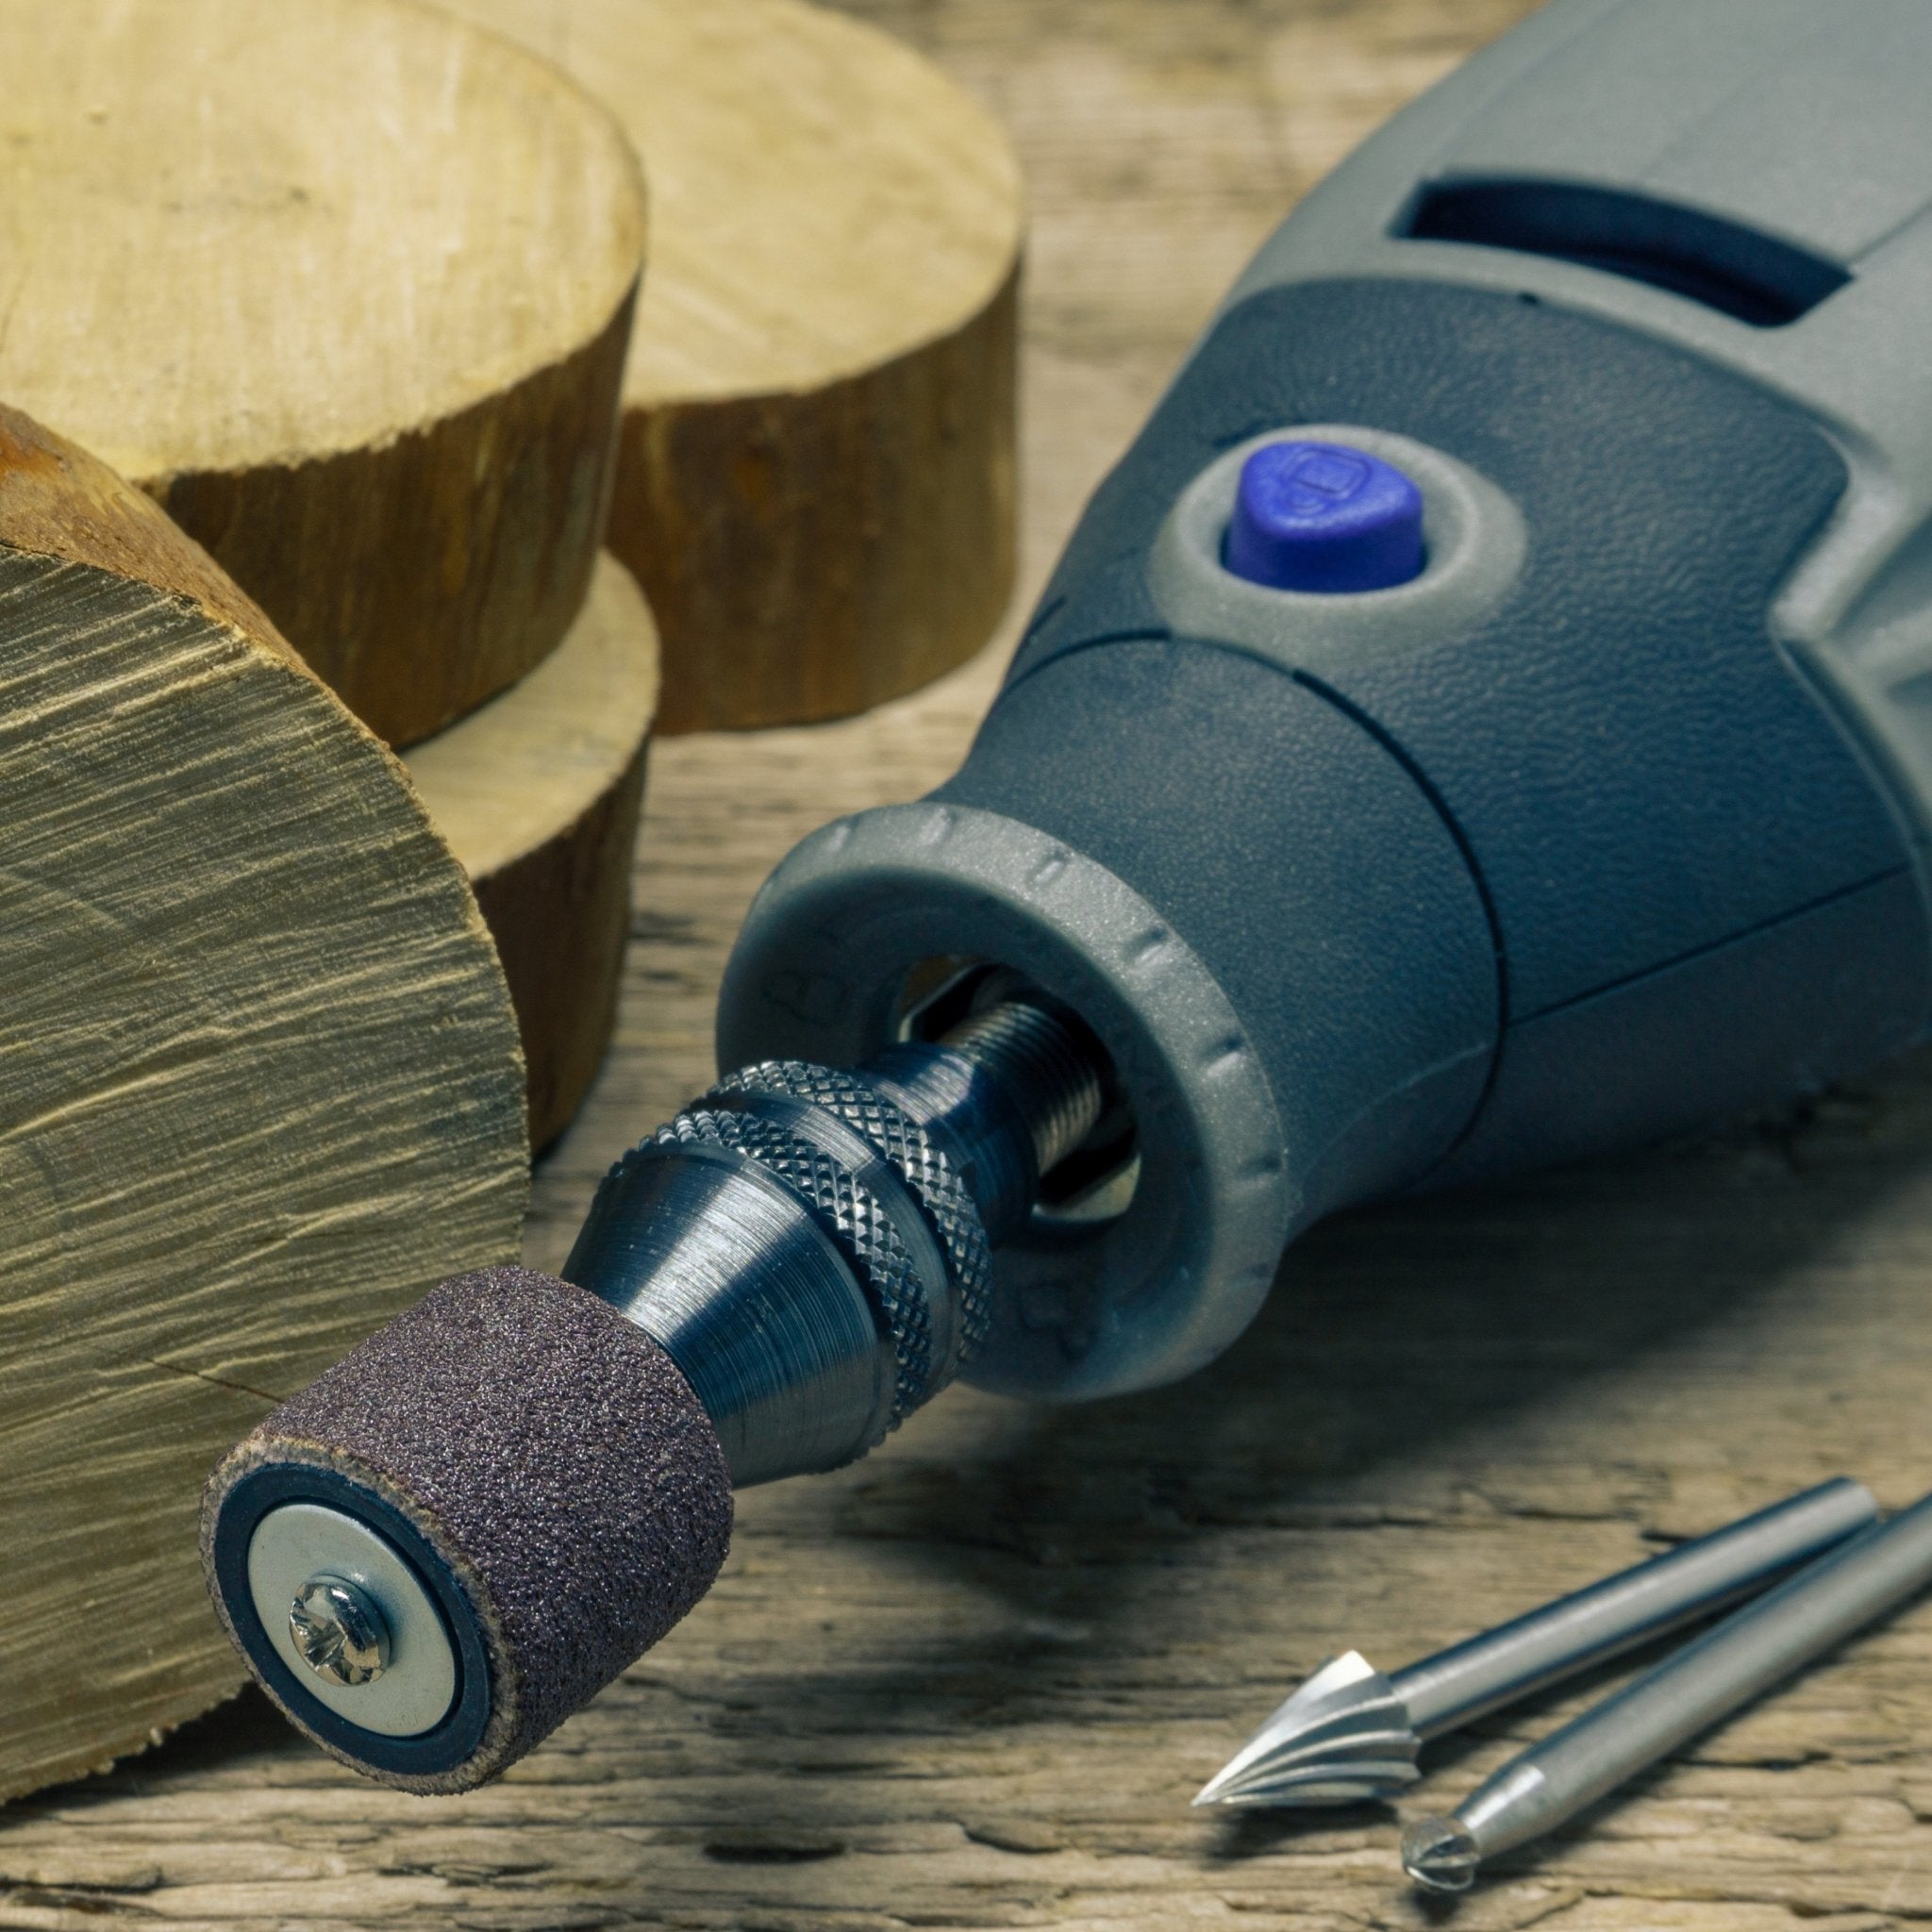
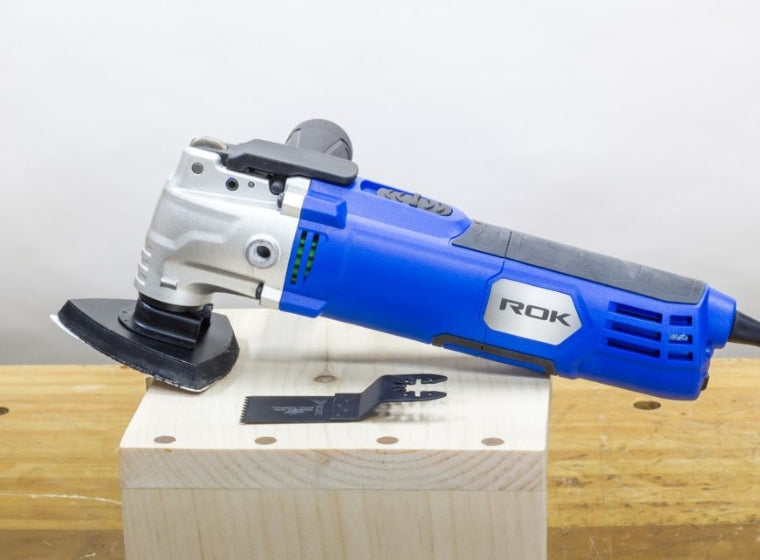
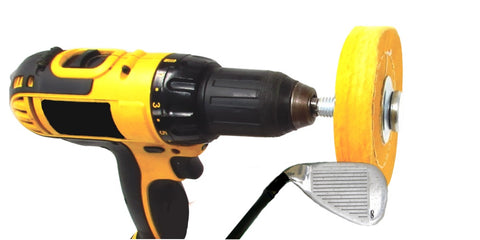
With many metal polishing kits and tools available on the market, selecting the right one can be a challenge. Instead of buying a buffing machine, consider using the tools you already own, like your trusty drill.
This versatile tool can easily be transformed into a powerful buffing and polishing machine with the right attachments and wheels. All you need are buffer wheels for drills and buffing compounds, typically included in a polishing wheel kit for metal.
In this article, we’ll guide you through the process of using a drill polishing wheel and other drill attachments for polishing to restore your golf clubs to their former glory.
In this article, we are going to go over how to polish your golf clubs with a drill.
Getting Ready for the Buffing Process
Before you begin, safety is paramount. Always wear eye protection and hearing protection when working with power tools.
Buffing and polishing metal surfaces like your golf clubs is straightforward.
Here is what you need:
- Cleaning rag for wiping down clubs and tools
- An electric drill (preferably corded for higher RPM)
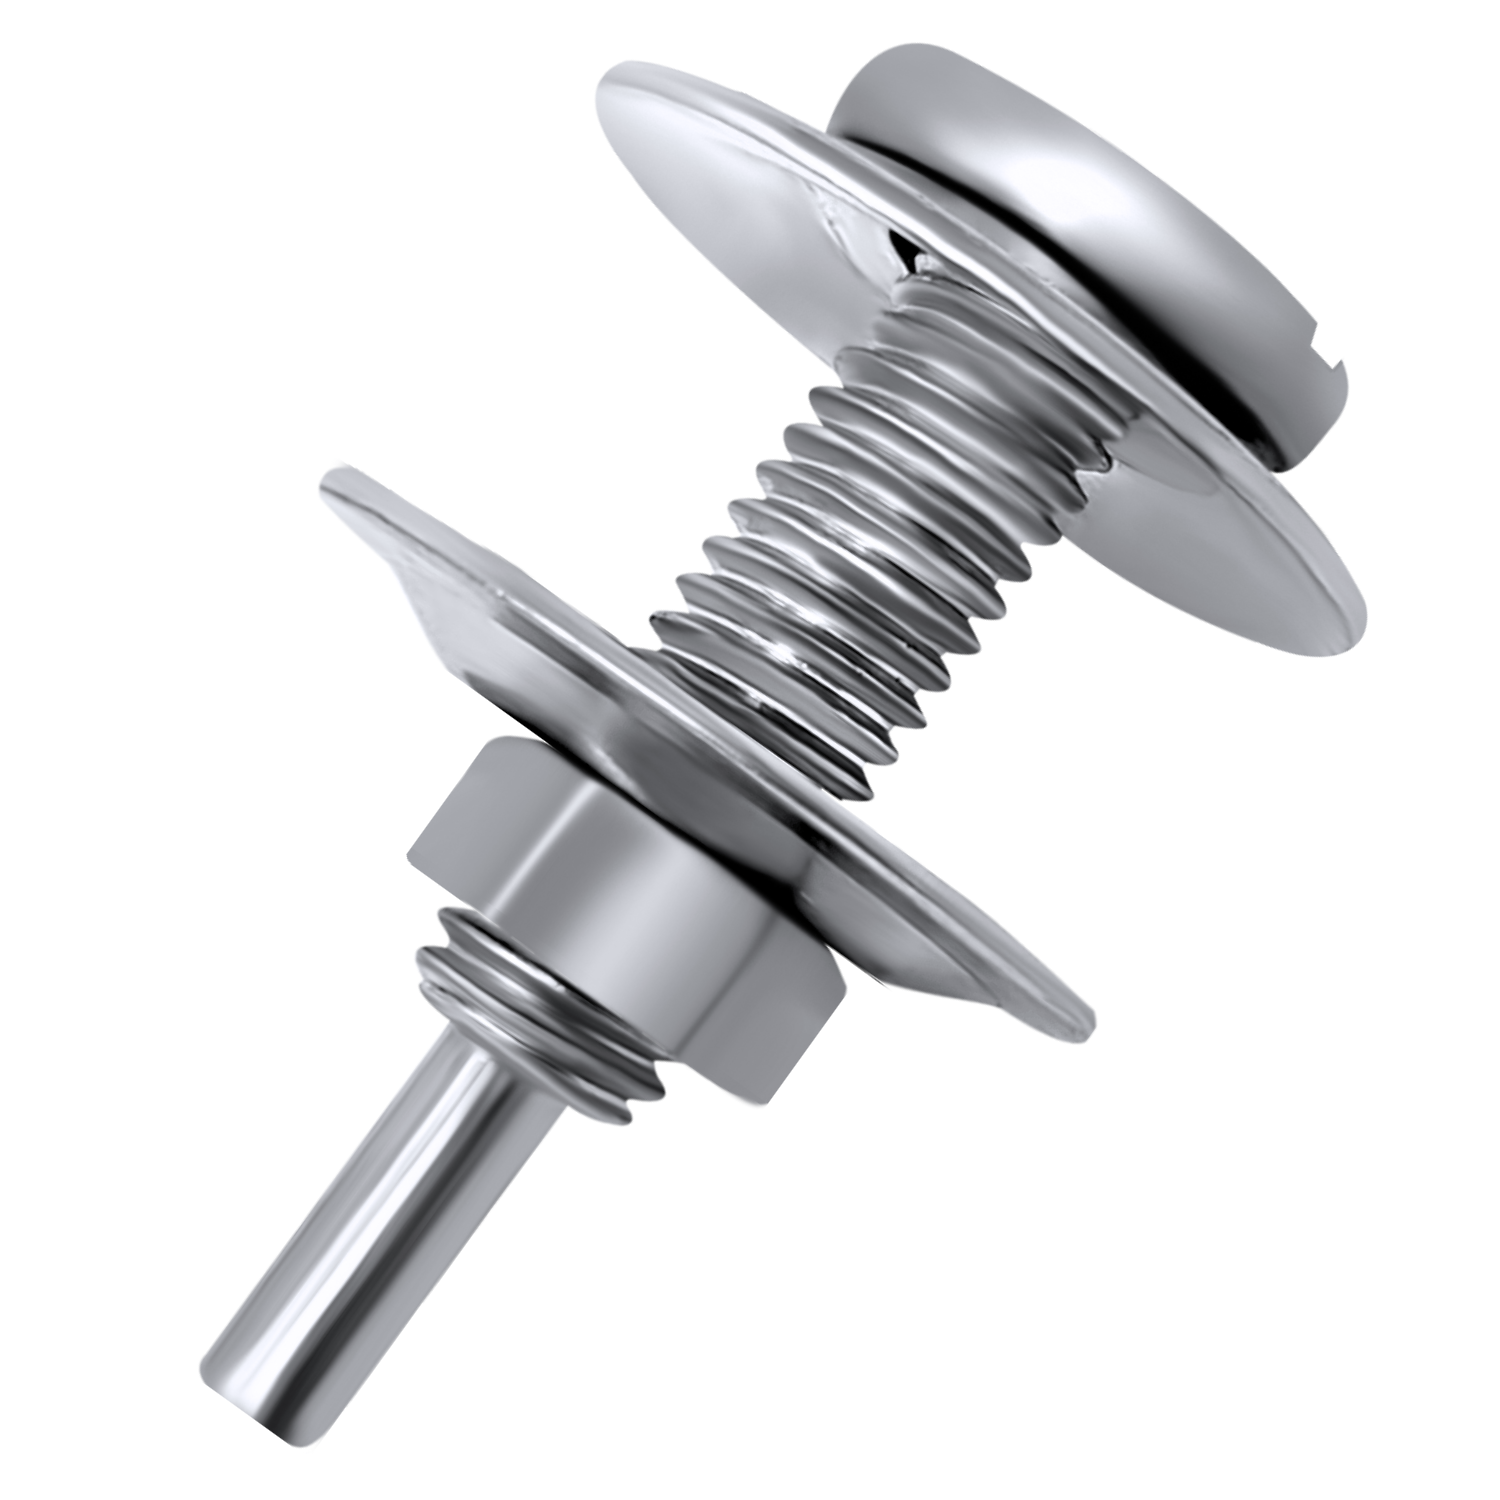
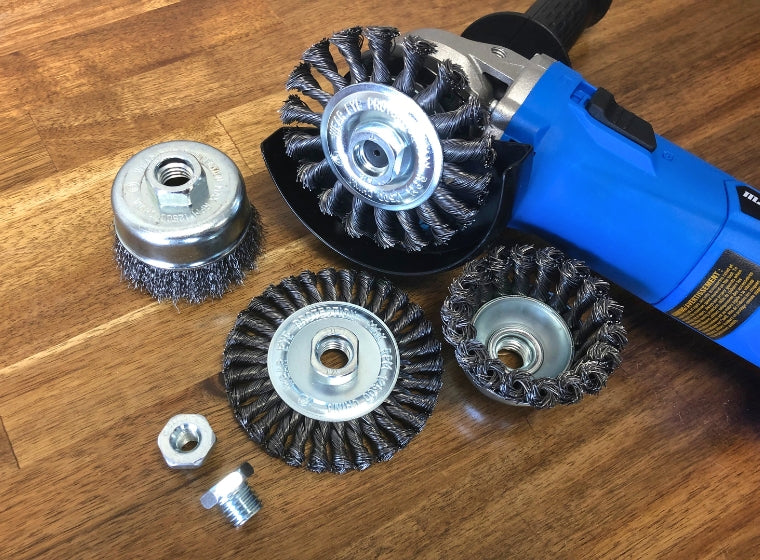
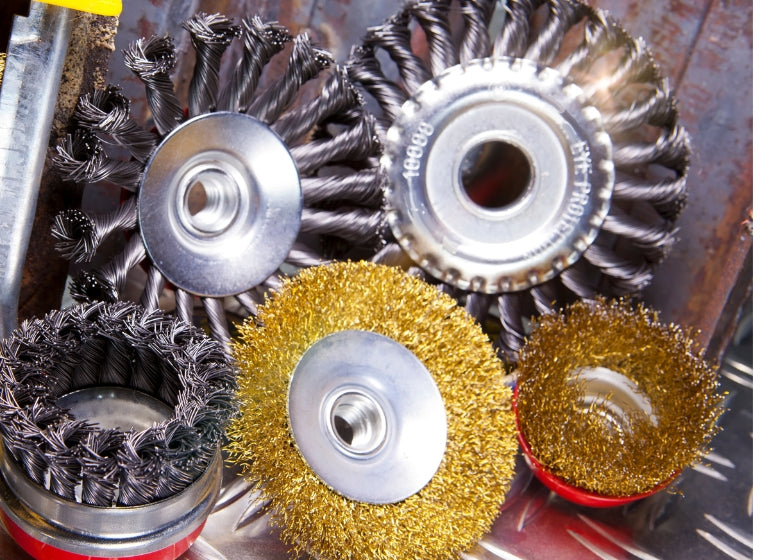
- Metal Polishing/Buffing Kit By LINE10 Tools
- A clamp or vise
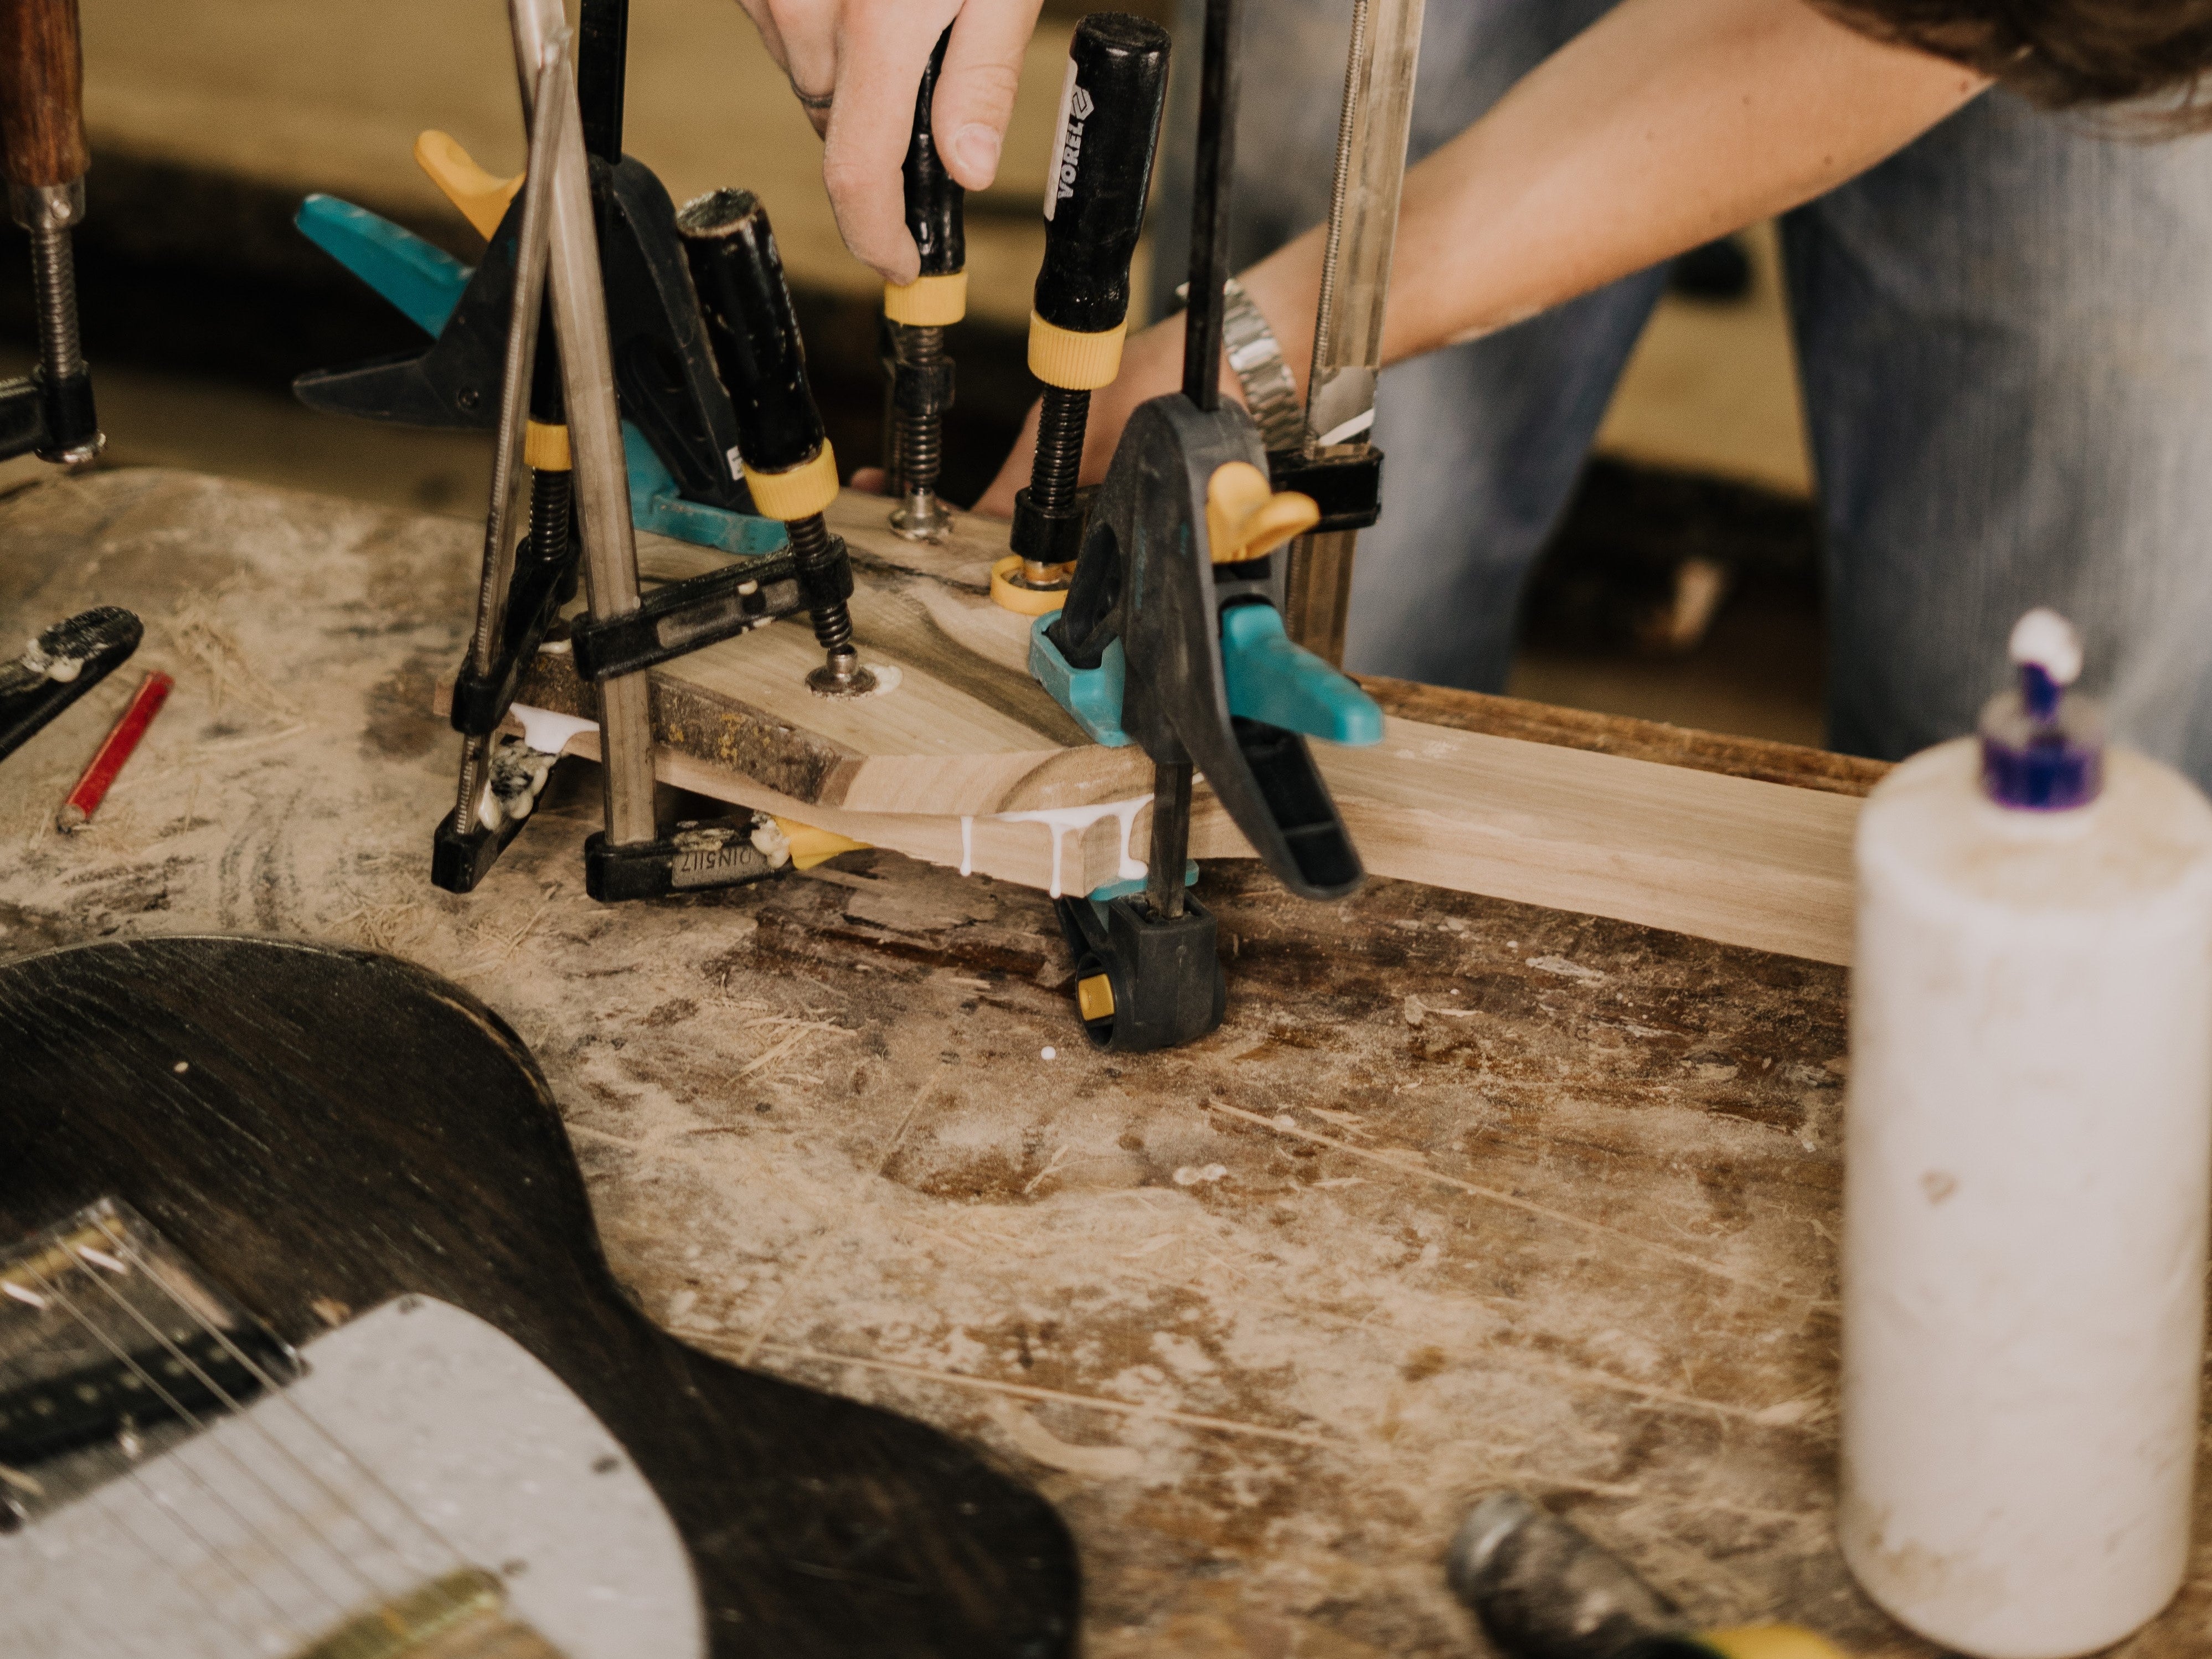
While a clamp or vise is optional, it can simplify the polishing process. Holding the golf club in one hand while managing the drill with the other can be challenging.
You will need to either clamp and secure your drill or vice versa
Using a soft-tipped clamp or a vise with soft jaw liner pads can securely hold the club or drill without causing damage.
Step-by-step to using your Drill to Polish the Golf Club Metal Surface
Step 0 Surface Preparation
The first thing you need to do is prepare the surface for the buffing process, start with a good heavy duty scrubbing and cleaning of the surface of the club to remove surface rust and oxidation.
Its important to note that the buffing and polishing process will Not remove scratches or dents that you can feel with your finger nail, they are too deep and need to be wet sanded, here is a good article you can read on this.
We recommend wet-sanding from a coarse grit to remove deep scratches, then up to 2000 grit to achieve the best final results.
Step #1
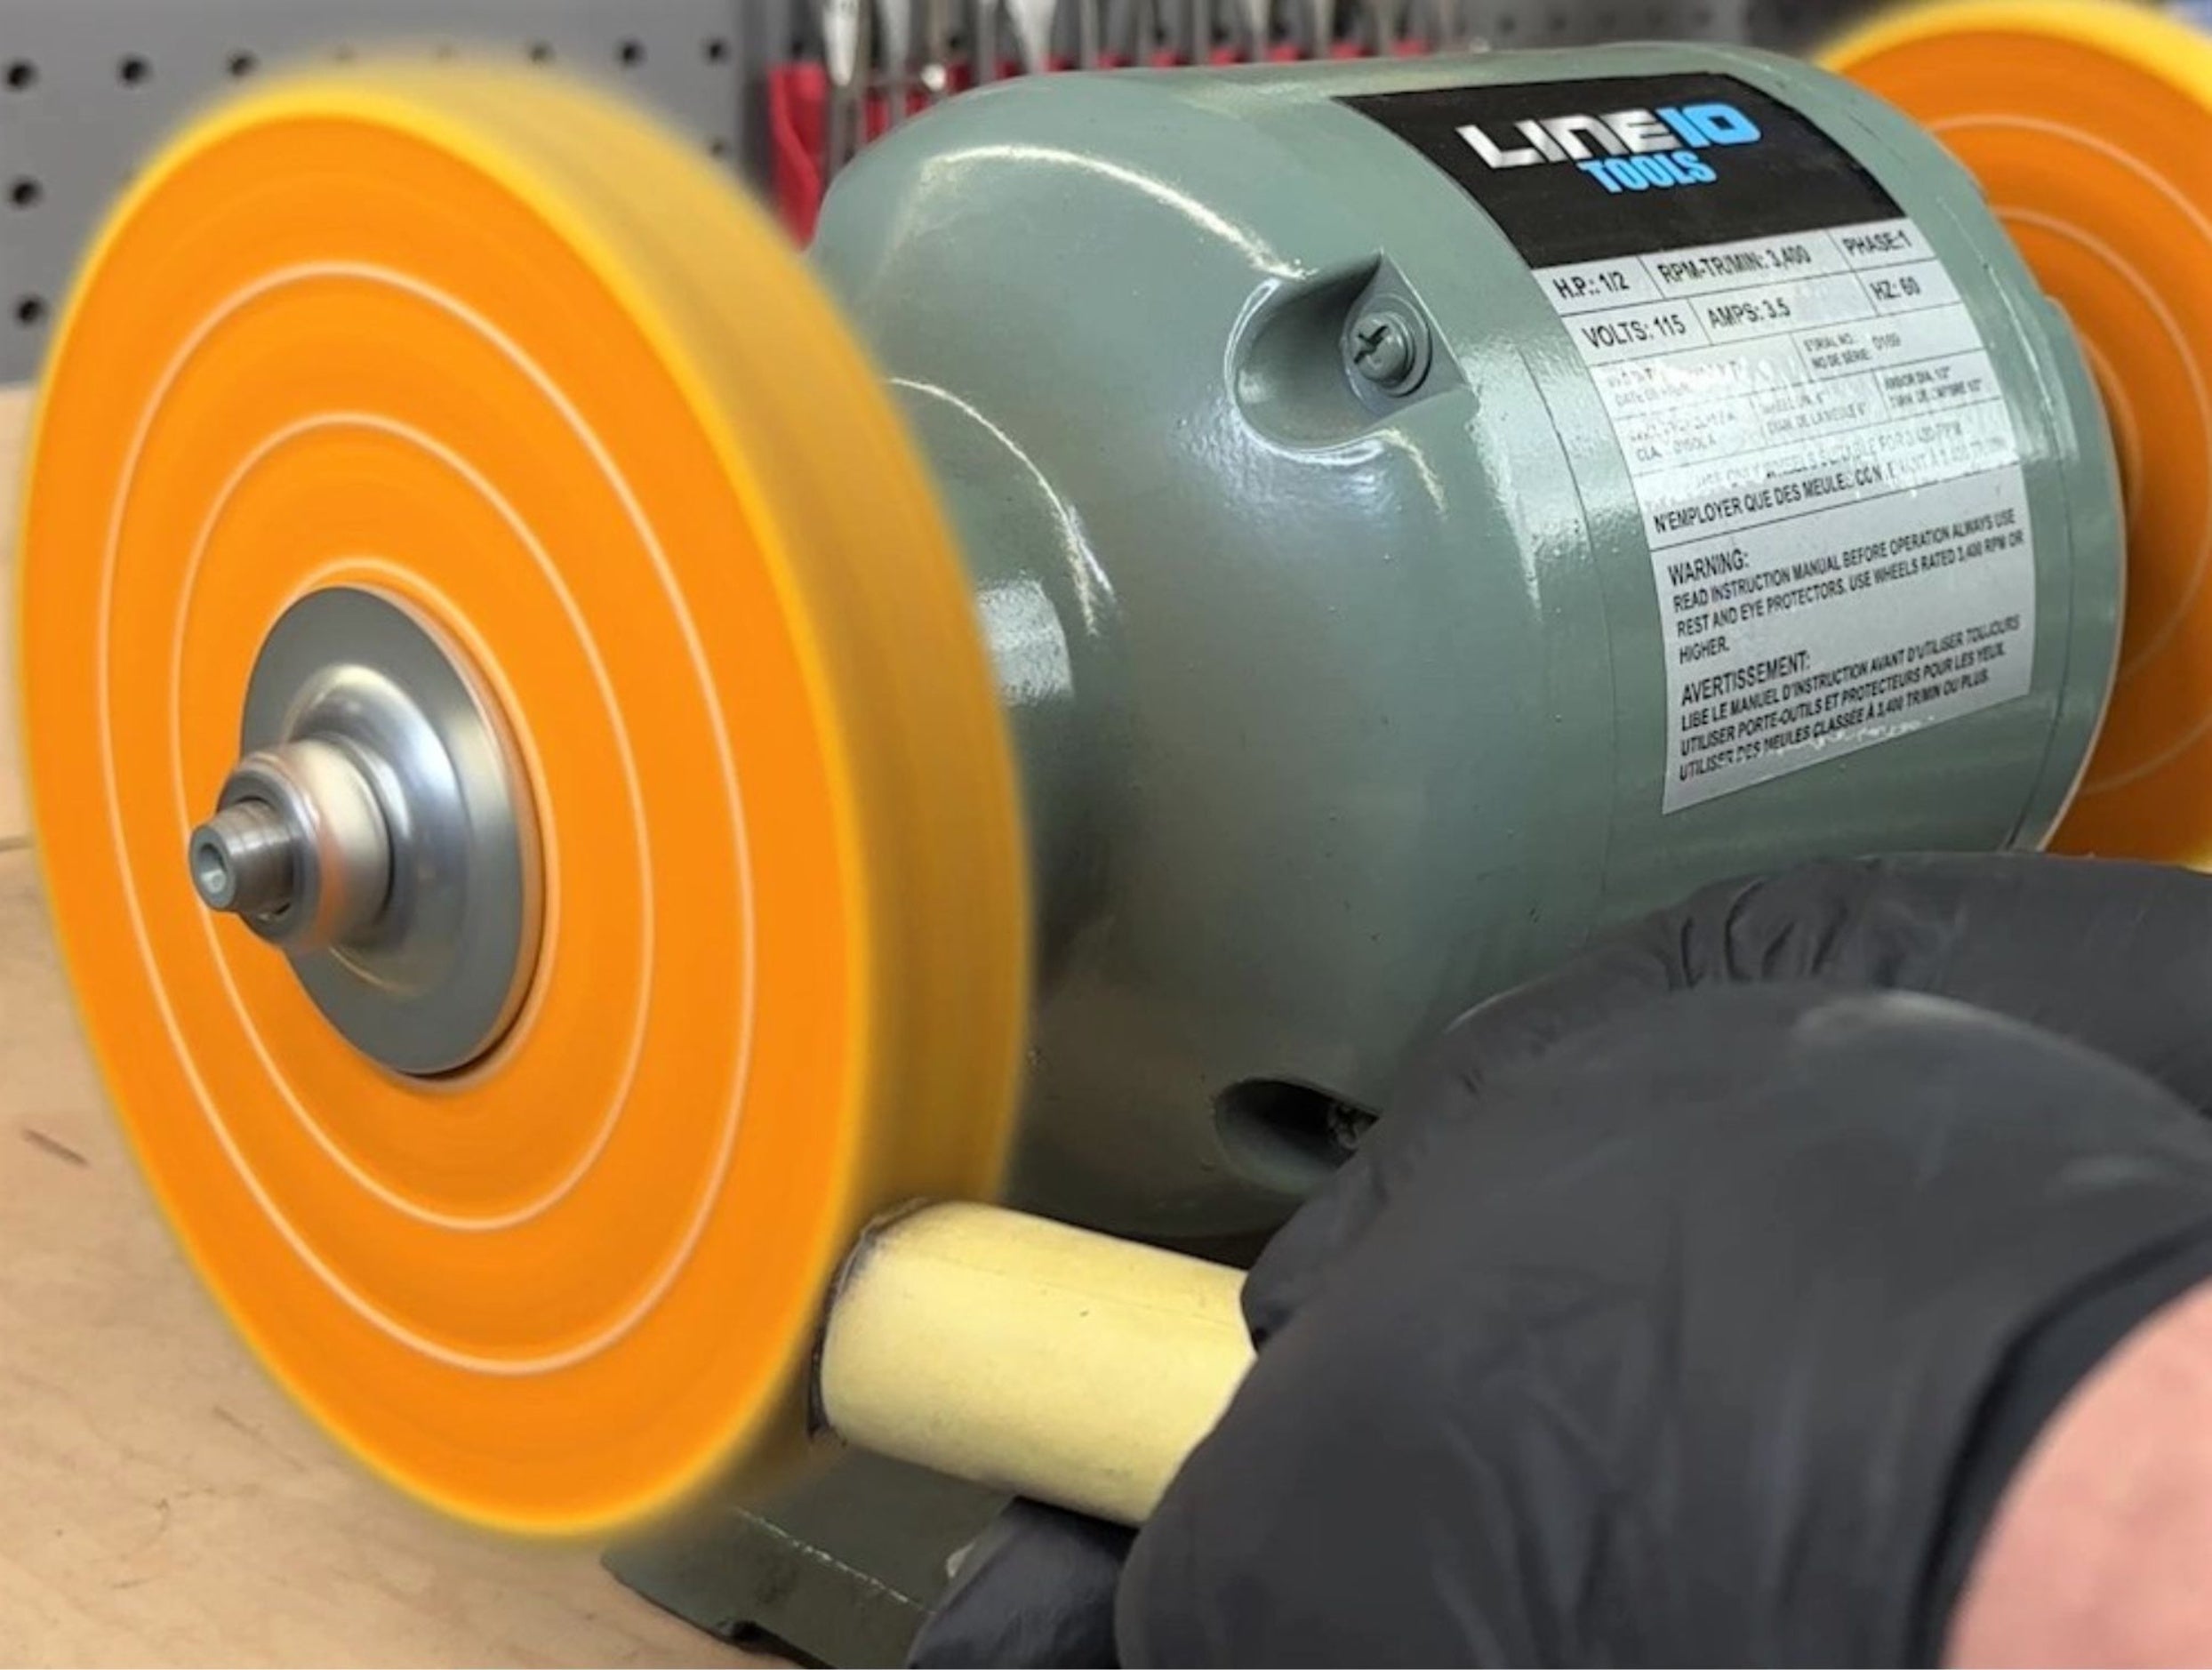
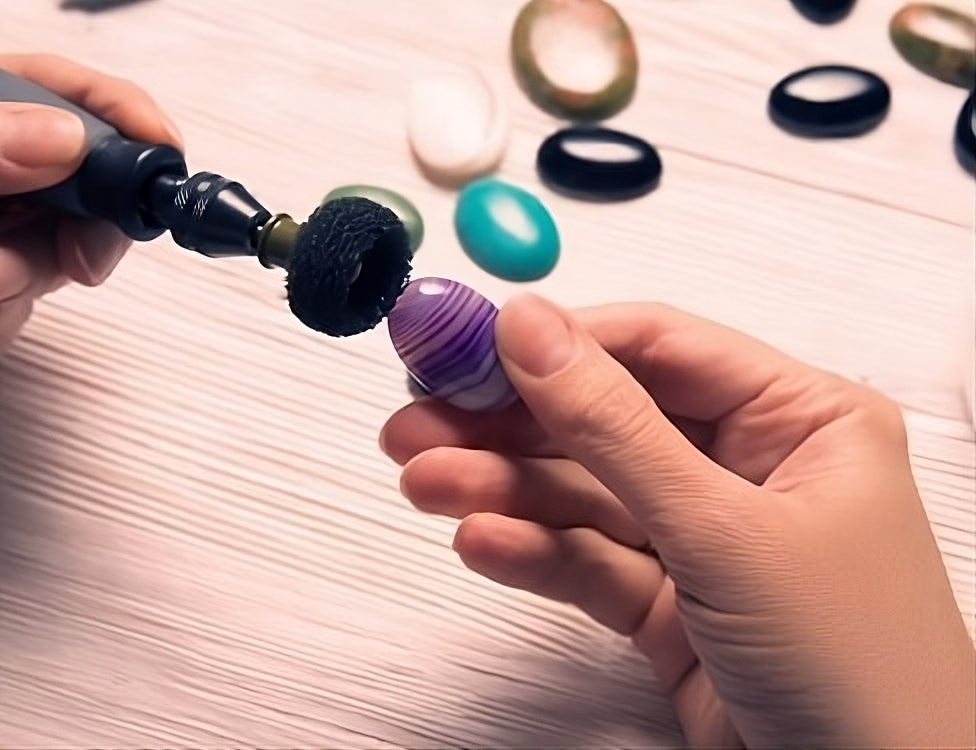
Now you’ve got your club all set for polishing. Next, apply the #1 buffing compound with the yellow firm cotton buffing wheel. Remember, you only need a small amount of compound.
The firm wheel with the compound will deep clean the surface and remove oxidation stains and discoloration.
How to apply Buffing Compound?
You can apply the compound by rubbing the spinning wheel against it. The compounds are made of wax and typically dry; the heat and friction will help transfer just enough compound to get the job done.
You can also apply the compound directly to the surface and heat the metal with a heat gun in cold weather.
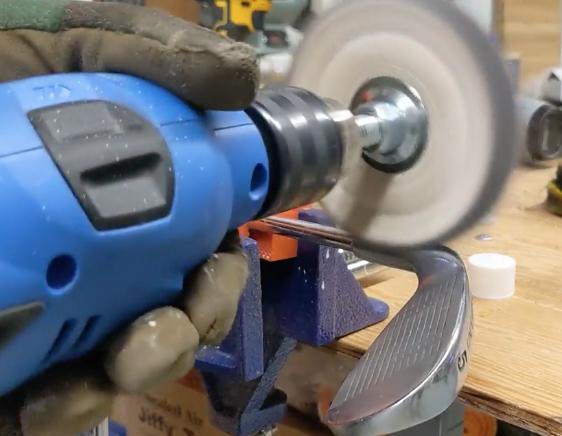
Step #2
The second step is to follow up with the second yellow firm polishing wheel with #2 buffing compound to remove discolorations and small surface scratches.
Step #3
For the final touch, switch to the white soft polishing wheel and apply #5 polishing compound. Repeat this step until your golf clubs appear glossy up to a mirror like shine.
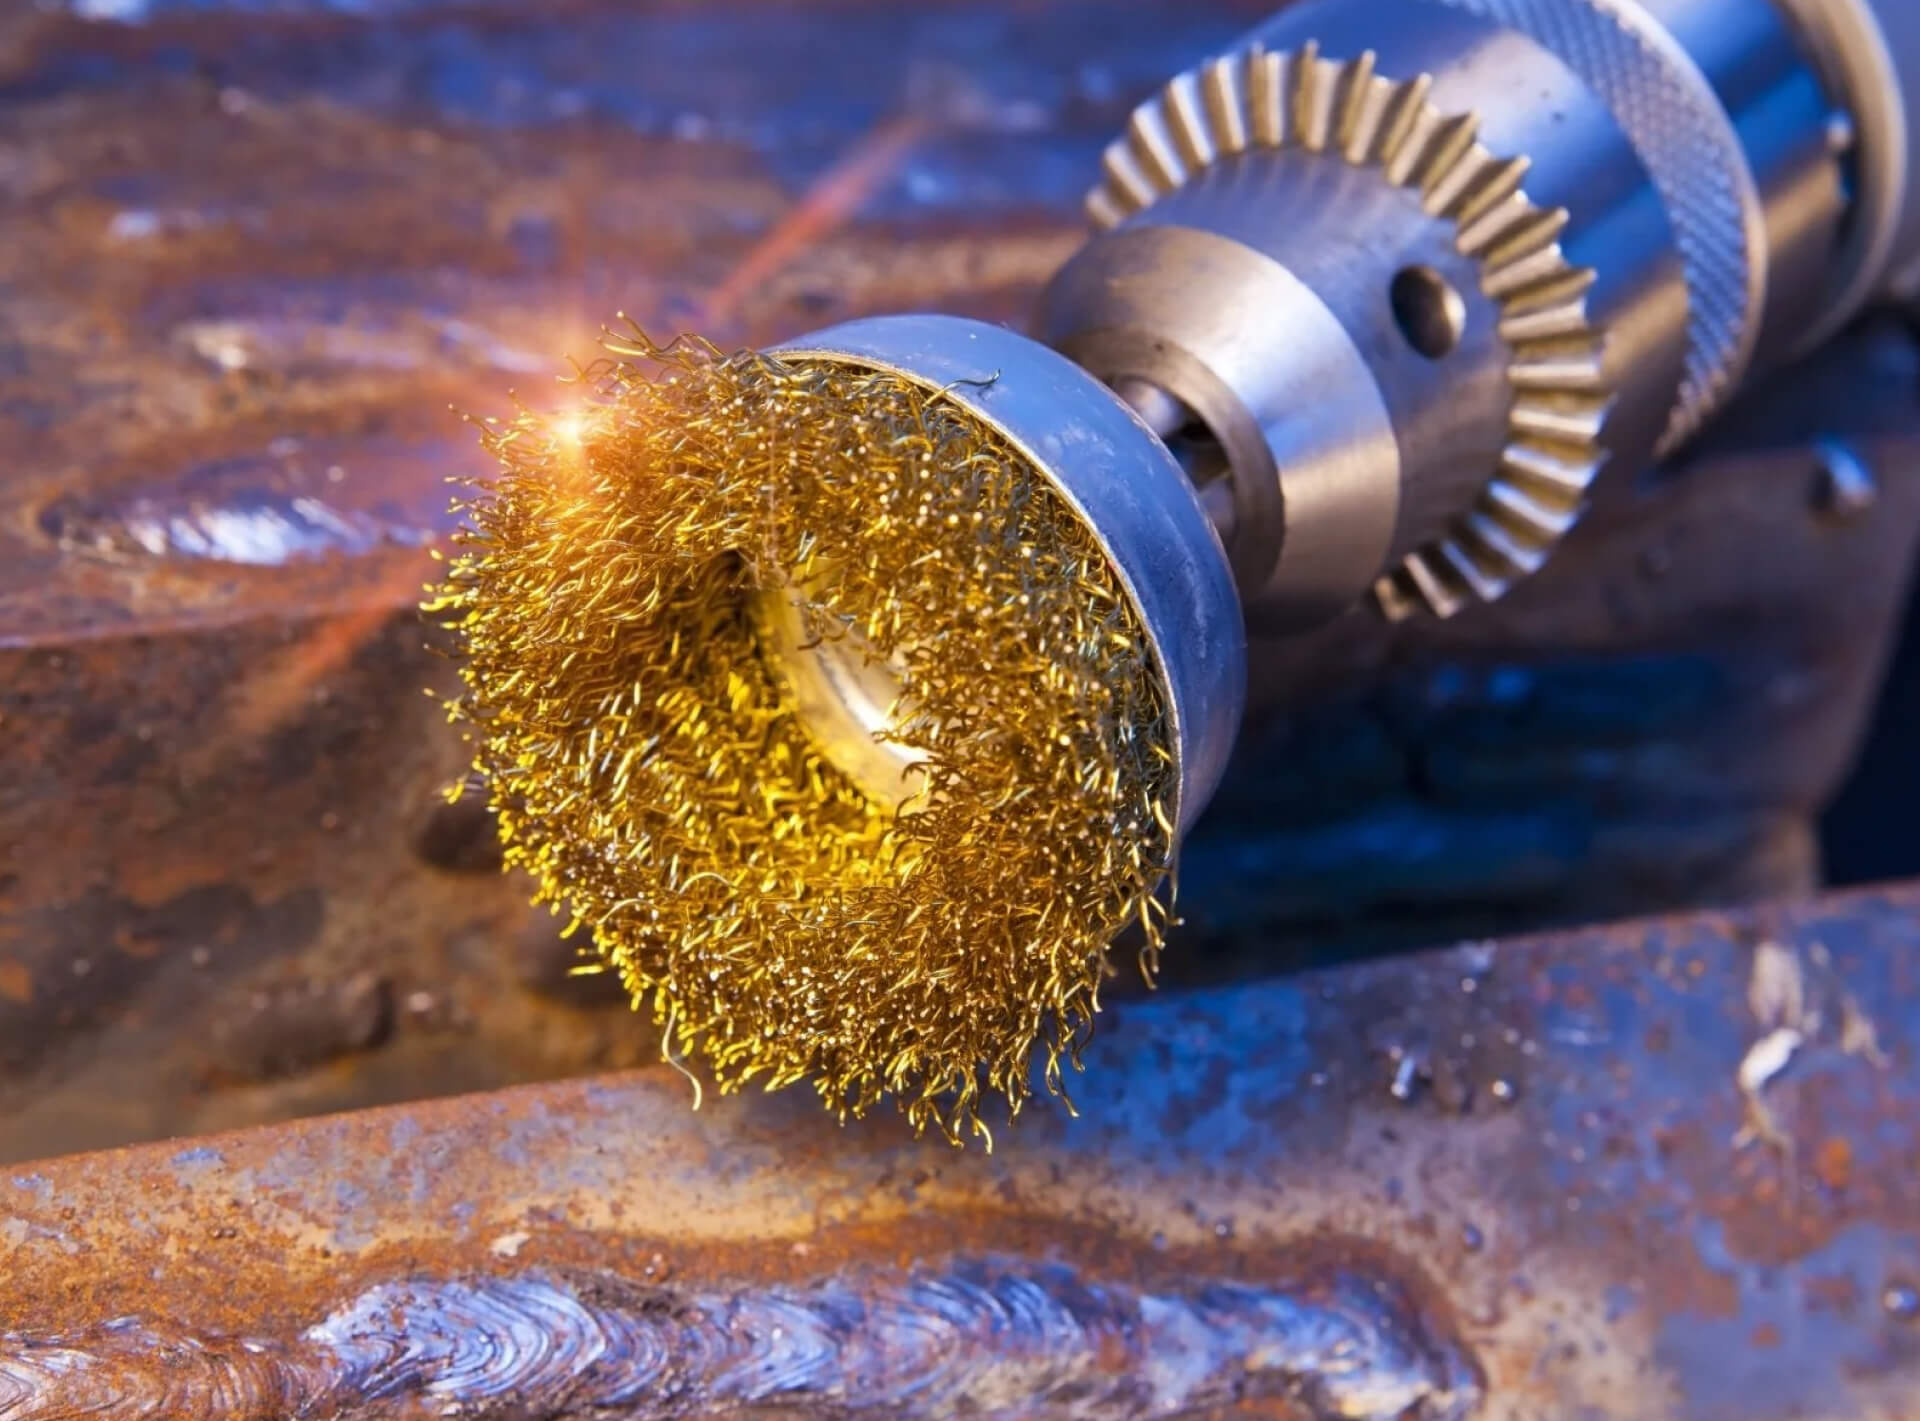
Here are some tips for using the buffing wheel for the drill kit by LINE10 Tools
- Use an electric plug-in drill; cordless drills run at low RPMs and take longer to produce results.
- The buffing wheel should be revolving towards you at full speed.
- To eliminate compound lumps and to ensure that the compound is spread evenly on the buffing surface, hold a scrap metal edge against the spinning wheel for a few seconds.
- Keep a dedicated wheel for each compound.
- Apply light pressure, let the compound do the work.
- Its normal to see compound turning dark after use, wipe surface clean to see results.
Here is a video demonstration of the buffing process: (Newer version of buffing kit contains three drill adapters to minimize changes and save time)
Maintaining Your Golf Clubs
Always make sure to maintain and clean your golf clubs. A dirty club can drastically affect club performance. There is a reason those grooves are in your irons and drivers. Grooves are the “gutters” of your club. They pick up dirt, moisture, and grass and move it away from your ball. That allows for a cleaner impact and a more consistent shot.
Soiled grooves can also mess up your ball's spin. In fact, if grooves are clogged, your ball may spin more than you want. Clogged grooves increase the ball's surface area, increasing its potential spin.
Final Thoughts
A dirty club that alters your shot is the last thing you need when out on the course. Make things easier by grabbing a metal polishing kit that fits your cordless drill. In 30 minutes, you can get your clubs sparkling clean. Regularly polishing your golf clubs will help them last longer and be easier to clean and maintain after each use.


Leave a comment